
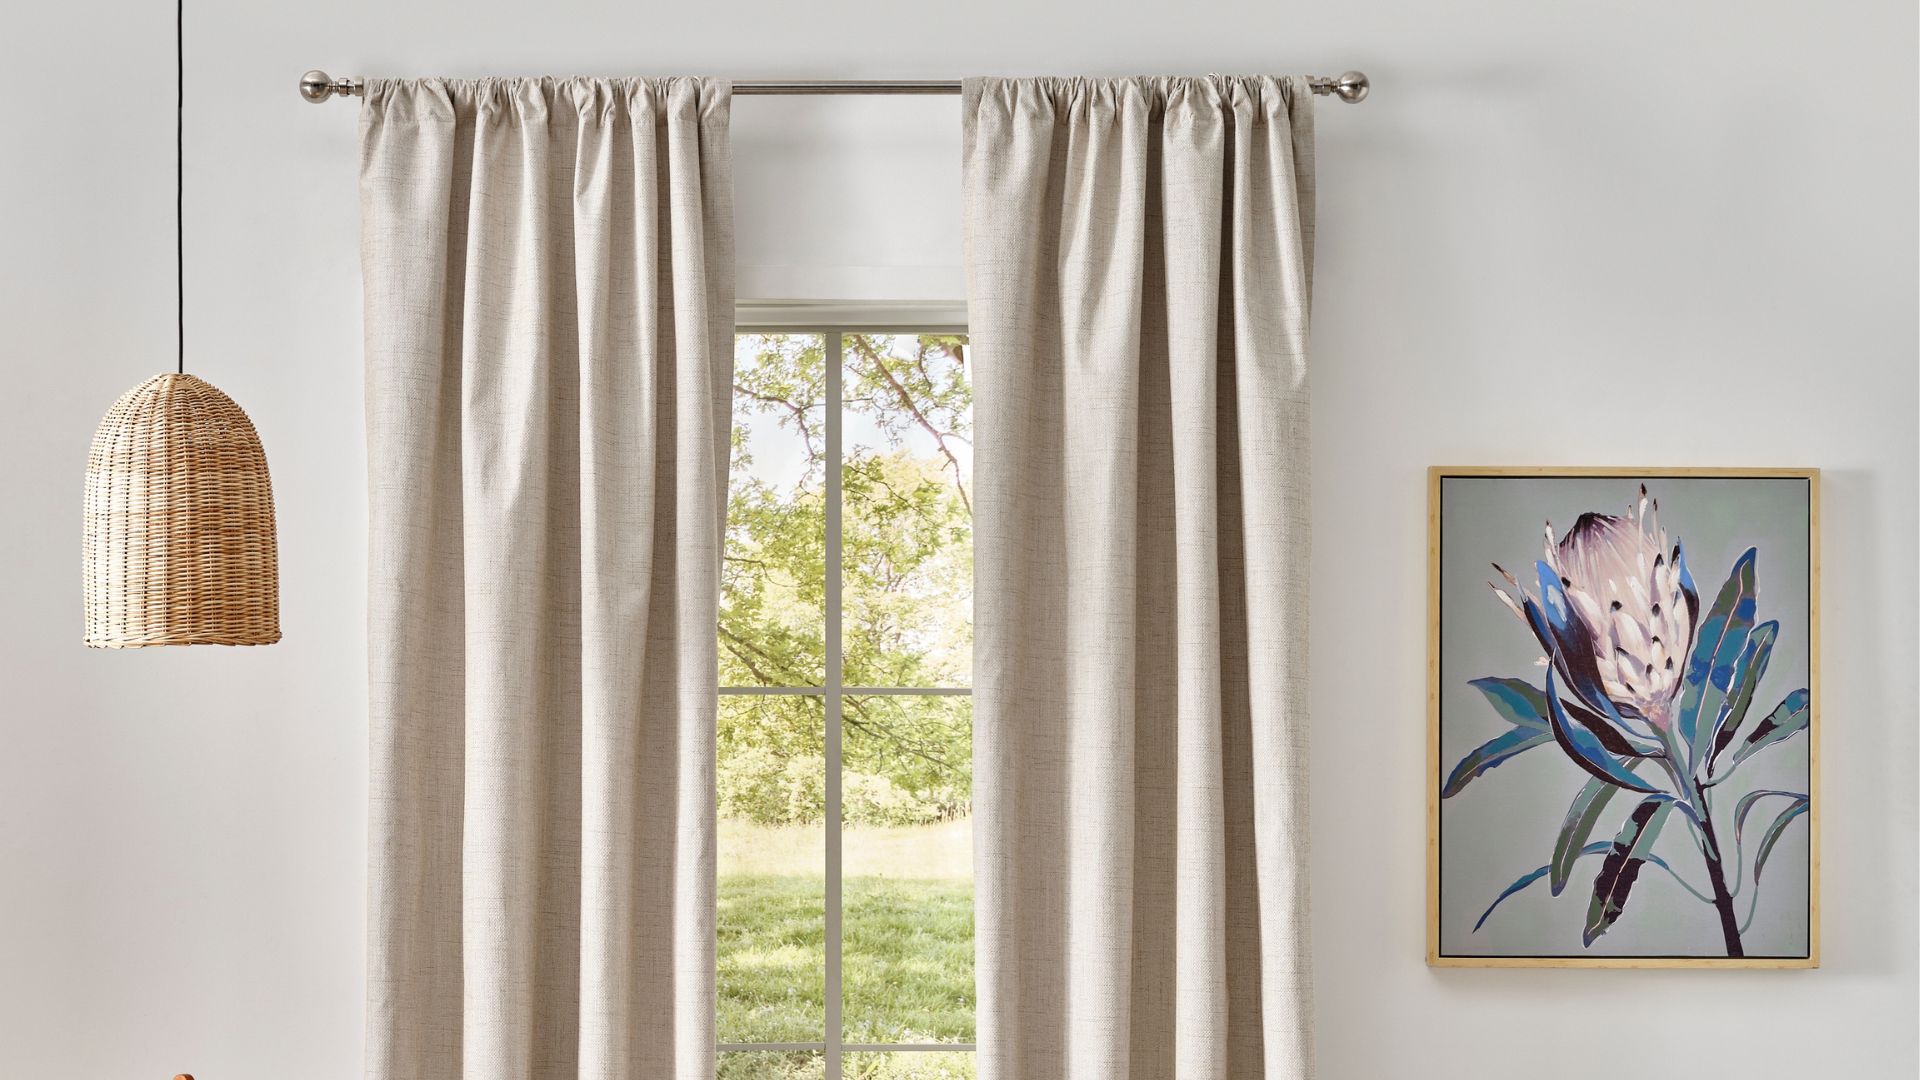

Learning how to make curtains lets you create window treatments that fit your room instead of settling for standard store-bought sizes. You can choose the exact fabric, finished length, fullness, lining, and heading style while correcting common problems such as curtains that are too short or too narrow.
A basic curtain is simply a carefully measured fabric panel with finished edges and a heading that connects it to a rod or track. However, professional-looking curtains depend on accurate calculations, straight cutting, regular pressing, and enough fabric to create attractive folds.
This guide explains how to make lined pencil-pleat curtains from start to finish. It also covers eyelet, tab-top, tie-top, rod-pocket, and no-sew alternatives.
How to Make Curtains: Quick Instructions
To make curtains:
- Choose the fabric, lining, and heading style.
- Install or plan the curtain rod or track.
- Measure the usable width and desired finished drop.
- Multiply the width by the required fullness.
- Calculate the number and length of fabric drops.
- Adjust the cut length for pattern repeats.
- Cut and join the fabric widths.
- Sew the side hems and bottom hem.
- Make and attach the lining.
- Attach the pencil-pleat heading tape.
- Gather the curtains to the correct width.
- Insert hooks, hang the panels, and arrange the folds.
This main method creates a pair of lined pencil-pleat curtains. Simpler headings are explained later in the guide.
Curtain-Making Measurements at a Glance
| Feature | Common starting measurement |
| Light curtain fullness | 1.5 times rod width |
| Standard fullness | 2 times rod width |
| Pencil-pleat fullness | 2–2.5 times rod width |
| Main side turning | About 5 cm |
| Main bottom hem | 15–20 cm total |
| Lining side turning | About 2.5 cm |
| Lining hem position | About 2.5 cm above curtain hem |
| Pencil-pleat tape | Often 7.5 cm deep |
| Typical top turning | About 5–10 cm |
These are starting points rather than universal rules. Always check the requirements of the heading tape, eyelet kit, fabric, lining, and curtain hardware you intend to use.
Choose the Right Curtain Style
The heading is the finished section at the top of the curtain. It controls how the fabric hangs and how the curtain connects to the rod or track.
Pencil-pleat curtains
Pencil-pleat tape creates many narrow, adjustable gathers. The curtains can hang from a track or from a rod fitted with rings.
This style is a practical choice for a first lined-curtain project because the tape helps form the heading and allows some width adjustment.
Eyelet curtains
Eyelet curtains have large rings fitted into the top. The rod passes directly through the rings, forming broad waves.
They look modern and usually slide easily, but the openings must be measured and cut accurately.
Tab-top curtains
Tab-top curtains hang from visible fabric loops. They create a relaxed, decorative appearance but do not always move smoothly along the rod.
Tie-top curtains
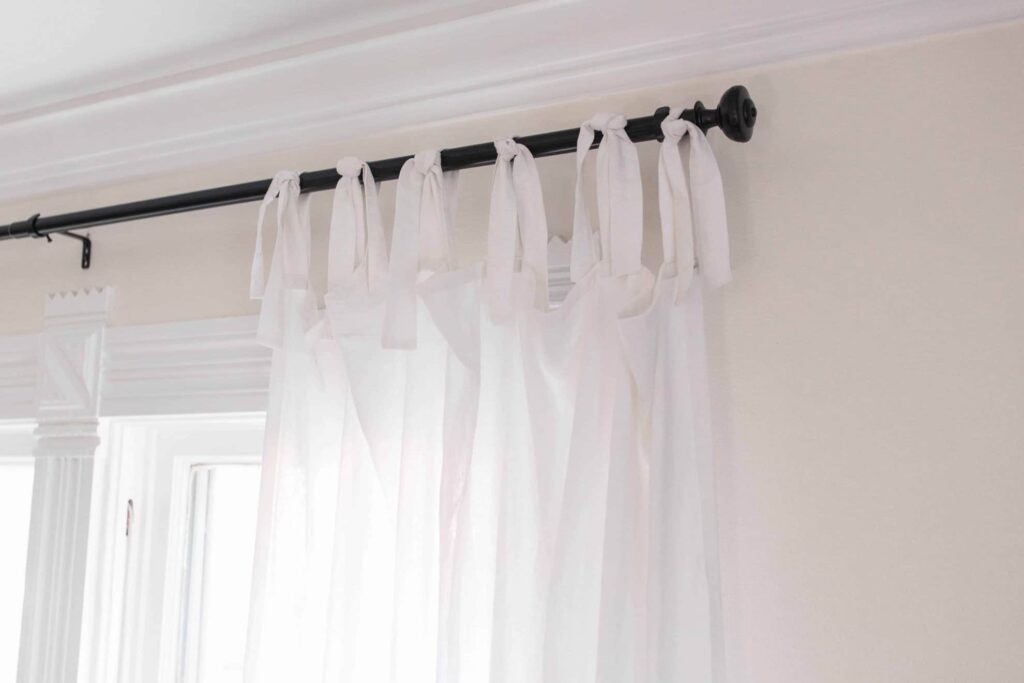
Tie-top curtains use pairs of fabric strips tied around the rod. The ties can form simple knots or bows.
They are also useful for adding several inches of length to ready-made curtains.
Rod-pocket curtains
A rod pocket is a fabric channel sewn into the top of the panel. It is one of the easiest headings to make, although it can be difficult to open and close frequently.
Structured pleats
Pinch pleats, box pleats, goblet pleats, and similar headings create a tailored finish. They normally require more precise calculations and more sewing experience.
Decide Whether Your Curtains Need Lining
Curtains can be lined or unlined.
Benefits of curtain lining
Lining can:
- Improve privacy
- Hide seams and hems from outside
- Add weight and body
- Improve the drape
- Protect decorative fabric from sunlight
- Create a more finished appearance
- Reduce light when an appropriate lining is used
Standard lining does not automatically create a blackout or highly insulated curtain.
When unlined curtains may work
Unlined curtains can suit:
- Decorative side panels
- Café curtains
- Sheer fabrics
- Informal rooms
- Windows where privacy is not important
- Lightweight seasonal curtains
Blackout and thermal lining
Blackout lining is designed to reduce light. Thermal products may help limit heat movement, although performance depends on the complete installation, including gaps around the window.
Follow the lining manufacturer’s sewing, pressing, and cleaning instructions. Coated linings can be damaged by high heat or unsuitable washing methods.
Choose Curtain Fabric
Fabric affects the appearance, durability, fullness, and difficulty of the project.
Good curtain fabrics for beginners
A beginner may find these fabrics easier to handle:
- Medium-weight cotton
- Cotton-linen blends
- Twill
- Chambray
- Lightweight canvas
- Stable furnishing fabric
These fabrics normally press well and are less likely to slip while sewing.
More difficult curtain fabrics
These materials may require more experience:
- Velvet
- Silk
- Very loose linen
- Sheer fabric
- Stretch fabric
- Heavy upholstery fabric
- Coated blackout fabric
- Fabric with a large directional print
Velvet can shift, silk can mark, sheer fabric may pucker, and loose linen can stretch out of shape.
Check the fabric direction
Before cutting, identify:
- The right and wrong sides
- The top and bottom of the design
- The grain
- The selvedges
- The vertical pattern repeat
- Whether the design uses a straight or half-drop match
Mark the top of every cut section so that no panel is accidentally reversed.
Tools and Materials
Essential tools
- Measuring tape
- Long ruler or straight edge
- Fabric scissors or rotary cutter
- Cutting mat when using a rotary cutter
- Fabric chalk or washable marker
- Pins or sewing clips
- Sewing machine
- Hand-sewing needle
- Matching thread
- Seam ripper
- Iron
- Ironing board
- Large, clean work surface
Curtain materials
For lined pencil-pleat curtains, you will normally need:
- Main curtain fabric
- Curtain lining
- Pencil-pleat heading tape
- Curtain hooks
- Curtain weights, if desired
- Curtain rod and rings or a curtain track
A large table or clean floor helps prevent long fabric drops from twisting while you measure and sew.
Step 1: Install or Plan the Curtain Hardware
Whenever possible, install the curtain rod or track before measuring.
A rod usually extends beyond both sides of the window. This allows open curtains to stack away from the glass and improves coverage when they are closed.
Confirm that the rod, brackets, track, rings, and wall fixings can support the combined weight of:
- The curtain fabric
- Lining
- Heading
- Hooks or rings
- Decorative trim
Heavy curtains may need additional brackets or stronger fixings.
Step 2: Measure the Curtain Width
Measure the usable width of the rod or track.
For a rod, measure between the decorative end pieces rather than including the finials.
For a track, measure the section along which the gliders travel.
Do not measure only the window glass. Curtains usually cover an area wider than the window frame.
Worked width example
Usable rod width:
180 cm
This is the width the closed curtains must cover before fullness is added.
Step 3: Measure the Finished Curtain Drop
The drop is the vertical distance between the hanging point and the finished bottom edge.
Possible lengths include:
- To the windowsill
- Just below the sill
- To the floor
- Slightly above the floor
- Lightly touching the floor
- Puddling on the floor
Measure the drop at the left, center, and right. Floors, ceilings, rods, and windows are not always level.
Measure from the correct hanging point
The starting point depends on the heading:
- Pencil pleat: Measure from the hook position.
- Eyelet: Measure from the top of the rod and account for the fabric above the ring.
- Tab top: Include the finished tab length.
- Tie top: Include the knot and hanging length.
- Rod pocket: Measure from the rod position.
Curtains that finish approximately 1–2 cm above the floor are easier to open and keep clean. Floor-touching and puddled curtains need more precise measurements.
Step 4: Calculate Curtain Fullness
Fullness is the amount of fabric used compared with the width of the rod or track.
As a general guide:
- Use 1.5 times the rod width for a light gather.
- Use 2 times the rod width for standard fullness.
- Use 2–2.5 times the rod width for pencil pleats.
- Use the ratio specified by the heading-tape manufacturer when available.
Fullness example
Rod width:
180 cm
Chosen fullness:
2 times
Calculation:
180 × 2 = 360 cm
The pair of finished curtains therefore needs a combined width of approximately 360 cm.
For two equal panels:
360 ÷ 2 = 180 cm per curtain
Step 5: Calculate the Number of Fabric Widths
Curtain fabric is sold in fixed widths, commonly around 137–150 cm.
Use this formula:
Required combined curtain width ÷ usable fabric width = number of fabric drops
Round upward to the next whole width.
Fabric-width example
Required combined width:
360 cm
Usable fabric width:
140 cm
Calculation:
360 ÷ 140 = 2.57
At least three widths are required.
For a balanced pair, you could use:
- One and a half widths per curtain, or
- Two full widths per curtain for greater fullness
When each panel uses one and a half widths, the half-width section is usually positioned on the outside return edge for plain fabrics and many straight-match patterns.
Half-drop and staggered patterns may require a different arrangement. Plan the pattern across both curtains before dividing a fabric width.
Remember that joining seams, trimmed selvedges, and side hems reduce the usable finished width.
Step 6: Calculate the Cut Length
Calculate the top and bottom allowances separately.
Use this formula:
Finished curtain drop + top allowance + bottom hem allowance = cut length
Cut-length example
- Finished drop: 220 cm
- Top allowance: 10 cm
- Bottom hem allowance: 20 cm
Calculation:
220 + 10 + 20 = 250 cm
Each plain fabric drop needs to be at least 250 cm long.
Bottom-hem options
A deep hem gives the curtain more weight.
Common options include:
- 15 cm total, folded twice at 7.5 cm
- 20 cm total, folded twice at 10 cm
Top allowance
The top allowance depends on the heading construction and tape depth. A pencil-pleat curtain may use approximately 5–10 cm, but the tape instructions should take priority.
Step 7: Adjust for the Pattern Repeat
Patterned fabric requires extra length so that the design aligns across joined widths.
Find the vertical pattern repeat on the fabric label or product page.
Use this method:
- Calculate the required plain-fabric cut length.
- Divide it by the vertical repeat.
- Round upward to the next whole repeat.
- Multiply the rounded number by the repeat measurement.
Pattern-repeat example
Required cut length:
250 cm
Vertical pattern repeat:
64 cm
Calculation:
250 ÷ 64 = 3.91
Round up to four repeats:
4 × 64 = 256 cm
Each patterned fabric drop should therefore measure at least 256 cm.
Never round down. A shorter result may not provide enough fabric for the finished curtain.
Plan the pattern position
Before cutting the first drop, decide where the design should appear:
- At the top of the curtain
- Along the bottom hem
- At the center opening
- Across joined seams
Large repeats can create considerable waste, so include this in the fabric budget.
Step 8: Calculate the Total Fabric Quantity
Use this formula:
Number of drops × adjusted cut length = total fabric required
Total-fabric example
Number of drops:
4
Adjusted cut length:
256 cm
Calculation:
4 × 256 = 1,024 cm
Convert to metres:
10.24 metres
Buying slightly more can provide protection against:
- Cutting errors
- Fabric flaws
- Shrinkage
- Pattern-matching problems
- Future alterations
When possible, buy all fabric from the same dye lot.
Step 9: Calculate the Lining
The lining should usually be slightly narrower and shorter than the main curtain.
A traditional lining hem may finish around 2.5 cm above the main curtain hem.
One possible length formula is:
Finished curtain drop − 2.5 cm + lining top allowance + lining hem allowance
Lining example
- Finished curtain drop: 220 cm
- Finished lining offset: minus 2.5 cm
- Lining top allowance: 5 cm
- Lining hem allowance: 15 cm
Calculation:
220 − 2.5 + 5 + 15 = 237.5 cm
The precise dimensions depend on the heading and attachment method.
The lining is also commonly set back approximately 2.5 cm from each finished side edge so it does not show from the front.
Step 10: Prepare the Fabric
Inspect the fabric before cutting.
Look for:
- Marks
- Weaving faults
- Printing defects
- Color variation
- Uneven edges
- Fabric bowing
- Pattern direction
- Damage
Do not assume the shop-cut edge is square.
Should curtain fabric be prewashed?
Prewash the fabric only when:
- The care label permits washing.
- You intend to wash the completed curtains.
- The fabric may shrink.
- The lining can be cleaned in a compatible way.
Do not automatically wash:
- Dry-clean-only material
- Velvet
- Silk
- Coated blackout fabric
- Specialist furnishing fabric
Follow the manufacturer’s care instructions.
Press before cutting
Press major creases out of the fabric using a suitable temperature.
Avoid stretching the material. Use a pressing cloth when the fabric could mark or shine.
Step 11: Cut the Curtain Drops
Spread the fabric on a large, clean surface.
Measure and mark the first drop. Use a long ruler to keep the line straight.
For patterned fabric:
- Cut the first drop.
- Place it right sides together with the next section.
- Slide the fabric until the motifs align.
- Pin the pattern at several points.
- Mark and cut the next drop.
- Repeat for the remaining widths.
Keep every drop facing the same direction.
Label each section clearly, such as:
- Left curtain, leading width
- Left curtain, outer width
- Right curtain, leading width
- Right curtain, outer width
Step 12: Join the Fabric Widths
Place the first two widths right sides together.
For plain fabric, align the edges and pin the seam.
For patterned fabric, align the motifs along the intended stitching line rather than relying only on the raw edges.
Sew a straight vertical seam.
Then:
- Inspect the pattern match from the front.
- Correct obvious misalignment before continuing.
- Trim printed selvedge markings if they show through.
- Clip tight or springy selvedges carefully when needed.
- Press the seam allowances open or to one side.
Avoid trimming too close to the stitching.
Repeat until each curtain panel reaches its required width.
Step 13: Sew the Main Curtain Side Hems
Lay the curtain wrong side upward.
A common finished side turning is approximately 5 cm.
One method is:
- Fold the raw edge inward by 2.5 cm.
- Press.
- Fold inward by another 2.5 cm.
- Press and pin.
- Sew close to the inner folded edge.
Repeat on the other side.
Hand stitching can create a less visible finish, while machine stitching is faster.
Do not pull or stretch the edge while sewing because this can cause the curtain to twist.
Step 14: Sew the Bottom Hem
For a 15 cm double hem
- Fold the bottom upward by 7.5 cm.
- Press.
- Fold upward by another 7.5 cm.
- Press and pin.
- Sew the hem.
For a 20 cm double hem
- Fold the bottom upward by 10 cm.
- Press.
- Fold upward by another 10 cm.
- Press and sew.
Machine stitching is suitable for many curtains. A blind hem or hand-sewn herringbone stitch produces fewer visible stitches on the front.
Step 15: Make Mitred Bottom Corners
Mitred corners reduce bulk where the side and bottom hems meet.
- Press the side and bottom folds.
- Open the folds.
- Fold the corner diagonally at approximately 45 degrees.
- Reform the side and bottom hems.
- Adjust the diagonal until the corner lies flat.
- Press and secure it.
You can leave the excess fabric inside rather than cutting it away. This preserves material for future alterations.
Step 16: Add Curtain Weights
Curtain weights help the bottom edges hang neatly.
Place them:
- In each bottom corner
- At the bottom of each vertical joining seam
- At other points when the fabric needs additional control
Wrap metal weights in small lining-fabric pockets before sewing them into the hem. This helps prevent residue from marking the main fabric.
Lightweight casual curtains may not require weights.
Step 17: Make the Curtain Lining
Join the lining widths before attaching them to the curtain.
Place the visible sides together, sew the seams, and press them.
Sew the lining hem
For a 15 cm double hem:
- Fold the lining upward by 7.5 cm.
- Press.
- Fold upward by another 7.5 cm.
- Press and sew.
The finished lining hem should normally sit above the main curtain hem.
Step 18: Attach the Lining
Lay the main curtain wrong side upward.
Place the lining over it with the wrong sides facing each other.
Position the lining hem approximately 2.5 cm above the main curtain hem.
Smooth both layers from the center toward the sides.
At each side:
- Turn the lining edge inward by approximately 2.5 cm.
- Keep it slightly behind the curtain’s finished edge.
- Pin it in position.
- Slip-stitch it to the main side hem.
Do not pull the lining tightly. A small amount of ease allows the outer fabric and lining to hang naturally.
At the bottom corners, secure only a short section if your chosen method requires it. The rest of the lining hem may remain free.
Step 19: Mark the Finished Curtain Length
Measure upward from the completed bottom hem.
Mark the required finished drop at regular intervals across the top.
Checking the length from the finished hem is more reliable than depending only on the original cut measurement.
Fold the excess top fabric toward the back and press it.
Check the measurement again before adding the heading tape.
Step 20: Attach Pencil-Pleat Heading Tape
Choose a tape suitable for the desired fullness and hardware.
A common tape depth is approximately 7.5 cm.
Position the tape
- Place the tape across the back of the curtain.
- Position it just below the top fold.
- Leave extra tape at the outer return edge.
- Fold the tape ends inward.
- Keep the gathering cords accessible.
- Pin the tape across the full width.
Sew the tape
Sew along the top edge of the tape.
Then sew along the bottom edge.
Avoid stitching through the gathering cords.
Large curtains are heavy, so support the fabric on a table or ask another person to help guide it through the sewing machine.
Step 21: Gather the Pencil-Pleat Curtains
Knot the cords securely at one end so they cannot disappear into the tape.
Pull the cords gradually from the opposite end.
Continue until the curtain reaches the required finished width.
Distribute the gathers evenly across the panel.
Tie the loose cords securely. Do not cut them off because they may be needed when the curtains are cleaned or adjusted.
Step 22: Insert the Curtain Hooks
Insert hooks into the heading-tape pockets at regular intervals.
The correct hook depends on the tape and hanging system.
Some systems use:
- Smaller gather hooks for tracks
- Longer hooks for rods fitted with rings
Follow the heading-tape, track, and ring instructions rather than relying on one hook size for every installation.
Step 23: Hang the Curtains
Attach the hooks to:
- Track gliders, or
- Curtain rings on a rod
Ask another person to help when the curtains are large or heavy.
Check that:
- Both panels hang at the same level.
- The center edges meet.
- The outside returns cover the ends of the track or rod.
- The lining remains hidden.
- The hem sits evenly.
- The curtains open without dragging.
Step 24: Dress the Curtain Folds
New curtains may need help settling into regular folds.
Starting at the heading, arrange each fold by hand and follow it down toward the hem.
Loosely secure the folds with soft strips of fabric for a short period when necessary.
Do not use tight cord, tape, or anything that could mark the fabric.
Alternative Curtain Heading Styles
The body of the curtain can be prepared in a similar way before adding a different heading.
How to Make Eyelet Curtains
Eyelet curtains use rings installed in the top of the fabric.
The easiest method uses eyelet tape.
- Fold the top edge to the back according to the tape instructions.
- Press the fold.
- Position and pin the eyelet tape.
- Sew along its top, bottom, and ends.
- Trace each opening.
- Make small cuts inside the marked circle.
- Trim the fabric gradually.
- Fit the front and back eyelet pieces.
- Snap or press them together.
- Thread the curtain onto the rod.
Test one opening before cutting the others. An oversized hole may prevent the ring from gripping the fabric.
Use the eyelet manufacturer’s template and instructions because ring systems vary.
How to Make Tab-Top Curtains
Tab-top curtains use fabric loops around the rod.
- Cut equal fabric rectangles.
- Fold each one lengthwise with right sides together.
- Sew the long edge.
- Turn the tube right side out.
- Press with the seam at the back.
- Fold each tab in half.
- Position the tabs evenly across the curtain top.
- Cover the raw ends with a fabric facing.
- Sew the heading seam.
- Turn the facing to the back and secure it.
Tabs may start around 10–12 cm wide and sit approximately 15–20 cm apart.
The exact measurements depend on:
- Rod diameter
- Curtain width
- Fabric weight
- Finished tab length
Test one tab around the actual rod before cutting the full set.
How to Make Tie-Top Curtains
Each hanging point uses two fabric strips.
A simple example may use strips measuring approximately 3.5 × 18 inches.
- Cut equal fabric strips.
- Fold each short end inward by ½ inch.
- Press.
- Fold the strip lengthwise with right sides together.
- Sew the long edge.
- Leave the short ends open.
- Turn the tube right side out with a safety pin.
- Press it flat.
- Pair two strips.
- Knot or tie them together.
- Pin each pair to the curtain heading.
- Test-hang the curtain.
- Adjust the height and spacing.
- Sew the ties permanently in place.
A narrow panel may use five tie pairs, while wider curtains may need seven or more.
Heavy panels require enough ties to prevent sagging.
Tie tops can also add approximately 5–6 inches to ready-made curtains, depending on the strip length and knot position.
Avoid long, accessible loops or loose cords in rooms used by young children. Follow current window-covering safety guidance.
How to Make Rod-Pocket Curtains

A rod pocket is a channel sewn into the curtain top.
- Measure the rod.
- Add enough ease for the fabric to slide over it.
- Fold the raw top edge inward.
- Press.
- Fold it again to create the channel.
- Pin.
- Sew across the lower folded edge.
- Leave both ends open.
- Insert the rod through the pocket.
Rod-pocket curtains are simple but do not move as easily as curtains on rings or eyelets.
How to Make Curtains Without Sewing
Fusible hemming tape can create simple no-sew curtains.
- Measure and cut the fabric.
- Fold and press the side hems.
- Insert the fusible tape between the folds.
- Press according to the product instructions.
- Repeat for the bottom hem.
- Create a fused rod pocket or attach clip rings.
No-sew curtains work best with light or medium-weight fabrics.
Check that the adhesive is compatible with the fabric’s:
- Fiber content
- Coating
- Heat tolerance
- Washing instructions
Sewn hems are generally more durable for heavy curtains and panels that are opened frequently.
How to Make Ready-Made Curtains Look Custom
Store-bought panels can be altered without sewing a complete curtain from raw fabric.
Possible upgrades include:
- Adding tie tops
- Adding tab loops
- Sewing on decorative trim
- Adding a contrasting bottom border
- Shortening the hem
- Adding lining
- Adding blackout material
- Sewing in curtain weights
- Replacing the heading
- Joining narrow panels
Check the existing care label and construction before making alterations.
How to Make Curtains Longer
Curtains that are too short may be extended by:
- Adding fabric ties
- Adding tab loops
- Using curtain clip rings
- Adding a coordinating bottom border
- Adding a contrasting section near the top
- Releasing a deep existing hem
- Lowering the rod when appropriate
Test the adjusted curtain on the actual rod before sewing permanently.
How to Shorten Curtains
- Clean the curtains first when the care label permits it.
- Hang the panels.
- Mark the desired length.
- Remove the curtains.
- Measure the new hemline at several points.
- Add the required hem allowance.
- Trim the excess.
- Fold, press, and sew the new hem.
Cleaning before shortening reduces the risk of later shrinkage making the curtains too short.
Common Curtain-Making Mistakes
Measuring only the window
Measure the usable rod or track width, not just the glass or frame.
Forgetting fullness
Curtains cut to the exact rod width will appear flat when closed.
Buying too little fabric
Include:
- Fullness
- Side hems
- Joining seams
- Top allowance
- Bottom hem
- Pattern-repeat waste
- Shrinkage
- Cutting margin
Rounding a pattern repeat down
Always round upward to a complete pattern repeat.
Cutting before planning the pattern
Decide where important motifs should appear before cutting the first drop.
Reversing one fabric width
Mark the top and right side of every cut section.
Stretching the side hems
Pulling the fabric while sewing can make the finished curtain twist.
Sewing the lining too tightly
A tight lining can lift the bottom hem or distort the side edges.
Using too few tabs or ties
Insufficient hanging points can make the curtain sag.
Cutting eyelet openings too large
Test the first opening before cutting the entire heading.
Skipping the test fitting
Pin tabs, ties, tape, or lining before permanent sewing whenever possible.
Why Homemade Curtains May Hang Unevenly
Uneven curtains can result from:
- An unlevel rod
- An uneven floor
- Incorrect measurements
- Fabric cut off grain
- Stretching during sewing
- Unequal hem folds
- Tight lining
- Uneven gathering
- Hooks inserted at different heights
Check the rod and floor before altering the curtain. The fabric may be correct while the room itself is uneven.
How Much Does It Cost to Make Curtains?
The cost depends on:
- Fabric price
- Fabric width
- Pattern-repeat waste
- Curtain dimensions
- Fullness
- Lining
- Heading tape
- Hooks and rings
- Rod or track
- Decorative trim
- Sewing equipment
Homemade curtains are not always cheaper than basic ready-made panels.
However, they can cost considerably less than professionally made custom curtains while providing more control over the finished dimensions and appearance.
How Long Does It Take to Make Curtains?
A simple unlined rod-pocket curtain may take a few hours.
A pair of lined pencil-pleat curtains may take a full day or a weekend.
Patterned multi-width curtains take longer because the process includes:
- Matching the design
- Joining fabric widths
- Pressing long seams
- Making lining
- Forming corners
- Adding weights
- Attaching heading tape
- Checking the finished drop repeatedly
Allow extra time for a first project.
How to Care for Homemade Curtains
Keep the fabric and lining care information.
Before cleaning:
- Remove hooks.
- Release adjustable gathers when appropriate.
- Remove detachable weights.
- Check whether both the fabric and lining are washable.
- Test for colorfastness.
- Avoid excessive heat.
- Follow dry-clean-only instructions when required.
Do not assume that all homemade curtains can go into a washing machine.
Some fabrics can shrink, fade, distort, or lose their coating.
Vacuuming with a soft upholstery attachment helps control dust between deeper cleanings.
Frequently Asked Questions About How to Make Curtains
Rod-pocket curtains are among the easiest because the heading is a simple fabric channel. Tie-top curtains made from ready-made panels are also beginner-friendly.
Multiply the rod or track width by the chosen fullness ratio. Divide that figure by the usable fabric width to calculate the number of drops. Multiply the drops by the adjusted cut length, including top, bottom, and pattern allowances.
The combined finished curtain width is generally around 1.5–2.5 times the usable rod or track width.
Pencil pleats commonly use around 2–2.5 times fullness. Follow the heading-tape manufacturer’s specified ratio when provided.
A total bottom-hem allowance of approximately 15–20 cm works for many curtains. This may be folded twice at 7.5 cm or twice at 10 cm.
Prewash only when the care label permits it and you intend to wash the finished curtains. Do not prewash dry-clean-only or specialist materials without manufacturer approval.
No, but lining improves privacy, body, drape, and the appearance from outside. It can also help protect the main fabric from sunlight.
A traditional lining hem may finish approximately 2.5 cm above the main curtain hem.
Yes. Fusible hemming tape and curtain clip rings can be used for simple no-sew panels. Sewn curtains are generally more durable.
Divide the required cut length by the vertical pattern repeat, round upward to a complete repeat, and multiply the rounded figure by the repeat measurement.
Curtains may twist when the fabric was cut off grain, stretched during sewing, hemmed unevenly, or pulled by tight lining.
Use accurate measurements, matched patterns, deep double hems, pressed seams, balanced fullness, concealed lining edges, even gathers, and suitable curtain weights.
Final Thoughts
Learning how to make curtains becomes much easier when the project is divided into clear stages.
Start by choosing the fabric, lining, heading, and hardware. Measure the rod and finished drop carefully. Calculate the fullness, number of fabric widths, cut length, and pattern repeats before cutting anything.
Next, join the fabric widths, sew the side and bottom hems, attach the lining, and add the heading tape. Finally, gather the panels, insert the hooks, hang the curtains, and arrange the folds.
For a first project, choose a stable medium-weight fabric with a plain or small repeating pattern. Pencil-pleat tape provides an adjustable, versatile heading, while rod-pocket and tie-top styles offer simpler alternatives.
Accurate measuring and preparation matter more than sewing quickly. A well-planned curtain made with straight seams and carefully pressed hems can look polished even when the construction method is simple.