

Introduction
Waterproof peel and stick floor tile offers a fast, affordable way to refresh a worn or outdated floor. You do not need advanced DIY skills, expensive tools, or messy mortar. With careful preparation and the right product, you can create a stylish floor that handles everyday spills and moisture.
What Is Waterproof Peel and Stick Floor Tile?
Waterproof peel and stick floor tile is a thin flooring material with a pressure-sensitive adhesive on the back. You remove the protective paper, place the tile on a prepared surface, and press it firmly into position.
Most products are made from layers of vinyl, which helps them resist stains, splashes, and normal household moisture. They are also called peel and stick vinyl flooring, self adhesive floor tiles, stick on floor tiles, or self stick vinyl floor tiles.
However, the word “waterproof” can be misleading. The vinyl tile itself may not absorb water, but moisture can still enter through seams, edges, and gaps. Correct installation matters as much as the product label.
Benefits of Waterproof Peel and Stick Floor Tile
The main appeal of waterproof peel and stick flooring is convenience. It can improve the look of a room without the cost and disruption of a major renovation. It also comes in many colors, patterns, and realistic finishes.
- Quick and Simple Installation
Most vinyl peel and stick floor tiles do not require glue, nails, grout, or special machinery. A small room can often be completed in a weekend. Careful measuring and surface preparation take time, but the actual placement process is beginner-friendly.
- Affordable Flooring Upgrade
Peel and stick vinyl tile generally costs less than ceramic tile, hardwood, or professionally installed luxury vinyl. It is a practical choice when you need affordable waterproof flooring for a bathroom, kitchen, laundry space, or temporary makeover.
- Water and Stain Resistance
Waterproof vinyl floor tiles can handle normal spills, wet shoes, and light splashes when installed correctly. Their smooth surface also prevents many common stains from soaking in. Wiping up water quickly helps protect the adhesive and the subfloor.
- Wide Range of Designs
Manufacturers produce styles that resemble oak, marble, slate, terrazzo, concrete, and patterned ceramic tile. This variety makes it easier to match the floor with traditional, farmhouse, coastal, modern, bohemian, or minimalist interiors.
- Easy Cleaning and Maintenance
Unlike grout lines, which can trap dirt, peel and stick flooring has a mostly smooth surface. Regular sweeping and gentle damp mopping are usually enough. Individual damaged tiles can also be replaced without removing the entire floor.
Drawbacks to Consider Before Buying
Peel and stick flooring is useful, but it is not perfect for every project. Its performance depends heavily on the condition of the floor underneath, the strength of the adhesive, the amount of traffic, and the room’s moisture level.
- Limited Lifespan
Cheap peel and stick floor tiles may wear, fade, curl, or shift sooner than thicker flooring products. A well-installed floor can last several years, but it will not normally match the lifespan of ceramic tile or high-quality luxury vinyl.
- Adhesive Problems
Weak adhesive can cause corners and edges to lift. Dust, grease, moisture, low temperatures, or a rough subfloor can make the problem worse. Choosing a trusted product and preparing the surface properly reduces the chance of failure.
- Visible Floor Imperfections
Thin tiles can act like a sheet placed over pebbles: every bump eventually shows. Cracks, grout lines, nail heads, and uneven patches may become visible through the finished floor unless you fill and smooth them first.
- Removal and Residue
Some tiles lift easily, while others leave sticky residue or pull at an existing finish. Heat can soften the adhesive during removal, but renters should always test one hidden area and review lease rules before covering original flooring.
Best Rooms for Peel and Stick Floor Tiles
Peel and stick tile performs best in dry or moderately damp rooms with smooth, stable floors. It works especially well in smaller areas where a visual update can make a noticeable difference without requiring a large flooring budget.
- Bathrooms
A peel and stick bathroom floor tile can refresh a powder room or standard bathroom floor. Choose a slip-resistant finish and seal vulnerable edges. For layout inspiration, compare colors and patterns used with small bathroom tiles.
- Kitchens
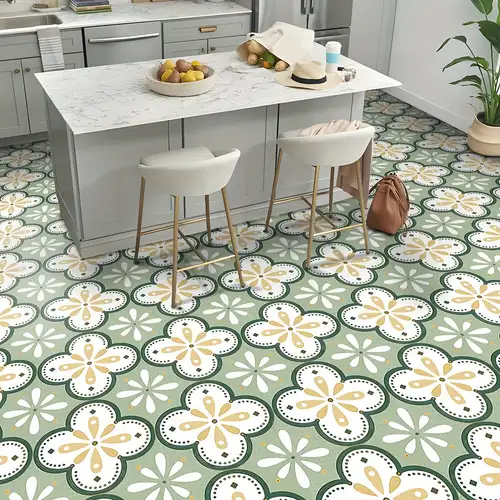
A peel and stick kitchen floor tile is useful for budget makeovers because it resists many food spills and stains. It works best on a smooth floor away from standing water, leaking appliances, and areas exposed to extreme heat.
- Laundry Rooms
Peel and stick laundry room flooring can brighten a small utility space with minimal work. Keep the washing machine level, use protective trays where suitable, and repair leaks quickly so water does not travel beneath the tiles.
- Entryways and Mudrooms
Waterproof stick on floor tiles can handle wet shoes and light dirt in a small entrance. Choose a strong wear layer and a pattern that hides marks. A washable mat can protect the busiest part of the floor.
- Rental Homes and Apartments
Self adhesive floor tiles can offer a temporary design change, but not every product removes cleanly. Renters should look for removable options, test the adhesive, photograph the original floor, and obtain permission when required.
Where You Should Not Use Peel and Stick Tiles?
Do not install standard peel and stick tiles inside shower pans, wet rooms, saunas, or areas that remain continuously wet. Even waterproof peel and stick vinyl tile can fail when water repeatedly reaches its seams and adhesive.
For shower-area inspiration, explore designs created specifically for walk-in showers instead of extending ordinary adhesive tiles into the enclosure.
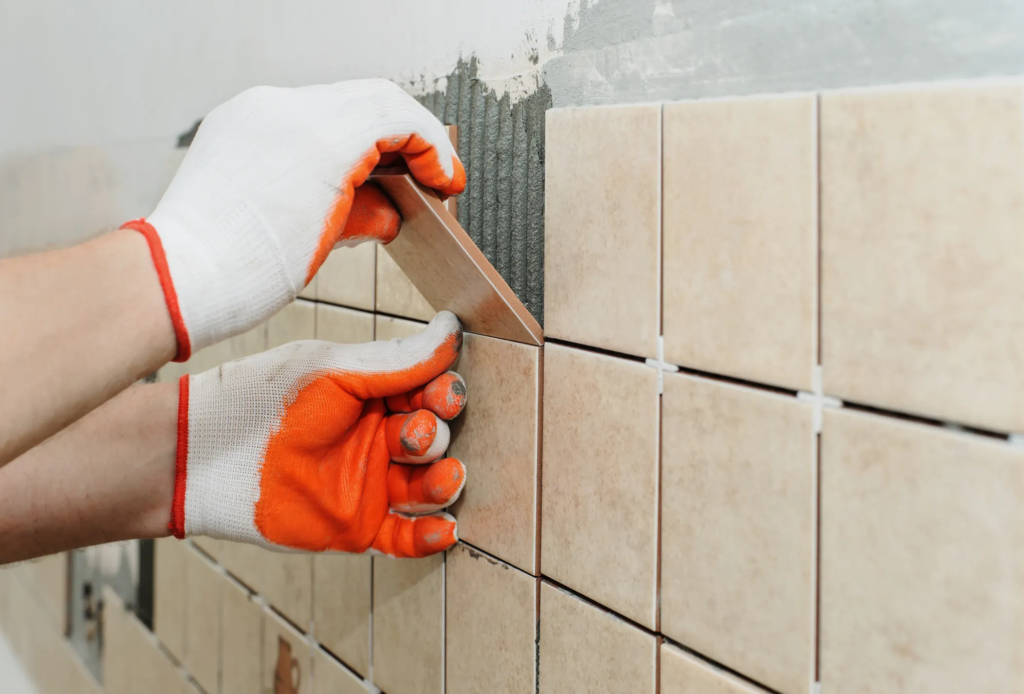
You should also avoid unstable, heavily cracked, damp, dusty, or extremely uneven subfloors. Outdoor spaces, unheated porches, and areas exposed to strong sunlight may experience large temperature changes that weaken adhesive. Always check the manufacturer’s approved locations and temperature requirements.
Types and Styles of Waterproof Floor Tiles
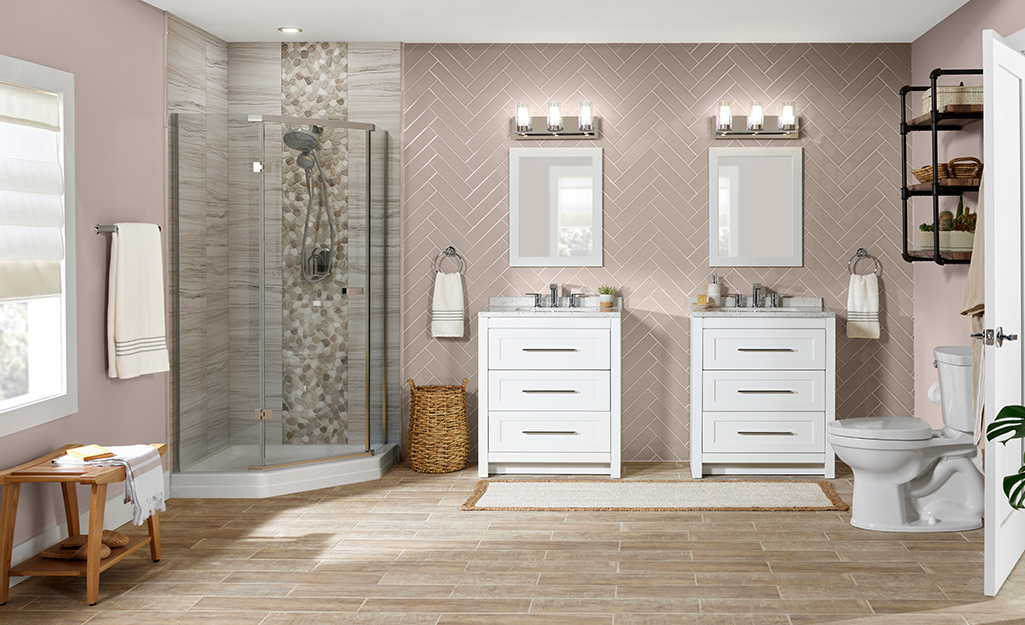
Waterproof self adhesive floor tiles come in many shapes and finishes. Appearance matters, but texture, thickness, wear resistance, and pattern repeat are equally important. Order samples whenever possible because online colors can look different in natural light.
- Wood-Look Tiles
Wood look peel and stick flooring adds warmth without the moisture concerns of real hardwood. Long planks usually create a more convincing appearance than square tiles. Stagger the joints so the floor does not look overly uniform.
- Stone-Look Tiles
Stone look peel and stick tile can imitate slate, limestone, or concrete. It works well in entryways, utility rooms, and modern bathrooms. A lightly textured finish often looks more realistic and may provide better traction.
- Marble-Look Tiles
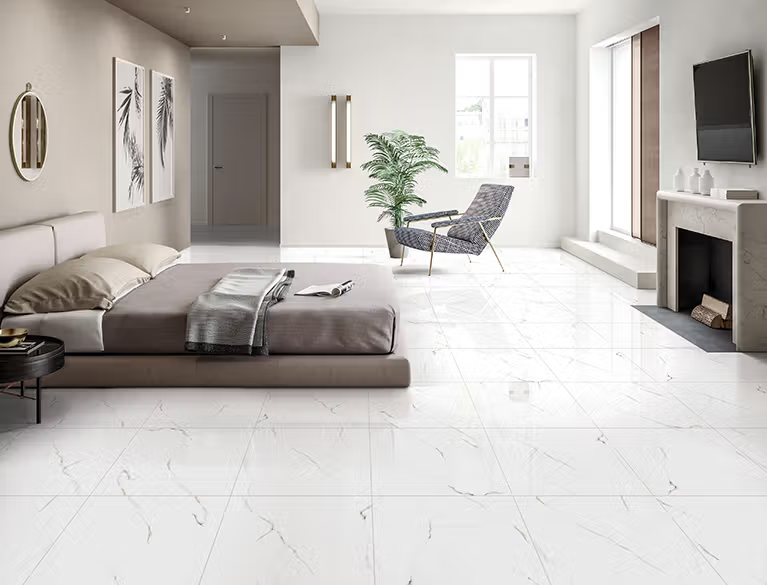
Marble peel and stick floor tile creates a bright, polished appearance at a lower cost than natural stone. Choose a design with varied veining and arrange several tiles before installation to prevent repeated patterns from appearing side by side.
- Patterned Tiles
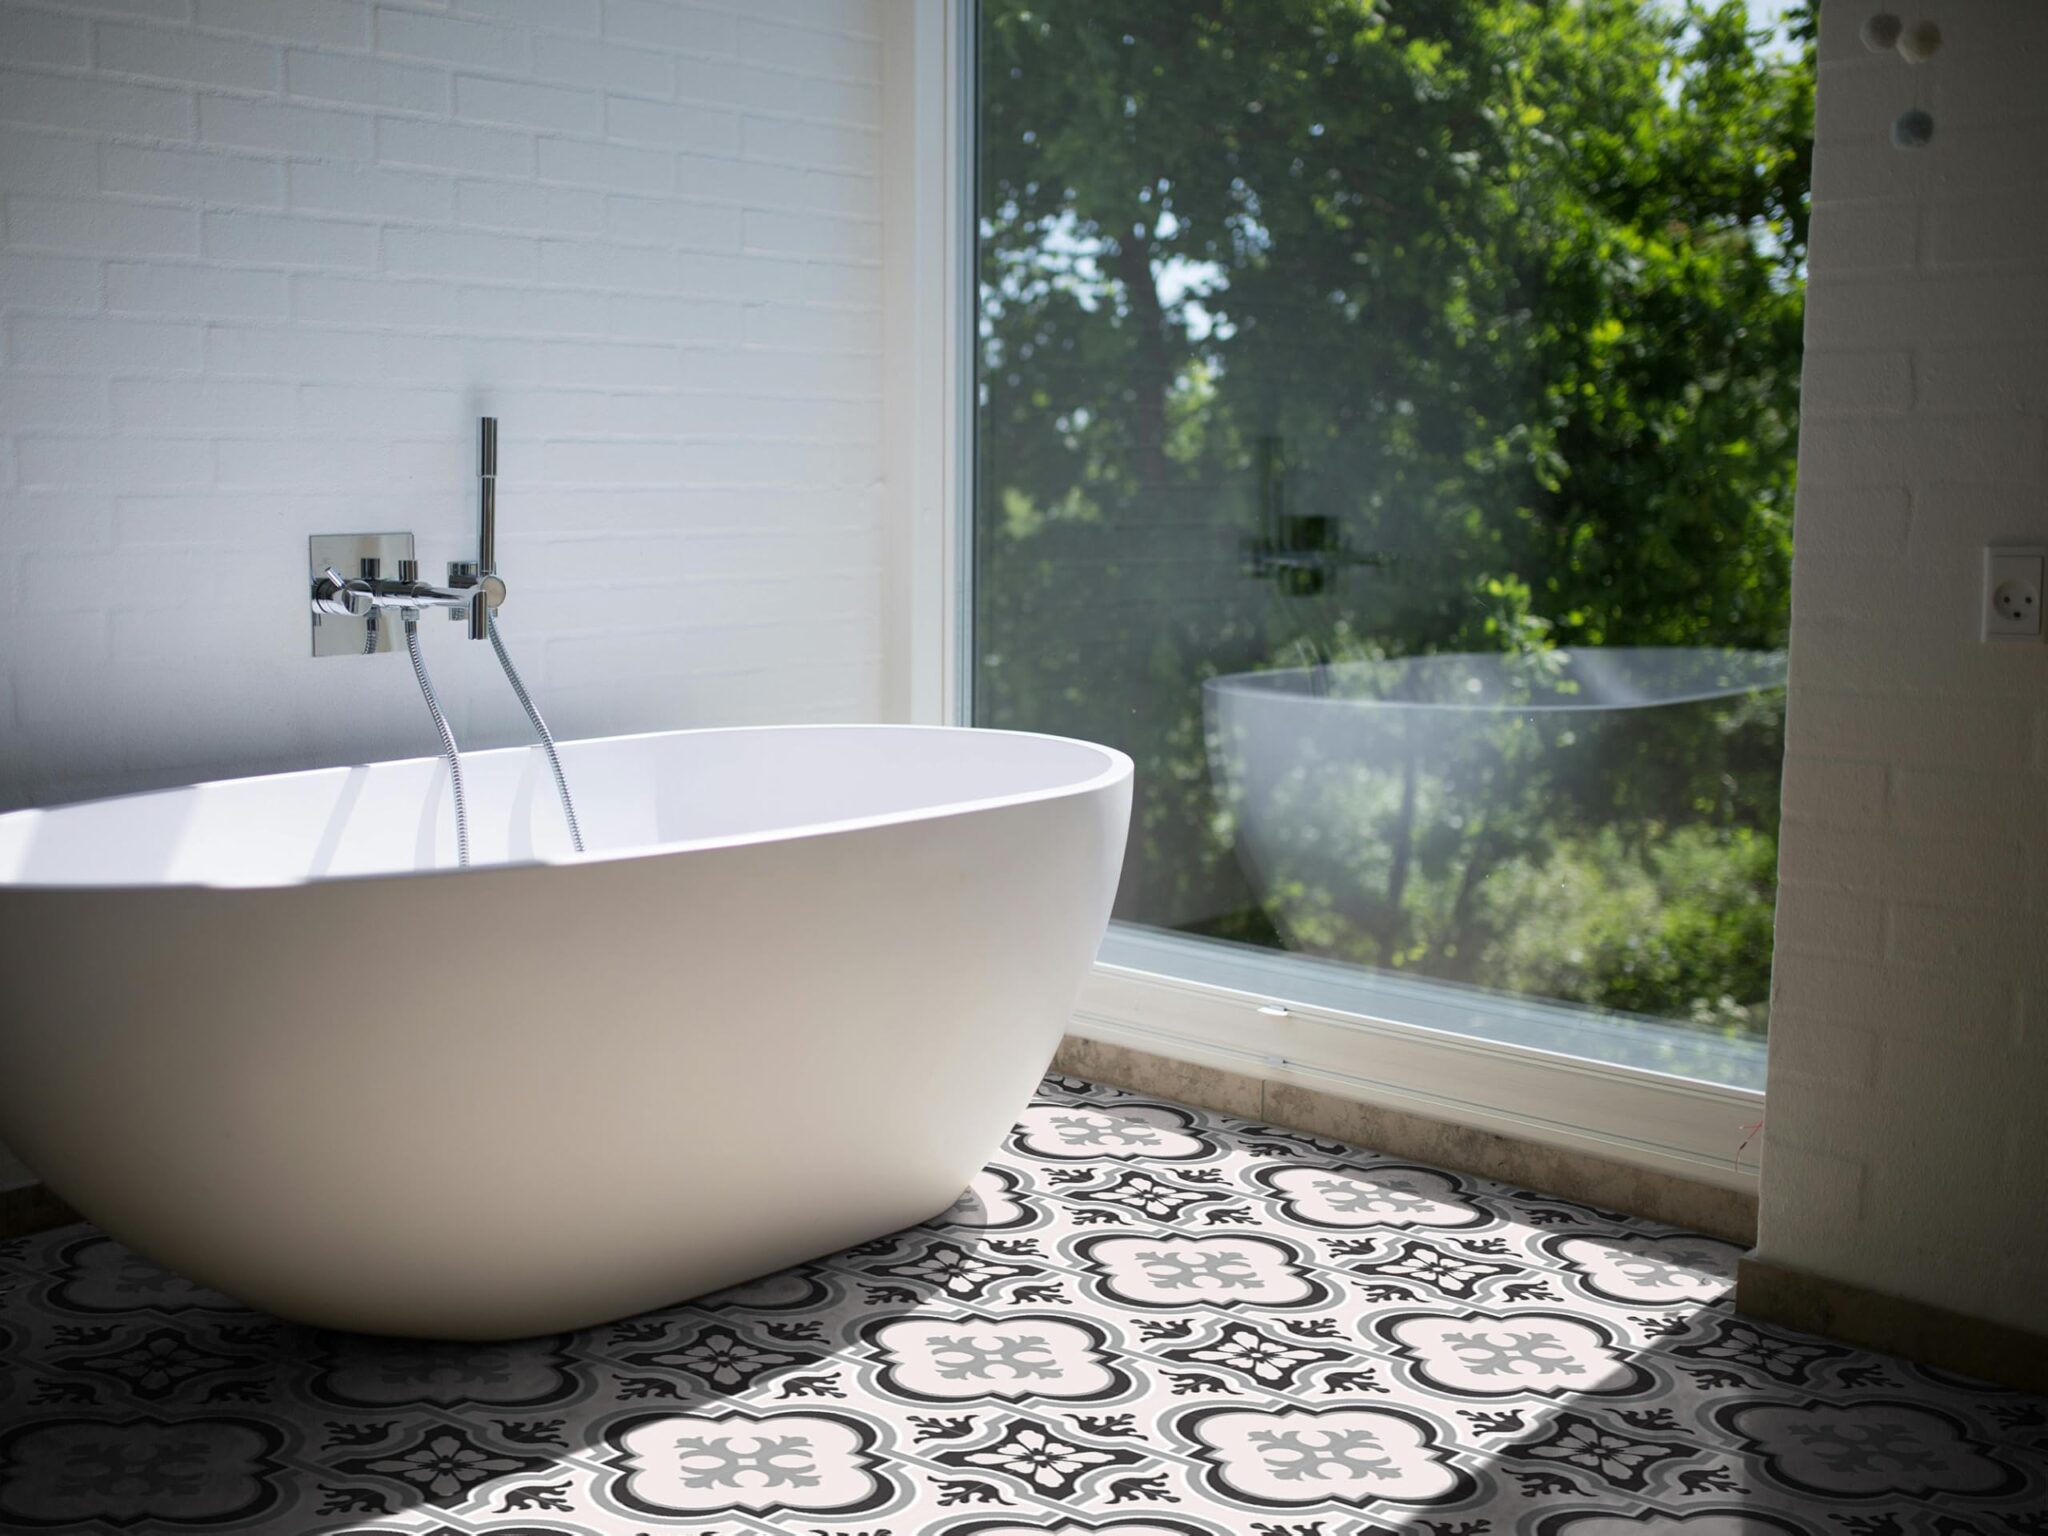
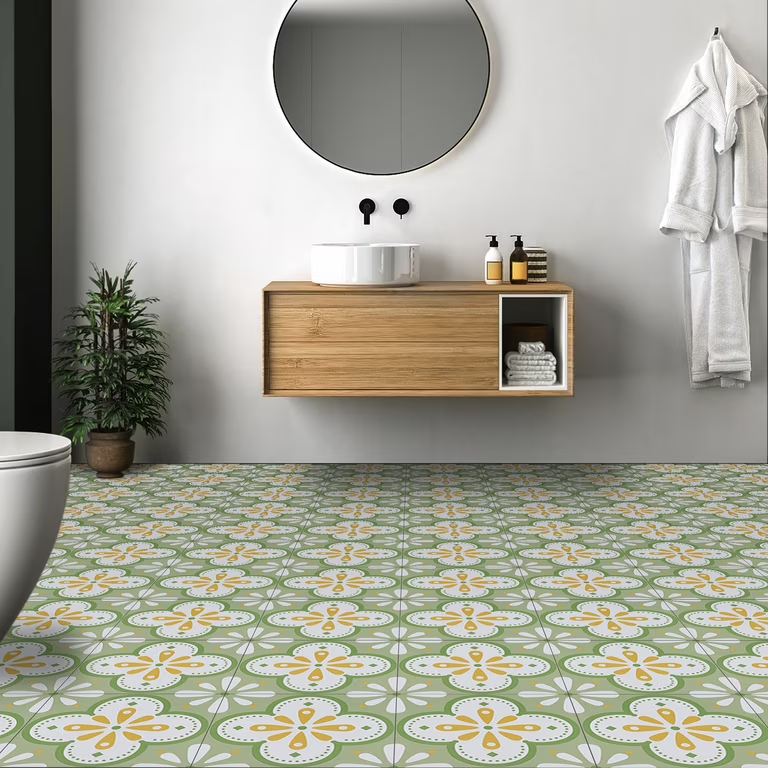
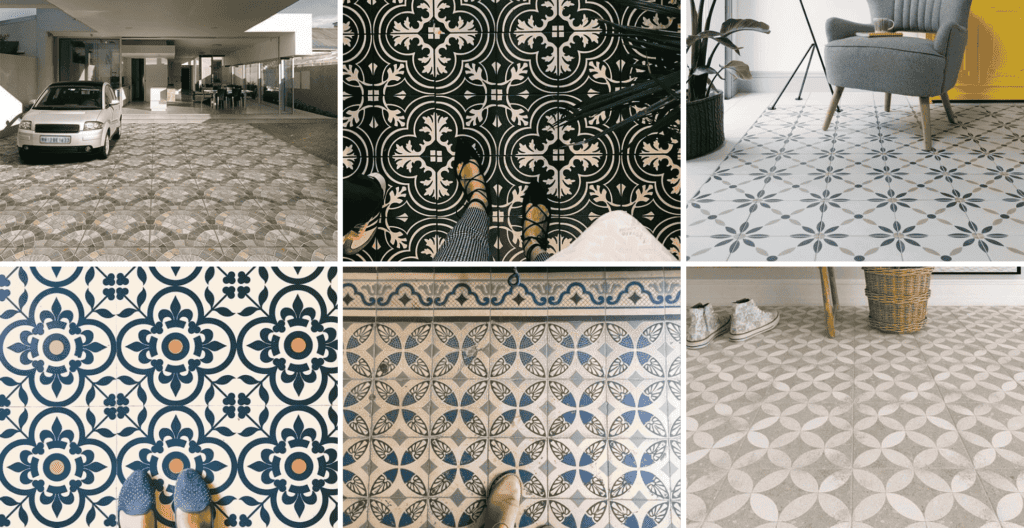
Patterned stick on floor tiles can become the main design feature in a small room. Geometric, floral, Moroccan-inspired, and vintage patterns hide minor dirt well, but careful alignment is essential because even a small shift may be obvious.
- Modern Neutral Tiles
Soft beige, gray, cream, greige, and warm white tiles create a calm base for changing decor. Neutral waterproof kitchen floor tiles are especially flexible because they coordinate with painted cabinets, wood tones, and many countertop colors.
How to Choose the Right Peel and Stick Tile?
The best waterproof peel and stick floor tile is not simply the one with the most attractive pattern. It should suit the room, subfloor, moisture level, expected traffic, and length of time you want the floor to remain in place.
- Check the Waterproof Rating
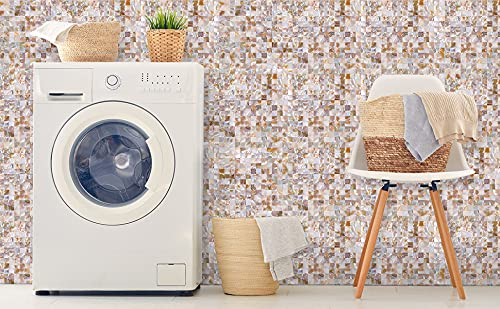
Read the technical description rather than relying only on the word “waterproof.” Confirm whether the manufacturer approves the tile for bathrooms, kitchens, or below-grade rooms. Check whether sealing seams or perimeter edges is recommended.
- Choose the Right Thickness
Thicker tiles often feel more solid and may hide tiny surface marks better than very thin products. However, thickness alone does not guarantee quality. Also compare the wear layer, construction, warranty, and customer installation experience.
- Compare Adhesive Quality
Look for product instructions that clearly explain surface requirements, primer use, rolling, and temperature limits. Waterproof peel and stick flooring reviews can reveal repeated problems such as lifting corners, shifting tiles, weak backing, or difficult removal.
- Match the Design to the Room
Consider the room’s size, lighting, cabinet finish, wall color, and fixtures. Large patterns can dominate a small area, while tiny patterns may feel busy. Coordinate bathroom flooring with the wider bathroom decor for a balanced result.
- Calculate Cost and Tile Quantity
Measure the room’s length and width, then multiply them to find the square footage. Add around 10% for cuts, mistakes, pattern matching, and future repairs. Add more when the room has many corners or an angled layout.
What Floors Can Peel and Stick Tiles Cover?
A peel and stick floor tile needs a surface that is smooth, clean, dry, solid, and free from movement. The existing material matters, but its condition matters even more. Always follow the flooring manufacturer’s approved-substrate instructions.
- Concrete Floors
Concrete can provide a strong base when it is level, clean, and fully dry. New concrete may hold moisture for a long time. Test for dampness, repair cracks, remove paint or residue, and apply primer when recommended.
- Plywood and Wood Floors
Smooth underlayment-grade plywood can work well. Secure loose sections, countersink fasteners, fill joints, and sand raised areas. Avoid placing thin self stick vinyl floor tiles directly over rough boards, moving planks, or damaged wood.
- Existing Vinyl Flooring
New tiles may be installed over a single layer of firmly attached, smooth vinyl. Remove wax, polish, grease, and textured residue first. Embossed patterns may require a leveling compound so they do not show through the new surface.
- Ceramic Tile Floors
Installation over ceramic tile may be possible when the tiles are secure and level. Deep grout lines must be filled and smoothed. Cracked, loose, or uneven ceramic should be repaired because movement underneath can damage the new flooring.
- Surfaces to Avoid
Avoid carpet, cushioned vinyl, floating floors, loose laminate, rough brick, damp concrete, flaking paint, heavily textured tile, and unfinished particleboard. These surfaces either move, hold moisture, or fail to provide a reliable bond.
Tools and Materials You Will Need
Gathering everything before you begin prevents rushed decisions. Basic tools are usually enough, although primers, patching compounds, or extra cutting equipment may be needed. Broader renovation tips can also help you plan the project in the right order.

- Cleaning Supplies
You may need a vacuum, broom, microfiber cloths, bucket, scraper, and floor-safe degreaser. Avoid cleaners that leave wax, oil, soap, or polish behind because residue can prevent the adhesive from making firm contact.
- Measuring Tools
Use a tape measure, ruler, straightedge, pencil, and chalk line. A small combination square helps mark accurate corner cuts. Measure more than once because walls are rarely perfectly straight or square.
- Cutting Tools
A sharp utility knife works for many vinyl tiles. Keep spare blades nearby because dull blades can tear the surface. Heavy or thick products may require aviation snips, a vinyl cutter, or another manufacturer-approved tool.
- Floor Roller
A floor roller pushes the adhesive against the subfloor and removes trapped air. A 75- to 100-pound roller is commonly used for resilient flooring, although product instructions may allow a smaller hand roller for compact spaces.
- Primer or Floor Patching Products
A compatible floor primer can improve adhesion on porous surfaces. Use patching compound to fill cracks, low spots, grout joints, and fastener holes. Confirm that each product works with pressure-sensitive vinyl adhesive.
How to Prepare the Floor?
Floor preparation may take longer than tile placement, but it controls the final result. Think of the subfloor as a canvas: a smooth canvas produces a clean picture, while every ridge and lump can spoil the finish.
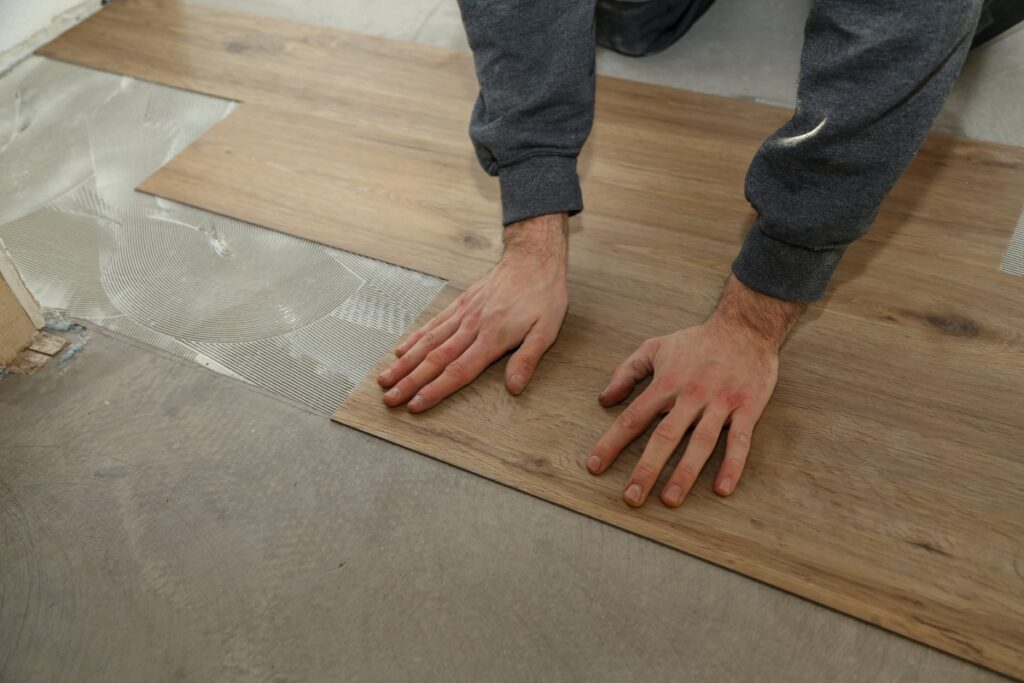
- Remove Dirt and Grease
Vacuum thoroughly, then clean the surface with a residue-free product. Kitchens need special attention because airborne grease settles near appliances and cabinets. A complete kitchen cleaning routine can help remove hidden grime before installation.
- Repair Cracks and Gaps
Fill cracks, seams, holes, and deep grout lines with a suitable patching product. Allow it to cure fully, then sand or scrape it smooth. Do not use flexible household caulk where a hard flooring patch is required.
- Level Uneven Areas
Run a long straightedge across the floor to find dips and high points. Sand raised areas when appropriate and fill low sections. Peel and stick tile cannot correct a badly uneven floor; it usually follows the same shape.
- Let the Floor Dry
Moisture trapped beneath waterproof vinyl floor tiles may weaken adhesive or encourage mold in vulnerable materials. Let the surface dry completely after washing or patching. Follow the stated drying time instead of judging only by touch.
- Plan the Tile Layout
Mark reference lines and dry-lay several rows with the backing still attached. Avoid narrow pieces along highly visible walls. Check pattern direction, color variation, and alignment before permanently sticking anything to the floor.
How to Install Waterproof Peel and Stick Floor Tile?
Learning how to install peel and stick floor tile is straightforward, but accuracy matters. Work slowly, keep your hands clean, and check each row. A small mistake near the starting point can grow wider across the room.
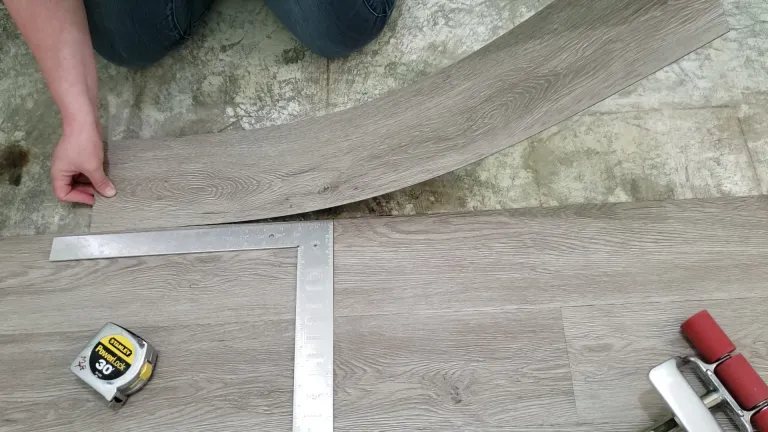
- Measure the Room
Measure each wall because opposite sides may differ. Calculate the total area and identify doorways, cabinets, pipes, and corners that require special cuts. Keep extra tiles nearby rather than opening every package at once.
- Find the Starting Point
Many rooms look best when installation begins near the center and moves outward along two square reference lines. In narrow or irregular rooms, starting at a straight, visible wall may produce a more balanced layout.
- Test the Layout
Place a row of unpeeled tiles along your reference lines. Check how wide the edge pieces will be and how the pattern meets the doorway. Adjust the starting line now rather than making awkward cuts later.
- Peel and Place Each Tile
Remove only enough backing to position the tile without touching the adhesive. Align one edge with the reference line, lower the tile gradually, and press from the center outward. Do not drop it into place.
- Press the Tiles Firmly
Press every section with your hands or a small roller as you work. After placing a larger area, roll it in both directions. Pay close attention to corners and seams, where loose contact often begins.
- Cut Tiles Around Edges
Create a paper template for difficult shapes around door frames, toilets, or pipes. Transfer the shape to the tile and cut from the front with a sharp blade. Leave only the expansion space allowed by the manufacturer.
- Seal Gaps in Wet Areas
In a bathroom or laundry room, water often enters at the perimeter rather than through the tile surface. Use only a manufacturer-approved sealant around tubs, toilets, pipes, and edges. Do not seal over dirt or moisture.
Common Installation Mistakes to Avoid
Most failures come from poor preparation or rushed installation rather than from the basic peel-and-stick method. Avoiding a few common errors can improve both appearance and durability, even when you use cheap peel and stick floor tiles.
- Installing Over a Dirty Floor
Fine dust acts like flour between dough and a countertop: it prevents a firm bond. Vacuum after sanding, wipe away remaining particles, and keep pets and foot traffic out of the room during installation.
- Skipping Floor Repairs
Tiles cannot bridge loose joints, deep cracks, or moving boards for long. Damage underneath may show through or cause seams to separate. Repair structural and surface problems before opening the flooring packages.
- Starting Without a Layout
Beginning against the first available wall can leave crooked rows or narrow strips on the opposite side. A dry layout reveals these problems before the adhesive commits you to a difficult pattern.
- Leaving Air Bubbles
Air pockets reduce contact and may create soft or raised areas. Lower each tile gradually and press outward from the middle. Lift and reposition the tile immediately if the product permits and a bubble remains.
- Using the Floor Too Soon
Walking, mopping, or moving furniture too soon may shift tiles before the adhesive settles. Follow the product’s waiting period. Keep the room at the recommended temperature and avoid washing the surface during that time.
How to Make Peel and Stick Tiles Last Longer?
Good materials help, but careful installation and daily habits matter just as much. Protecting seams, controlling moisture, and avoiding harsh cleaning methods can extend the useful life of waterproof peel and stick vinyl tile.
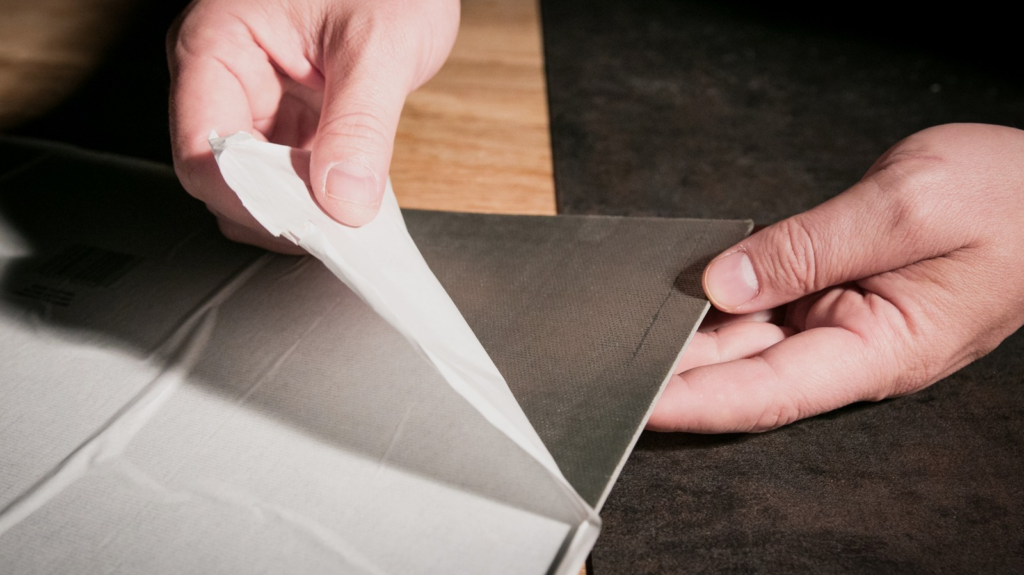
- Use a Floor Primer
Primer can improve the bond on porous concrete, plywood, patches, or other approved surfaces. Use the primer named by the tile manufacturer. An incompatible product may create a film that weakens rather than strengthens adhesion.
- Roll the Tiles After Installation
Rolling applies even pressure across the floor and helps the adhesive reach tiny surface variations. Roll once after installation and again if the instructions recommend it. Hand pressure alone may miss corners and edges.
- Seal High-Moisture Edges
Protect the perimeter near tubs, toilets, sinks, washing machines, and exterior doors. Seal only the locations allowed in the instructions. A neat edge seal can block splashes, but it cannot solve an active plumbing leak.
- Protect the Floor From Furniture
Attach felt pads or smooth furniture cups to table, chair, and cabinet legs. Lift furniture instead of dragging it. Heavy items can dent thin tiles, so spread the load with protective pads where appropriate.
- Clean Spills Quickly
Even waterproof bathroom floor tiles have vulnerable seams. Wipe spills as soon as possible and investigate recurring moisture. Water that disappears beneath an appliance or baseboard can remain unnoticed long enough to weaken adhesive.
How to Clean and Maintain the Floor?
Peel and stick vinyl flooring requires gentle care rather than aggressive scrubbing. The goal is to remove grit and spills without soaking the seams, scratching the wear layer, or leaving a slippery film.
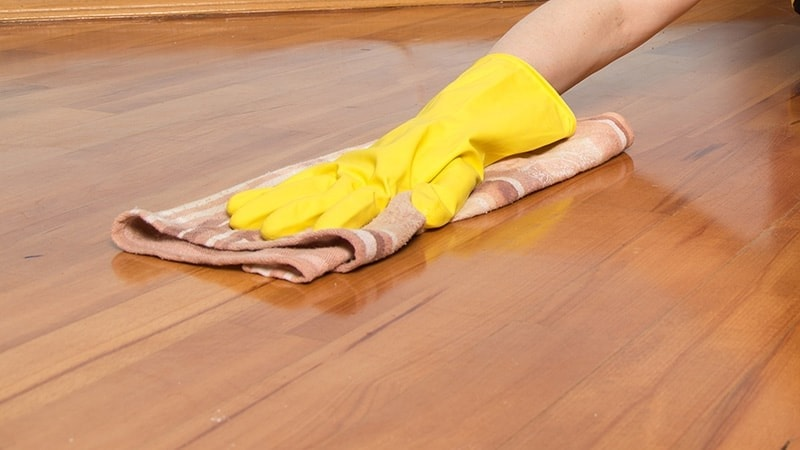
- Routine Sweeping and Vacuuming
Sweep or vacuum regularly to remove sand and crumbs. Grit can behave like sandpaper under shoes and chair legs. Use a vacuum setting without a harsh rotating brush if the brush could scratch the surface.
- Safe Mopping Methods
Use a well-wrung damp mop and a cleaner approved for vinyl floors. Work in small areas and do not leave puddles. Dry the floor afterward when moisture gathers near seams, corners, or baseboards.
- Cleaning Products to Avoid
Avoid abrasive powders, steel wool, solvent cleaners, waxes, strong bleach mixtures, and steam mops unless the manufacturer approves them. Steam and excess heat can soften adhesive, while harsh chemicals may dull or discolor the finish.
- Replacing Damaged Tiles
Warm the damaged tile gently with a hair dryer, lift an edge, and remove it slowly. Scrape away loose residue without damaging the subfloor. Clean the area, apply an approved adhesive if necessary, and roll the replacement firmly.
Cost of Waterproof Peel and Stick Floor Tile
The final price depends on tile quality, room size, preparation work, waste, and tools. While peel and stick is usually budget-friendly, repairing a poor subfloor can cost more than the tiles themselves.
- Tile Cost per Square Foot
Basic products may cost around $1 per square foot, while thicker designer options can cost several dollars per square foot. Prices change by brand and retailer, so compare total carton coverage rather than package price alone.
- Tools and Preparation Costs
Include the cost of primer, patching compound, cleaner, blades, straightedges, sealant, and a roller rental. These supplies may add a noticeable amount to a small project but often prevent expensive installation problems.
- DIY Versus Professional Installation
DIY installation saves labor costs and suits simple rooms with sound floors. Professional help may be worthwhile when the subfloor needs major leveling, moisture testing, structural repair, or detailed cutting around many fixed objects.
- Ways to Save Money
Measure carefully, compare price per square foot, order all cartons from the same production lot, and avoid buying more than necessary. Keep spare tiles for repairs. Clearance products can save money, but confirm that enough matching stock remains.
Peel and Stick Tile Design Ideas
Flooring can either fade quietly into the room or become its main feature. Use samples to compare designs under daytime and evening lighting. Also consider how the pattern will look once furniture covers part of it.
- Classic Black-and-White Patterns
Black and white peel and stick floor tile brings energy to bathrooms, kitchens, and entryways. Checkerboard designs feel classic, while geometric patterns look more modern. Keep nearby colors simple when the floor already makes a bold statement.
- Warm Wood-Look Floors
Warm oak and walnut tones make white kitchens and plain rental rooms feel more welcoming. Choose long plank-style tiles, vary the printed grain, and stagger the joints to create a more natural wood-floor effect.
- Light Marble-Look Floors
White or cream marble-look flooring can visually open a compact bathroom. Select soft veining rather than a highly repeated print. Rotate tiles during dry fitting to make the pattern appear less mechanical.
- Bold Laundry Room Patterns
A laundry room is a useful place to try colors or patterns you might avoid in a larger living space. Blue, green, terracotta, or vintage-inspired tiles can turn a practical room into a cheerful feature.
- Rental-Friendly Floor Makeovers
For a temporary makeover, consider removable products or a floating protective layer approved for the existing floor. Test first, keep several replacement tiles, and avoid applying strong adhesive to valuable wood or delicate finishes.
Peel and Stick Tile vs. Other Flooring Options
The best peel and stick floor tiles are convenient, but another flooring type may provide better value in a permanently wet, heavily used, or high-end room. Compare installation, durability, repair, comfort, and long-term cost.
- Peel and Stick Tile vs. Sheet Vinyl
Sheet vinyl has fewer seams, which can improve moisture protection. However, measuring and cutting one large sheet is harder for beginners. Peel and stick tile is easier to transport, position, and replace one piece at a time.
- Peel and Stick Tile vs. Luxury Vinyl Tile
Luxury vinyl tile is generally thicker, more durable, and more realistic. Many products click together rather than sticking directly to the floor. Peel and stick costs less and creates less height, but it usually has a shorter lifespan.
- Peel and Stick Tile vs. Ceramic Tile
Ceramic tile offers excellent wear resistance and can last for decades. It also requires more tools, labor, preparation, and skill. Peel and stick offers a faster makeover without mortar or grout but cannot match ceramic’s long-term durability.
- Peel and Stick Tile vs. Laminate
Laminate often feels thicker and more solid underfoot, but standard versions may swell when water reaches the core. Waterproof stick on floor tiles resist surface moisture better, although their seams and adhesive still need protection.
Is Waterproof Peel and Stick Floor Tile Worth It?
Waterproof peel and stick floor tile is worth considering when you want a quick, stylish, and affordable update on a smooth, stable floor. It works especially well in powder rooms, kitchens, laundry rooms, entryways, and lower-traffic spaces.
It is less suitable for shower interiors, severely uneven floors, damp concrete, or rooms where you expect premium flooring to last for decades.
The final result depends on preparation. A carefully cleaned, repaired, measured, and rolled floor can look surprisingly polished. A rushed installation may lift within weeks. Choose a quality product, read its instructions, and treat “waterproof” as moisture resistance for the complete floor system—not permission to ignore seams or leaks.
Frequently Asked Questions
The vinyl surface may be waterproof, but the completed floor is not always fully waterproof. Water can enter through seams, perimeter gaps, cuts, or lifted corners. Follow the manufacturer’s sealing instructions and wipe up standing water quickly.
Yes, many products are approved as peel and stick bathroom floor tile. Use them on a smooth, dry floor outside the shower enclosure. Choose a slip-resistant surface and seal vulnerable edges when the instructions recommend it.
They can sometimes cover secure ceramic or vinyl tile. Fill deep grout lines, repair cracks, remove grease, and level the surface first. Confirm that the manufacturer approves installation over the specific existing material.
Their lifespan varies with product quality, floor preparation, traffic, moisture, and maintenance. A basic temporary floor may last a few years, while a thicker, properly installed product in a low-traffic room may last much longer.
Some tiles remove cleanly, but others leave residue or damage paint, finish, or weak flooring. Test one tile in a hidden location and ask the property owner before installation. Products marketed as removable are usually safer for temporary projects.
Tiles should normally fit tightly without wide gaps. In moisture-prone rooms, the manufacturer may recommend sealing perimeter edges or specific seams. Use a compatible sealant because an unsuitable product may discolor the vinyl or interfere with adhesion.
Many can support ordinary furniture on a firm subfloor. However, narrow legs and heavy appliances may dent thin tiles. Use smooth protective cups, avoid dragging items, and follow any weight or indentation guidance provided by the manufacturer.
Warm one section with a hair dryer to soften the adhesive, lift an edge with a scraper, and pull slowly. Remove leftover adhesive with a product that is safe for the original floor, testing it in a hidden area first.