
Kitchen deep cleaning is the reset button your kitchen needs when quick wipes and daily tidying no longer feel like enough. Grease hides, crumbs collect, smells linger, and cabinets start to look tired. However, with the right steps, supplies, and routine, you can make your kitchen feel cleaner, brighter, and easier to enjoy.
What Is Kitchen Deep Cleaning?
Kitchen deep cleaning means cleaning beyond the obvious surfaces. It is not just wiping the counter or washing dishes. Instead, it includes cabinets, appliances, floors, walls, backsplash, sink drains, pantry shelves, handles, knobs, and hidden corners. Think of it like cleaning behind the curtain, not just the stage. When you learn how to deep clean a kitchen, you remove the buildup that daily cleaning often misses. As a result, your kitchen looks better, smells fresher, and feels more comfortable.
Why Kitchen Deep Cleaning Matters?
A kitchen works hard every day. It handles food prep, cooking oil, crumbs, spills, steam, and trash. Therefore, dirt builds up faster than it does in many other rooms. Kitchen deep cleaning matters because it protects your health, improves the look of your space, and helps your appliances work better. Also, a clean kitchen can make cooking feel less stressful. When every surface feels fresh, the whole room feels more inviting, almost like opening a window after a long rainy day.
Kitchen Deep Cleaning vs. Regular Cleaning
Regular cleaning keeps your kitchen usable from day to day. Deep cleaning restores the areas that regular cleaning does not fully reach. Both matter, but they serve different jobs. Regular cleaning is like brushing your hair each morning, while deep cleaning is like getting a full refresh at the salon.
- Daily cleaning tasks
Daily tasks include washing dishes, wiping counters, cleaning spills, sweeping crumbs, and taking out trash when needed. A daily kitchen cleaning checklist should feel quick and simple. Therefore, focus on the mess you can see and anything that may attract smells or pests.
- Weekly cleaning tasks
Weekly tasks go one layer deeper. You may mop floors, wipe cabinet fronts, clean the microwave, sanitize the sink, and check the fridge for old food. A weekly kitchen cleaning checklist helps stop grime from turning into a bigger weekend project.
- Deep cleaning tasks
Deep cleaning tasks include cleaning inside appliances, washing cabinet interiors, scrubbing grout, cleaning behind items, freshening drains, and organizing the pantry. These jobs take more time, yet they make the biggest difference in how clean and polished your kitchen feels.
Benefits of Kitchen Deep Cleaning
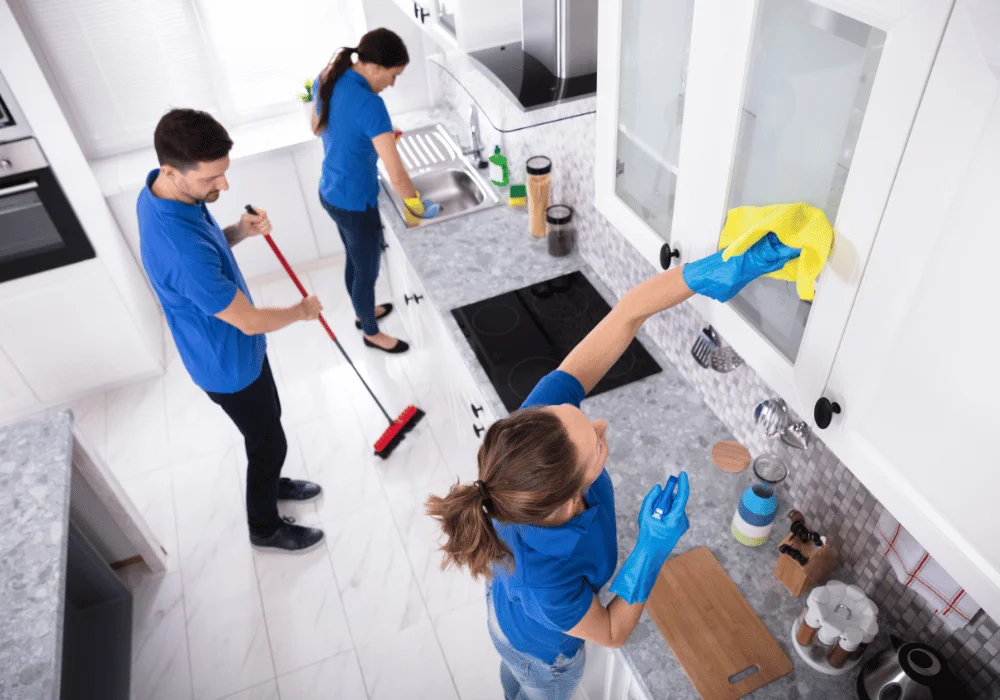
Kitchen deep cleaning gives you more than a pretty room. It supports better hygiene, easier cooking, longer-lasting appliances, and a calmer home. Also, it can make budget décor updates look more expensive because clean surfaces help every detail shine.
- Creates a healthier kitchen
Food crumbs, sticky spills, and old grease can attract bacteria and pests. Therefore, deep cleaning helps create a safer place to cook and eat. It also makes food prep feel more pleasant because your tools, counters, and sink feel truly ready to use.
- Removes hidden grease and grime
Grease travels like dust with a passport. It lands on cabinet doors, walls, light switches, handles, and range hood areas. Deep cleaning removes this hidden film, so your kitchen no longer feels dull or sticky even after regular wiping.
- Helps appliances last longer
Appliances work better when they are clean. For example, a clean dishwasher drains better, a clean refrigerator runs more smoothly, and a clean oven heats more evenly. As a result, deep cleaning can help you avoid repairs and replacement costs.
- Makes the kitchen look fresher
A deep-cleaned kitchen often looks newer without buying anything. Clean grout, polished faucets, clear counters, and wiped cabinets can change the whole mood. It is like giving your kitchen a fresh haircut instead of a full makeover.
- Reduces bad smells
Old food, sink buildup, trash residue, and greasy surfaces can hold odors. Deep cleaning removes the source instead of covering it with air freshener. Because of this, your kitchen smells naturally cleaner and feels more comfortable.
How Often Should You Deep Clean a Kitchen?
Most kitchens need a full deep clean every three to four months. However, the right kitchen cleaning schedule depends on how often you cook, how many people use the space, and whether you have pets or children. If you cook daily, do a lighter deep clean monthly and a larger kitchen spring cleaning once or twice a year. For busy homes, professional kitchen cleaning can also help when the job feels too large or time is limited.
Kitchen Deep Cleaning Supplies You Need
A good kitchen cleaning supplies list does not need to be expensive. In fact, a few smart basics can handle most jobs. Before you start, gather your supplies in one basket so you do not waste time walking back and forth.

- Basic cleaning products
You need dish soap, an all-purpose cleaner, degreaser, glass cleaner, disinfecting spray, baking soda, white vinegar, and a floor cleaner that suits your flooring. Also, keep paper towels or reusable cloths nearby for spills and final polishing.
- Natural cleaning options
Natural products can work well for many tasks. Baking soda helps scrub stains, vinegar cuts mineral buildup, and lemon can freshen smells. However, avoid vinegar on natural stone like marble or granite because it can damage the surface.
- Scrubbers, cloths, and brushes
Use microfiber cloths for wiping, sponges for general cleaning, a soft brush for grout and corners, and a non-scratch scrubber for stubborn spots. Also, an old toothbrush works well around faucets, handles, and tight cabinet edges.
- Gloves and safety items
Cleaning gloves protect your hands from hot water, grease, and stronger cleaners. Also, open a window when using sprays or degreasers. Good airflow matters, especially when cleaning ovens, drains, and areas with heavy buildup.
- Budget-friendly product picks
Choose multi-use products first. Dish soap, baking soda, vinegar, microfiber cloths, and a basic scrub brush can clean many areas for very little money. Also, reusable spray bottles help you make simple cleaners without buying new bottles each time.
How to Prepare for Kitchen Deep Cleaning?
Before deep cleaning, prepare the room like you would prepare a canvas before painting. A clear space helps you work faster and see what needs attention. Also, it keeps you from cleaning around clutter instead of cleaning the kitchen itself.
- Clear the counters
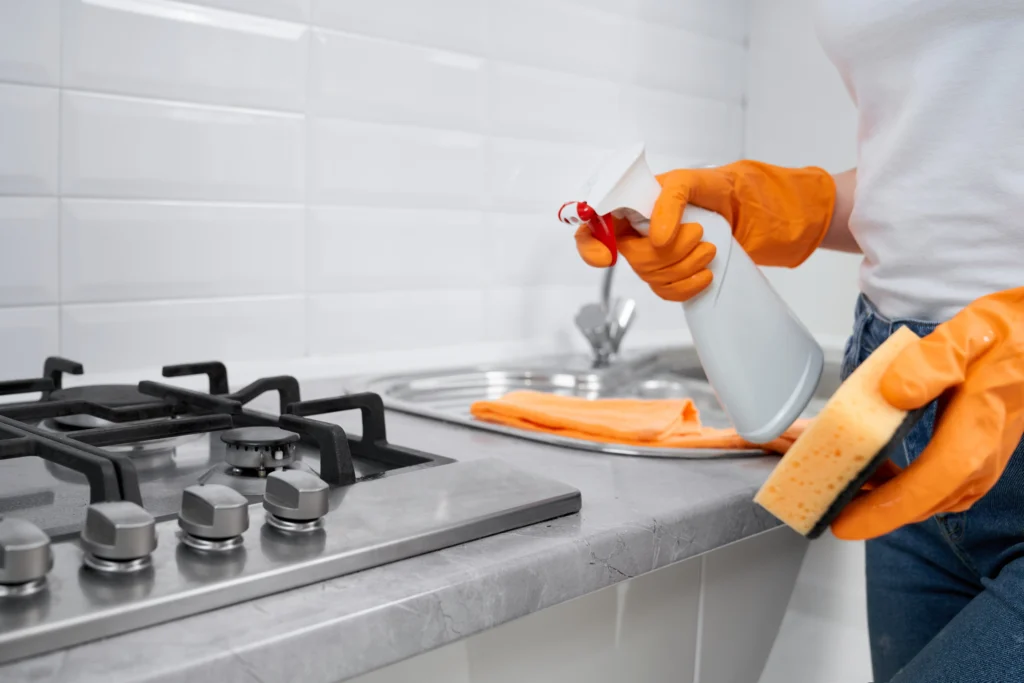
Remove dishes, mail, décor, jars, cutting boards, and small tools from the counters. Then wipe loose crumbs into the trash. Clear counters make the whole kitchen feel calmer and give you room to clean corners and backsplash areas properly.
- Empty the sink
Wash dishes, load the dishwasher, and remove food scraps from the drain basket. A clean, empty sink gives you a water station for rinsing cloths, washing removable parts, and scrubbing items as you move through the kitchen.
- Remove small appliances
Move the toaster, blender, coffee maker, air fryer, and mixer away from the wall. Crumbs and grease often hide underneath them. After that, wipe the appliance bottoms and clean the counter space they usually cover.
- Sort visible clutter
Place items into quick groups: keep, relocate, donate, and toss. Do not overthink this step. The goal is simple progress. When clutter leaves the room, cleaning feels easier and the kitchen instantly looks more styled.
- Make a simple cleaning plan
The best way to clean kitchen areas is from top to bottom and from dry to wet. Start with upper cabinets, walls, and shelves. Then clean counters, appliances, sink, and floors last. This order prevents dust and crumbs from falling onto clean surfaces.
How to Deep Clean Kitchen Cabinets?
Cabinets collect grease, fingerprints, dust, crumbs, and random spills. Because they cover so much visual space, clean cabinets can make the entire kitchen look newer. For a more detailed guide, see this helpful post on how to clean cabinets step by step.
- Clean cabinet doors
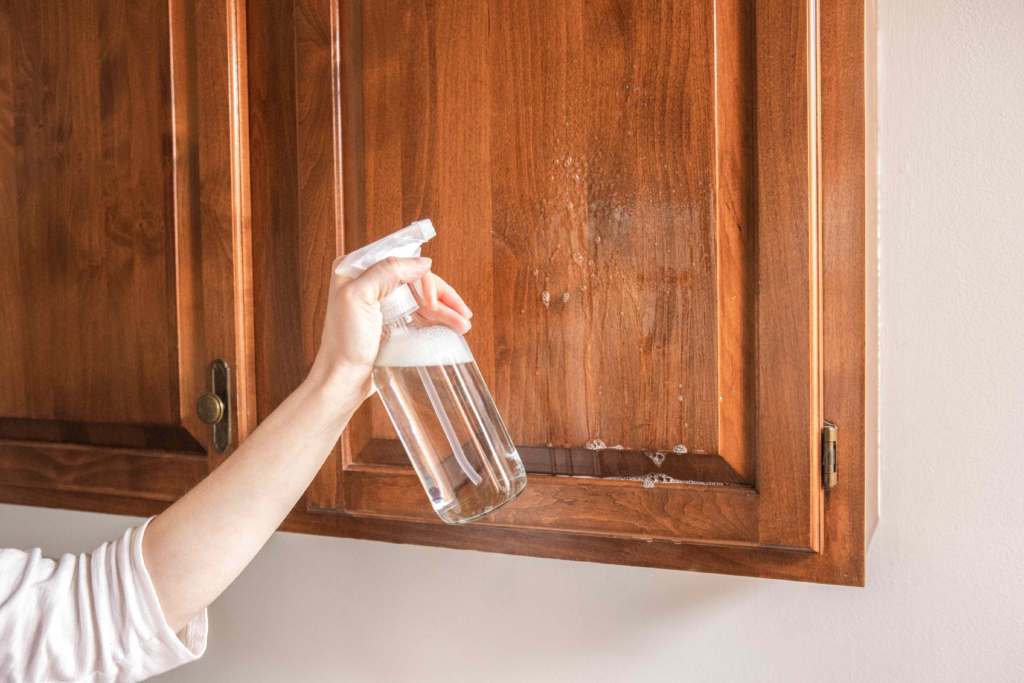
Mix warm water with a small amount of dish soap. Then wipe doors with a soft cloth, following the grain if the cabinets are wood. For greasy spots, let the cleaner sit for a minute before wiping again.
- Wipe handles and knobs
Handles and knobs collect oils from hands. Remove sticky buildup with a damp cloth and mild soap. Also, clean around the base of each handle with a toothbrush because grime often gathers where metal meets the cabinet door.
- Clean inside cabinets
Take everything out one cabinet at a time. Vacuum crumbs, wipe shelves, and let the surface dry before putting items back. This keeps moisture from getting trapped under dishes, liners, or food containers.
- Remove crumbs and spills
Crumbs often hide in cabinet corners, especially near snacks, cereal, flour, and baking supplies. Use a handheld vacuum or dry cloth first. Then clean sticky spots with warm soapy water and dry the area fully.
- Organize items before putting them back
Group items by use. Keep daily dishes easy to reach, place baking tools together, and store rarely used items higher up. This simple system makes your kitchen cleaning routine easier because everything has a clear home.
How to Deep Clean Kitchen Countertops?
Countertops carry the daily workload of the kitchen. They handle food prep, bags, dishes, small appliances, and décor. Because of that, they need both careful cleaning and smart styling after the mess is gone.
- Choose the right cleaner
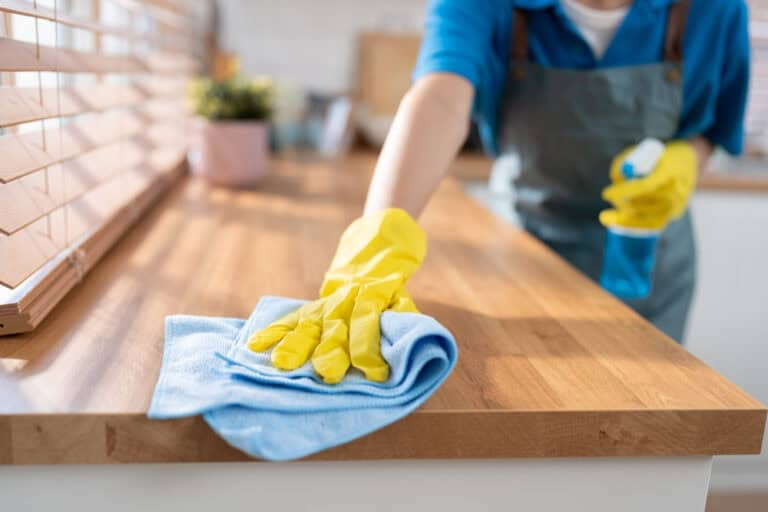
Use a cleaner that matches your counter material. Dish soap and water work for many surfaces. However, stone counters need pH-neutral cleaners. Avoid harsh scrubbers on laminate, quartz, marble, and sealed surfaces because scratches can dull the finish.
- Remove stains safely
For many stains, make a paste with baking soda and water. Apply it gently, let it sit, then wipe clean. However, test a small hidden area first. Some materials stain or etch easily, so gentle cleaning is safer than aggressive scrubbing.
- Clean corners and edges
Crumbs love counter edges, seams, and corners. Use a small brush or toothpick wrapped in a cloth to clean tight spots. Also, wipe where the counter meets the backsplash because grease and dust often settle there.
- Style counters after cleaning
After cleaning, keep counters simple. Add one tray for daily items, one plant or vase, and one useful tool like a cutting board. A styled counter should feel useful, not crowded. Less clutter makes the kitchen look cleaner longer.
How to Deep Clean the Kitchen Sink?
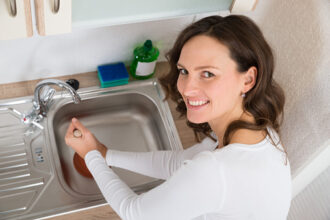
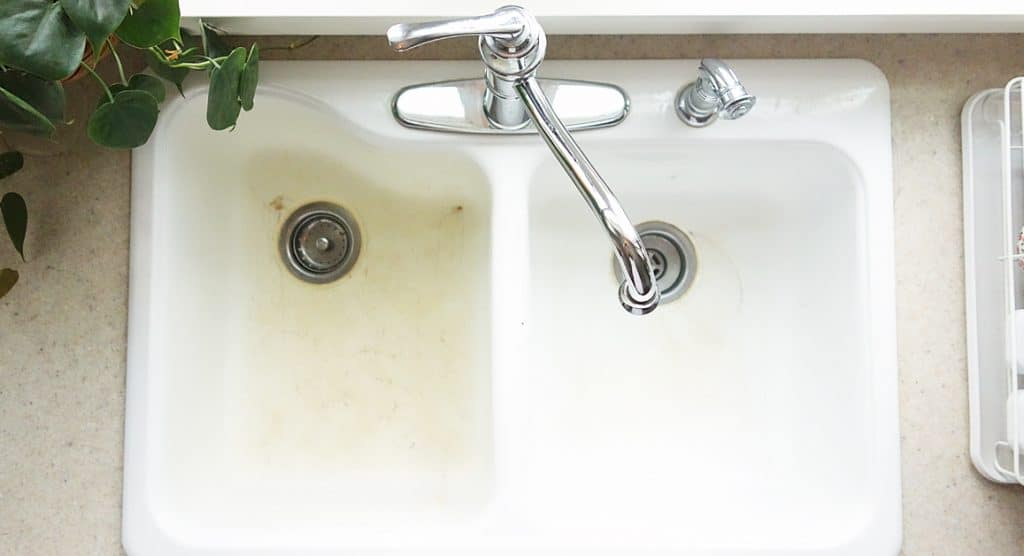
The sink is one of the hardest-working spots in the kitchen. It handles food scraps, dirty dishes, greasy pans, and handwashing. Because of this, a shiny sink can make the whole kitchen feel freshly cleaned.
- Scrub the sink bowl
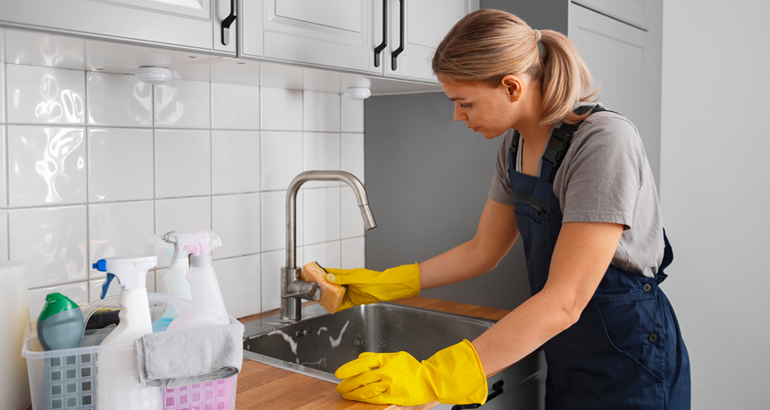
Sprinkle baking soda around the sink bowl and scrub with a damp sponge. Then rinse well. For stainless steel, scrub with the grain to avoid scratches. Also, clean around the drain ring because food residue often sticks there.
- Clean the faucet
Wipe the faucet with dish soap and warm water. Then use a toothbrush around the base and handle. For mineral spots, wrap the area with a vinegar-damp cloth for a few minutes, unless the finish requires a different cleaner.
- Freshen the drain
Pour hot water down the drain, then add baking soda followed by vinegar. Let it foam for a few minutes and rinse again. If odors come with slow drainage, this guide can help you unclog sink issues before they get worse.
- Remove hard water marks
Hard water marks can make a clean sink look dirty. Use vinegar on safe surfaces or a cleaner made for mineral buildup. Then rinse and dry. Drying matters because water spots return quickly when moisture sits on the surface.
- Polish for a clean finish
After cleaning, dry the sink with a microfiber cloth. Add a tiny drop of mineral oil or stainless steel polish if your sink allows it. This final step gives the sink a soft shine and helps water bead up.
How to Deep Clean Kitchen Appliances?
Appliances can hide crumbs, spills, grease, and odors. Deep cleaning them makes the kitchen feel cleaner and helps each appliance work better. Also, always check the manual before using strong cleaners or removing parts.
- Refrigerator
Remove old food, take out shelves and drawers, and wash them with warm soapy water. Wipe inside walls, door seals, and handles. Then place food back by category. This makes meal prep faster and helps reduce food waste.
- Oven
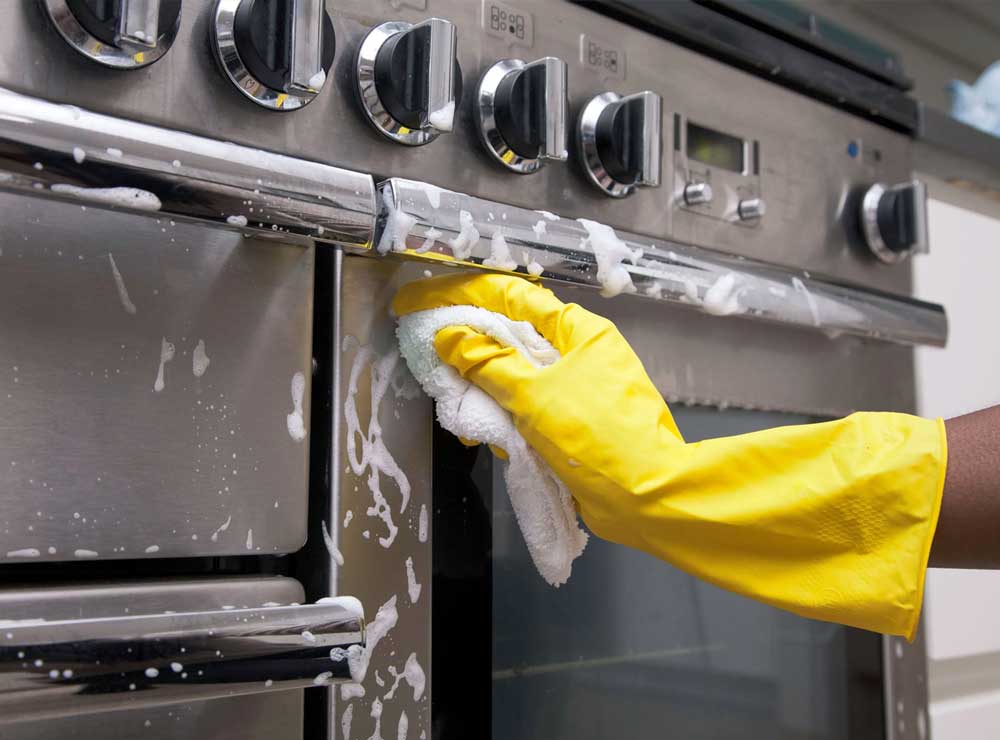
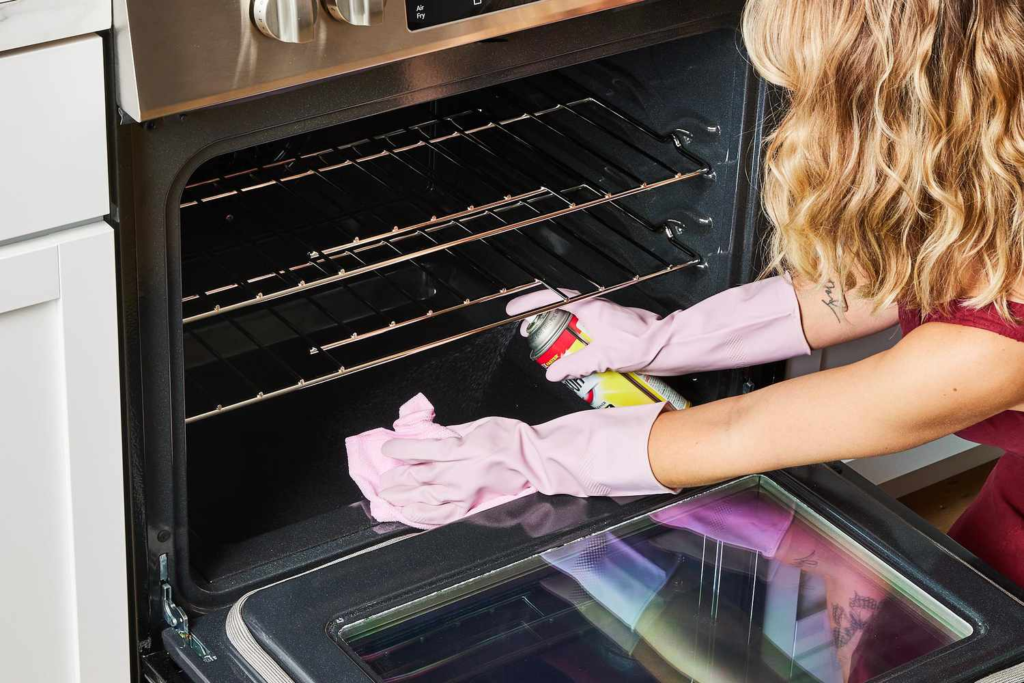
Remove racks and soak them in warm soapy water. Use an oven-safe cleaner or a baking soda paste for the interior. Let it sit, then wipe carefully. Avoid spraying heating elements unless your oven manual says it is safe.
- Stovetop
Remove grates or burner caps if possible. Soak greasy pieces, then scrub gently. For glass stovetops, use a cleaner made for glass cooktops. Also, wipe knobs and control panels because fingerprints and grease build up there quickly.
- Microwave
Place a bowl of water and lemon slices inside, then heat it for a few minutes. The steam softens splatters. After that, wipe the walls, turntable, door, and handle. This is one of the easiest kitchen cleaning hacks.
- Dishwasher
Remove food from the filter, wipe the door seal, and clean the utensil basket. Then run an empty hot cycle with a dishwasher cleaner or vinegar if your manual allows it. A clean dishwasher helps dishes come out fresher.
- Coffee maker
Run a cleaning cycle with the solution recommended by the manufacturer. For many drip coffee makers, diluted vinegar can help remove mineral buildup. Then run plain water cycles until the smell is gone. Also, wash the carafe and basket.
- Toaster and small appliances
Unplug small appliances before cleaning. Empty toaster crumbs, wipe blender bases, clean air fryer baskets, and remove sticky spots from cords and handles. These small details make a big difference because they sit in plain sight every day.
How to Deep Clean Kitchen Floors?
Kitchen floors catch crumbs, spills, grease, dust, and pet hair. Therefore, they should be cleaned last. If you clean floors first, dirt from counters and cabinets will fall onto your fresh work.
- Sweep and vacuum first
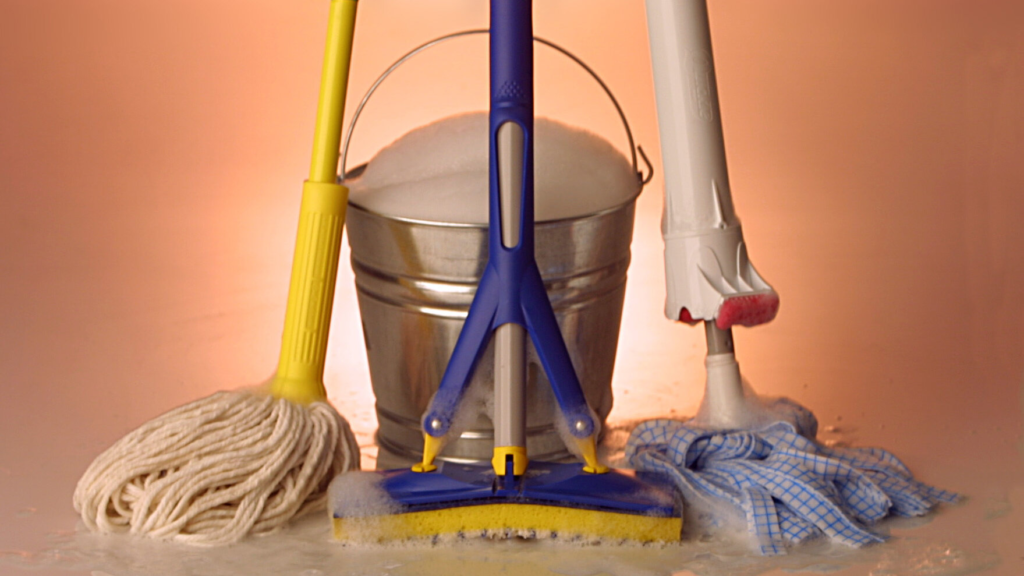
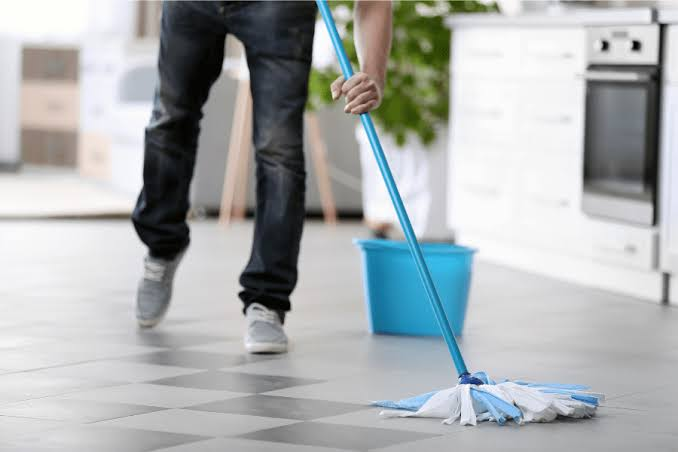
Start with dry cleaning. Sweep or vacuum under tables, cabinets, appliances, and corners. Use a crevice tool near baseboards. Removing dry crumbs first keeps your mop water cleaner and prevents sticky mud-like streaks.
- Clean tile floors
Use a tile-safe floor cleaner and warm water. Mop in sections, then rinse if the cleaner requires it. Avoid using too much water because puddles can settle in grout lines and leave cloudy marks.
- Clean wood or laminate floors
Use a damp mop, not a soaking wet one. Too much water can damage wood and laminate. Choose a cleaner made for your floor type. Also, dry any wet spots right away to protect the finish.
- Scrub grout lines
Grout can hold dirt like a sponge. Use a small brush with baking soda paste or grout cleaner. Scrub gently, rinse, and dry. Clean grout makes tile floors look brighter, even if the tile itself has not changed.
- Add a rug for a fresh look
After the floor dries, add a washable runner or small rug. It brings color, texture, and warmth. Also, it protects high-traffic areas near the sink or stove. Choose a low-profile rug that will not trip you.
How to Clean Kitchen Walls, Backsplash, and Baseboards?
Walls, backsplash, and baseboards often get ignored during regular cleaning. However, they collect grease, dust, splashes, and fingerprints. Once clean, they create a brighter backdrop for the whole kitchen.
- Remove grease from walls
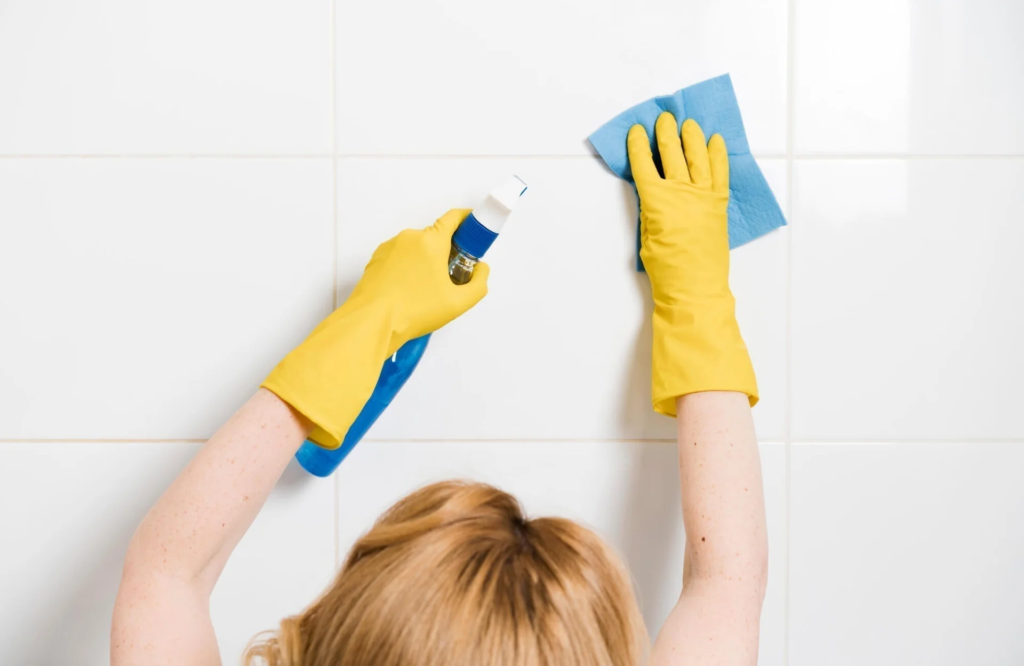
Use warm water with a little dish soap to wipe greasy wall spots. Start gently, especially on painted walls. Then dry the area with a clean cloth. For stubborn grease, use a mild degreaser that is safe for paint.
- Clean tile backsplash
Spray the backsplash with a gentle cleaner and let it sit briefly. Then wipe from top to bottom. Use a brush on grout lines. A clean backsplash reflects light better, so the whole cooking area looks fresher.
- Wipe light switches
Light switches and outlet covers collect fingerprints, dust, and cooking film. Spray cleaner on a cloth, not directly on the switch. Then wipe carefully. This small task takes seconds but makes the kitchen feel more polished.
- Dust and scrub baseboards
Vacuum baseboards first, then wipe with warm soapy water. Use a brush for corners and grooves. Baseboards are like the frame around a picture. When they look clean, the whole room looks more finished.
How to Deep Clean the Pantry?
A clean pantry saves money, reduces waste, and makes cooking easier. It also helps you see what you already own before buying more. During kitchen spring cleaning, the pantry deserves special attention.

- Remove expired food
Take everything out and check dates. Toss expired items, stale snacks, and anything that smells off. Also, check opened flour, rice, cereal, and grains for pests. This step creates a safer and cleaner food storage area.
- Wipe shelves
Vacuum crumbs first. Then wipe shelves with warm soapy water or an all-purpose cleaner. Dry completely before replacing food. Moist shelves can damage packaging and create musty smells, especially in small pantry spaces.
- Group similar items
Group breakfast foods, baking supplies, snacks, canned goods, oils, and spices. When similar items live together, you find things faster. Also, this prevents buying duplicates because you can see what you already have.
- Use simple storage bins
Bins do not need to be expensive. Clear plastic bins, baskets, or even neat trays can work. Use them to hold snacks, packets, spices, or baking items. This makes shelves easier to pull out and wipe later.
- Label items clearly
Labels help everyone keep the pantry organized. Use simple labels like snacks, baking, pasta, breakfast, and cans. You do not need fancy labels. Even masking tape and a marker can make the pantry easier to maintain.
Kitchen Deep Cleaning Checklist
A deep cleaning kitchen checklist keeps you focused. Instead of walking in circles, you can move through the room step by step. Use this list as a guide, then adjust it for your kitchen size and lifestyle.
- Daily quick tasks
Wash dishes, wipe counters, clean the table, sweep crumbs, empty the sink strainer, and take out trash if needed. These fast kitchen cleaning tips prevent mess from growing and make the next morning feel easier.
- Weekly cleaning tasks
Mop floors, wipe cabinet fronts, clean the microwave, sanitize the sink, check the fridge, wash dish towels, and clean the stovetop. A weekly kitchen cleaning checklist helps you stay ahead without spending a full day cleaning.
- Monthly deep cleaning tasks
Clean inside the refrigerator, wipe cabinet interiors, wash trash cans, clean the dishwasher filter, scrub grout, polish the sink, and clean small appliances. A monthly kitchen cleaning checklist works well for homes that cook often.
- Seasonal cleaning tasks
Do a full pantry reset, clean behind large appliances, wash walls, deep clean the oven, sort cookware, and refresh décor. Seasonal kitchen deep cleaning is perfect before holidays, after winter, or before hosting guests.
Budget-Friendly Kitchen Deep Cleaning Tips
You do not need a huge budget to make your kitchen feel fresh. Often, the best results come from using what you have, cleaning carefully, and making small style choices that create a big visual lift.
- Use items you already have
Dish soap, baking soda, vinegar, old toothbrushes, and microfiber cloths can handle many cleaning jobs. Before buying new products, check your cabinets. You may already have most of what you need for a strong kitchen reset routine.
- Choose reusable cleaning tools
Reusable cloths, washable mop pads, refillable bottles, and durable brushes save money over time. They also reduce waste. Buy fewer tools, but choose ones that can handle many jobs and last through repeated cleaning.
- Clean before buying organizers
Organizers help, but they cannot fix clutter alone. First, remove expired food, donate extras, and group items. Then buy only what you truly need. This prevents spending money on bins that just hide the mess.
- Refresh instead of replacing
After cleaning, decide what actually needs changing. Sometimes cabinets only need a deep scrub, new handles, or fresh color. If your cabinets still look tired, explore budget-friendly cabinet paint before planning a full replacement.
- Make small style upgrades
Add a washable rug, a small lamp, a plant, matching soap dispensers, or a simple tray. These small upgrades make the kitchen feel styled without a renovation. Clean first, then decorate with intention.
Common Kitchen Deep Cleaning Mistakes
Even with the best intentions, a few mistakes can make kitchen deep cleaning harder. The good news is that they are easy to avoid once you know what to watch for.
- Using the wrong cleaner
Not every cleaner works for every surface. Vinegar can damage natural stone, harsh scrubbers can scratch finishes, and bleach can discolor some materials. Always match the cleaner to the surface and test first when unsure.
- Forgetting hidden areas
Do not skip drains, cabinet corners, range hood filters, appliance handles, trash cans, and under small appliances. Hidden areas often cause smells and grime. Also, a clogged sink can start with buildup you do not notice right away.
- Mixing unsafe products
Never mix bleach with ammonia or vinegar. This can create dangerous fumes. Also, avoid layering strong cleaners. Use one product at a time, rinse when needed, and keep the room well ventilated while cleaning.
- Cleaning in the wrong order
Cleaning floors first is a common mistake. Dust, crumbs, and grease fall as you clean higher areas. Therefore, start high and end low. Clean cabinets, walls, counters, appliances, sink, and then floors.
- Skipping appliance manuals
Appliance manuals may feel boring, but they protect your investment. Some parts cannot handle vinegar, harsh chemicals, or soaking. Before deep cleaning an expensive appliance, check the care instructions so you do not cause damage.
How to Keep Your Kitchen Clean Longer?
After kitchen deep cleaning, the goal is to protect your work. A few small habits can keep the room fresh for weeks. You do not need perfection; you need simple routines that are easy to repeat.
- Clean spills right away
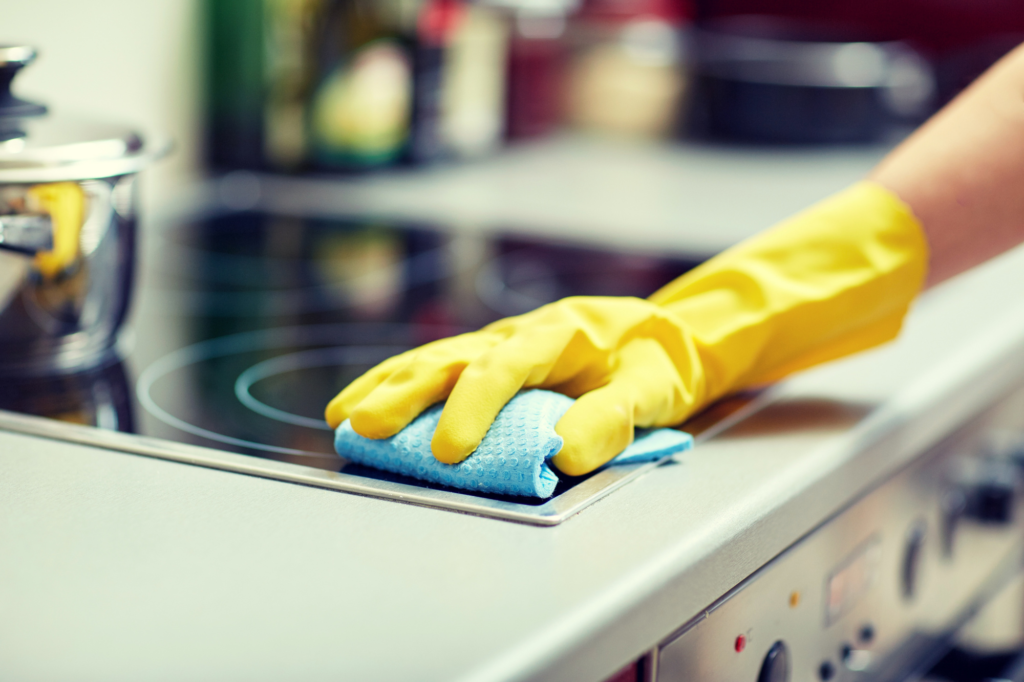
Fresh spills are easier to clean than dried messes. Wipe sauce, oil, coffee, and crumbs as soon as you see them. This one habit prevents stains, sticky spots, and extra scrubbing later.
- Do a nightly reset
A kitchen reset routine can take ten minutes. Wash dishes, wipe counters, sweep crumbs, and set out a clean towel. This small reset makes the next morning feel calm instead of chaotic.
- Keep counters simple
Clear counters look cleaner and are easier to wipe. Keep only the items you use daily. Store the rest in cabinets or drawers. Simple counters also make your kitchen décor look more thoughtful.
- Store tools within reach
Keep dish soap, cloths, a small brush, and spray cleaner close to the sink. When tools are easy to grab, you are more likely to clean small messes before they become big ones.
- Follow a weekly routine
A kitchen cleaning routine works best when it feels realistic. Choose one day for floors, one day for the fridge check, and one day for appliances. Small jobs spread across the week feel easier than one huge task.
Conclusion
Kitchen deep cleaning does not have to feel overwhelming. When you break it into clear steps, the whole process becomes more manageable. Start with clutter, move from top to bottom, clean hidden areas, and finish with simple styling touches. Also, use a kitchen cleaning schedule that fits your real life. Whether you do a full kitchen spring cleaning or a monthly reset, each deep clean makes your kitchen healthier, fresher, and more enjoyable to use every day.
Frequently Asked Questions
Kitchen deep cleaning includes cleaning cabinets, countertops, sink, drain, appliances, floors, walls, backsplash, baseboards, pantry shelves, handles, knobs, and hidden corners. It also includes removing grease, crumbs, stains, odors, and expired pantry items.
Most kitchens take three to six hours to deep clean, depending on size and condition. A small kitchen may take less time, while a busy family kitchen may need a full day. Working in sections makes the job easier.
Deep clean your kitchen every three to four months. However, if you cook often, clean monthly in smaller sections. A seasonal kitchen spring cleaning is also helpful before holidays, hosting, or major décor updates.
The best way to clean kitchen spaces is from top to bottom. Start with cabinets, walls, and shelves. Then clean appliances, counters, sink, and floors last. This keeps dirt from falling onto clean areas.
Yes, you can use natural products for many jobs. Baking soda, vinegar, lemon, and dish soap work well for light grease, odors, and stains. However, avoid vinegar on marble, granite, and other sensitive stone surfaces.
Use warm water, dish soap, and a soft cloth first. For heavier grease, use a safe degreaser and let it sit briefly before wiping. Avoid soaking wood cabinets. Always dry the surface after cleaning.
Start by clearing clutter and removing items from counters. Then clean high areas like upper cabinets and walls. After that, move to counters, appliances, sink, and floors. This order saves time and prevents repeat work.
Keep counters simple, polish the sink, clean cabinet fronts, add a washable rug, use matching containers, and style one small tray with daily items. Clean surfaces make even budget-friendly décor look more polished.