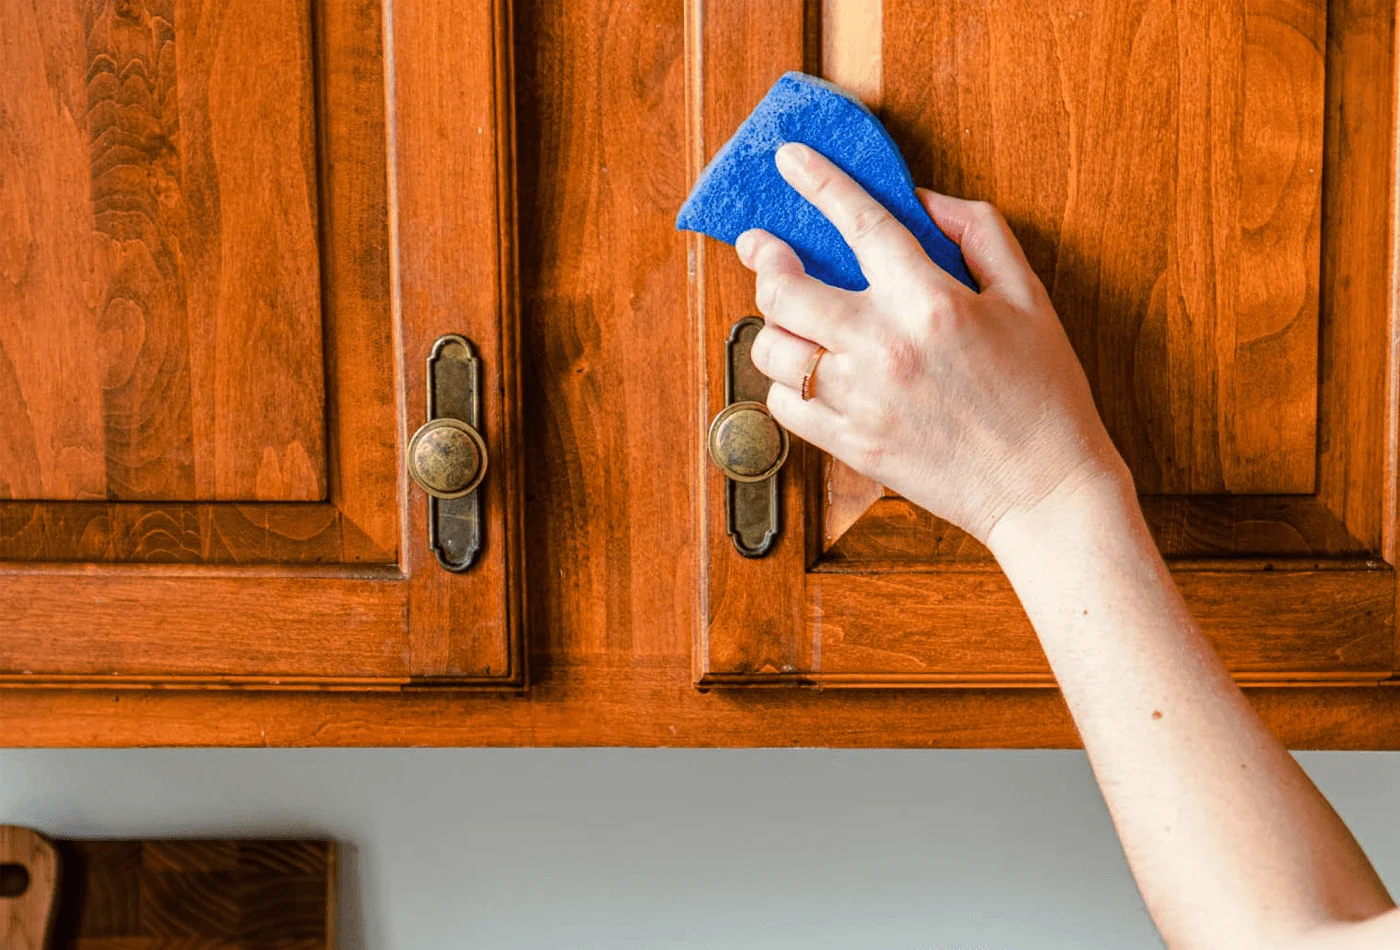

How to clean kitchen cabinets may sound simple, yet cabinets collect more grease, dust, fingerprints, and food splatter than most people notice. Since they frame the whole kitchen, clean cabinets can make the room feel brighter fast. Fortunately, you do not need fancy tools, harsh sprays, or a big budget to get great results.
What Makes Kitchen Cabinets Dirty?
Kitchen cabinets get dirty because they sit close to daily cooking, washing, and food prep. Grease floats through the air like a light mist, then lands on cabinet doors, handles, and trim. Over time, dust sticks to that grease and creates grime on kitchen cabinets. Also, wet hands, food splashes, steam, oil stains on kitchen cabinets, and crumbs inside cupboards all add to the mess. Therefore, even tidy kitchens can have dusty kitchen cabinets and sticky spots hiding in plain sight.
Benefits of Cleaning Kitchen Cabinets Regularly
Regular cleaning keeps cabinets looking newer, but it also protects the surface. When grease sits too long, it can dull paint, stain wood, and make laminate feel tacky. Plus, clean cabinet handles help reduce everyday germs because hands touch them often. A simple routine also makes deep cleaning kitchen cupboards easier later. As a result, your kitchen feels fresher, smells better, and looks more polished without a full makeover. Clean cabinets are like clean windows: they quietly brighten the whole room.
Best Supplies for Cleaning Kitchen Cabinets
The best cabinet cleaning supplies are gentle, affordable, and easy to find. You can clean most cabinets with warm water, mild dish soap, soft cloths, vinegar, baking soda, and a small brush. However, always match the cleaner to the cabinet finish. A product that works on laminate may be too strong for painted or wood cabinets. Therefore, start mild, test first, and only use a degreaser for kitchen cabinets when grease will not budge.
- Soft Cloths and Sponges
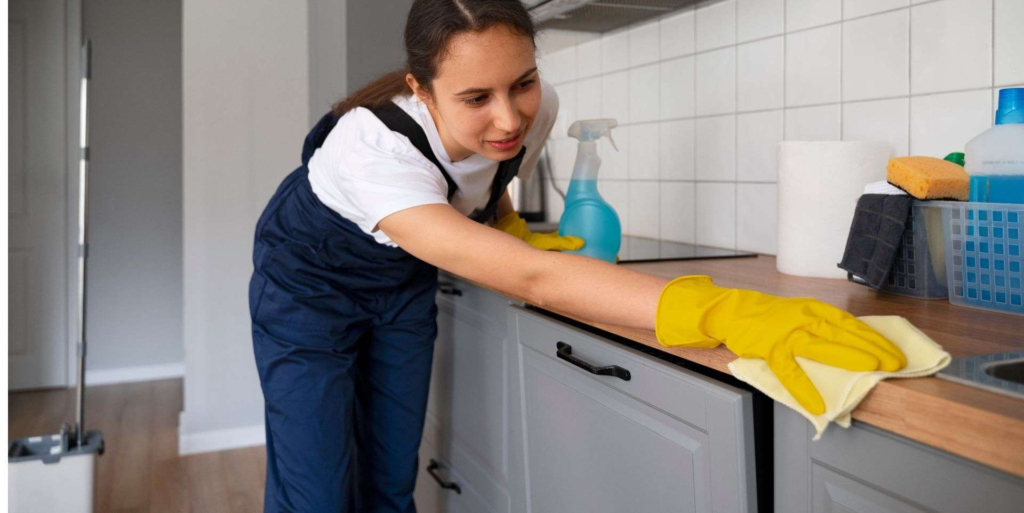
Soft microfiber cloths are ideal because they lift dust and grease without scratching the surface. A non-scratch sponge also works well for food splatter on cabinets. However, avoid rough pads because they can leave dull marks, especially on painted or glossy cabinet doors.
- Mild Dish Soap
Dish soap for kitchen cabinets is one of the safest cleaners because it cuts grease without being too harsh. Mix a few drops with warm water, then wipe the surface gently. Since dish soap removes cooking oils well, it should be your first choice for routine cleaning.
- White Vinegar
A vinegar cabinet cleaner can help with light grease, fingerprints, and odors. Mix equal parts white vinegar and warm water for a simple spray. However, do not soak wood cabinets with vinegar, and never leave it sitting on the finish because acid can dull some surfaces.
- Baking Soda
A baking soda cabinet cleaner works well for sticky spots because it has mild scrubbing power. Mix baking soda with a little water to make a paste. Then dab it on the stain and wipe gently. Even so, do not grind it into glossy or painted surfaces.
- Cabinet-Safe Polish
Cabinet-safe polish can add shine to wood cabinets and help protect the finish. Products such as Murphy oil soap cabinets cleaners may work on some sealed wood surfaces, but always read the label first. A little polish goes a long way, so avoid heavy buildup.
- Small Brushes
Small brushes help clean grooves, trim, corners, and cabinet hardware. An old soft toothbrush can remove grease around knobs and hinges. Because dirt often hides in tiny edges, this small tool can make a big difference without adding much cost.
How to Clean Kitchen Cabinets Step by Step?
If you want to know how to deep clean kitchen cabinets, follow a simple order: empty, dust, wash, scrub, dry, and organize. This keeps the job calm instead of messy. Work from top to bottom and from one small area to the next. That way, you do not spread grease around or miss hidden spots. Also, use less water than you think. Cabinets need cleaning, not a bath.
- Empty the Cabinets
Start by removing dishes, pantry goods, and cleaning bottles from the cabinets you plan to clean. This gives you room to work and helps you see crumbs, spills, and old items. Also, check expiration dates as you go, because cleaning is easier when clutter leaves too.
- Dust the Surfaces
Before using water, wipe cabinet doors, shelves, and tops with a dry microfiber cloth. Dust can turn into muddy streaks when it gets wet. Therefore, dry dusting first saves time and helps your cleaner work better on real grease and stains.
- Mix a Gentle Cleaner
Add a few drops of mild dish soap to a bowl of warm water. The water should feel warm, not hot. Then dip a cloth into the mix and wring it out well. A damp cloth cleans better and safer than a dripping one.
- Wipe Cabinet Doors
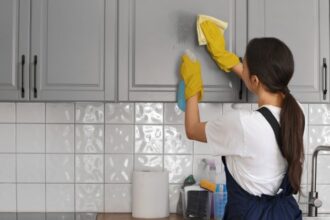
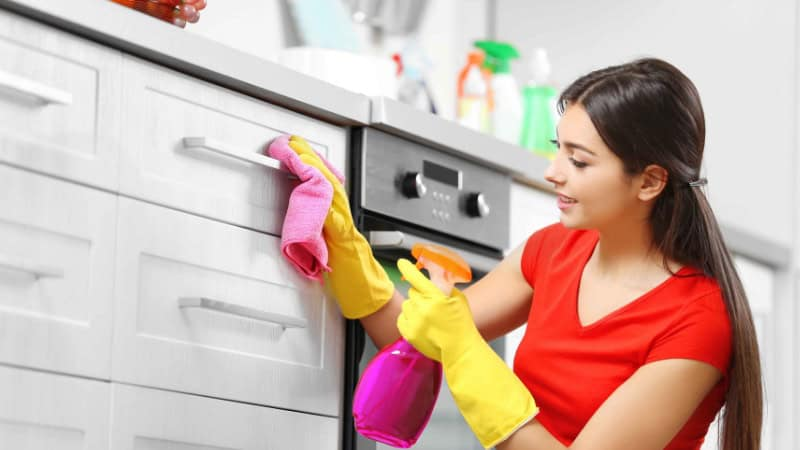
To learn how to clean kitchen cabinet doors properly, wipe from top to bottom using gentle strokes. Pay extra attention to corners, raised panels, and edges. Since hands often touch the same spots daily, the area around handles may need more time.
- Clean Handles and Knobs
Clean cabinet handles with warm soapy water and a small brush. Metal knobs, pulls, and hinges often collect greasy fingerprints. If needed, remove hardware for a deeper wash. Afterward, dry each piece well so moisture does not cause spots or rust.
- Scrub Greasy Spots
For sticky grease, place a warm damp cloth over the spot for a minute. This softens the buildup. Then use dish soap, vinegar, or a tiny amount of baking soda paste. Move gently, because slow pressure works better than harsh scrubbing.
- Dry the Cabinets
Drying is not optional. Use a clean towel to remove leftover moisture from doors, edges, seams, and hardware. This step helps you clean kitchen cabinets without damaging finish because water can sneak into cracks and cause swelling, peeling, or cloudy marks.
- Put Items Back Neatly
Before refilling the cabinets, wipe jars, bottles, and containers. Sticky bottoms can dirty clean shelves right away. Then group items by use, such as baking supplies, snacks, spices, and dinnerware. A neat cabinet stays clean longer because spills are easier to spot.
How to Clean Greasy Kitchen Cabinets?
Learning how to clean greasy kitchen cabinets is mostly about patience. Grease behaves like glue, so dust and food particles cling to it. Cabinets near the stove, sink, and prep zones usually need the most care. Also, grease problems often connect with other kitchen messes, such as splashes, drains, and a clogged sink, so it helps to keep the whole cooking area under control. Start with mild methods before using a stronger degreaser for kitchen cabinets.
- Use Warm Soapy Water
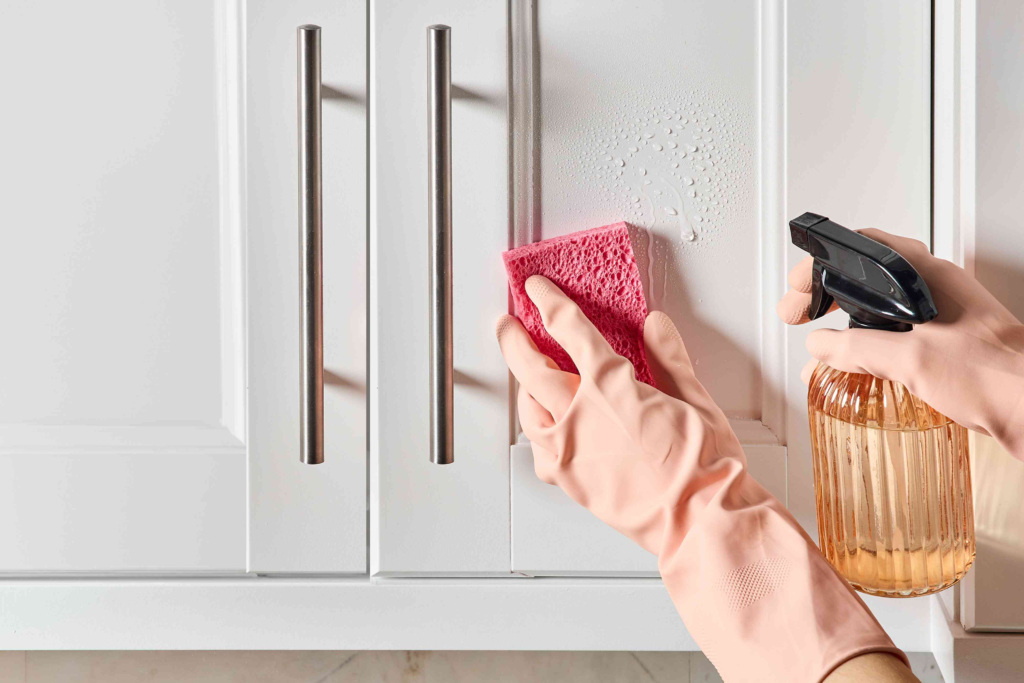
Warm soapy water is the best first step for how to remove grease from kitchen cabinets. Dish soap breaks down oil, while warm water loosens sticky layers. Wipe with a damp cloth, rinse with another clean damp cloth, and dry right away.
- Try Vinegar for Light Grease
For light grease, mix equal parts white vinegar and warm water. Spray it on a cloth, not directly onto the cabinet. Then wipe the greasy area and dry it. Vinegar can cut through film, but it should not sit on wood or painted finishes.
- Use Baking Soda for Sticky Spots
If you need to clean sticky kitchen cabinets, make a paste with baking soda and water. Dab the paste on the sticky area, wait briefly, and wipe gently. This can remove sticky residue from cabinets without strong chemicals when you use a light touch.
- Avoid Harsh Scrubbing
Harsh scrubbing may remove grease, but it can also remove shine, paint, or stain. Instead, soften grease first with warmth and time. Think of grease like candle wax: it loosens better when gently warmed than when attacked with force.
- Dry Right Away
After removing grease, dry the cabinet surface fully. Greasy areas often need more wiping, which means more moisture. Therefore, use a soft dry towel on seams, corners, and handles. This keeps the finish safe and prevents water marks.
How to Clean Wood Kitchen Cabinets?
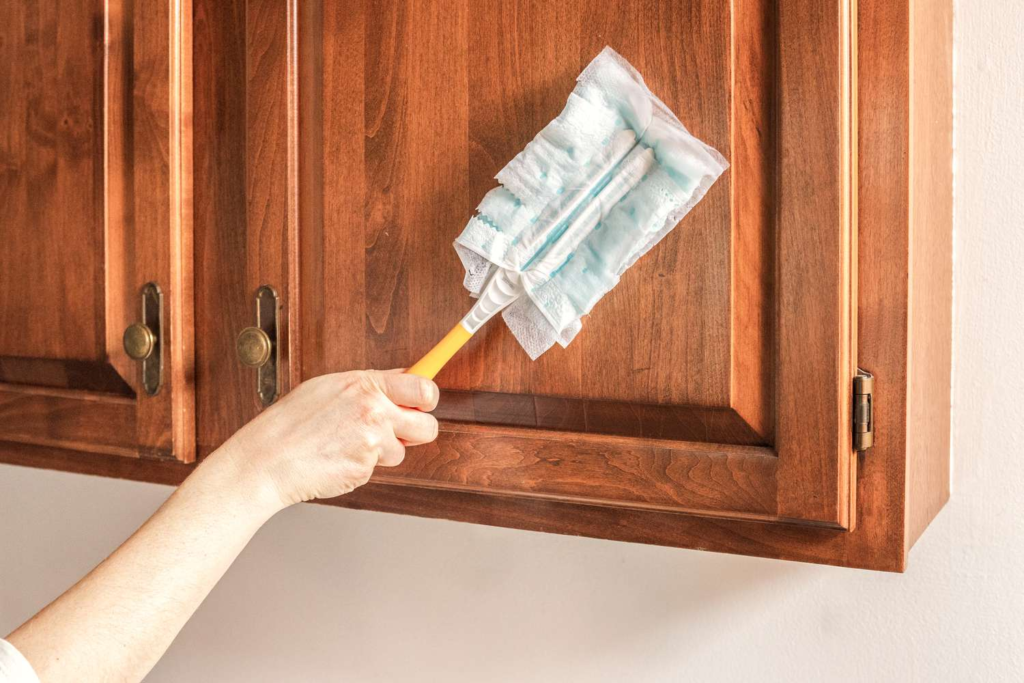
How to clean wood kitchen cabinets depends on the finish. Most kitchen wood cabinets are sealed, but they still dislike too much water. Wood is like a sponge under a raincoat: the finish protects it, yet cracks and edges can still let moisture in. So use mild cleaners, soft cloths, and quick drying. For heavy grease, use a wood-safe cleaner rather than strong chemicals.
- Use a Mild Cleaner
Mix warm water with a few drops of mild dish soap. For sealed wood, this is usually enough for daily grime. If you use Murphy oil soap cabinets cleaner or another wood product, follow the label and test it first in a hidden spot.
- Wipe With the Grain
Wipe wood cabinets in the direction of the grain. This simple habit helps avoid streaks and keeps the surface looking even. Also, it lets your cloth move naturally across the cabinet instead of pushing dirt into tiny wood lines.
- Avoid Too Much Water
Too much water can damage wood cabinets, especially near seams and edges. Always wring out your cloth until it is damp, not wet. After wiping, dry the area at once. This protects against swelling, cloudy finish, and peeling veneer.
- Polish When Needed
Polish wood cabinets only when they look dry or dull. Use a cabinet-safe polish and apply a thin layer. Too much polish can attract dust and make the surface sticky. Therefore, polish lightly and buff well with a clean cloth.
- Protect the Finish
To protect the finish, avoid ammonia, bleach, rough pads, and steam cleaners. Also, clean spills quickly. If the finish already looks worn, cleaning may improve it, but it will not fully repair missing stain, deep scratches, or water damage.
How to Clean Painted Kitchen Cabinets?
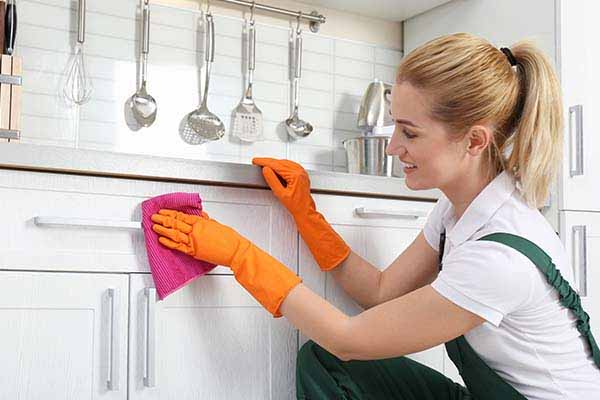
How to clean painted kitchen cabinets takes a gentle hand because paint can chip, dull, or stain. This matters even more with matte, chalky, or older paint finishes. Start with mild soap and water, then handle stains slowly. If you want to know how to clean white kitchen cabinets, the same rule applies: avoid harsh cleaners that can yellow, scratch, or strip the surface.
- Test First
Before cleaning painted cabinets, test your cleaner inside a door or near a hidden hinge. Wait a few minutes, then check for dullness, color transfer, or peeling. This quick test can prevent a small cleaning job from becoming a repair project.
- Use Gentle Soap
Use warm water and a few drops of dish soap. Wipe with a soft cloth and avoid soaking the paint. Gentle soap removes most fingerprints, food splatter, and light grease. Then rinse with a barely damp cloth and dry the surface.
- Avoid Strong Chemicals
Strong cleaners can fade paint or leave uneven patches. Avoid bleach, ammonia, solvent-based sprays, and rough magic-style pads unless the cabinet maker says they are safe. When in doubt, choose the mildest method and repeat it instead of going stronger.
- Clean Stains Carefully
To remove food stains from cabinets, press a warm soapy cloth over the stain first. Then wipe gently. For tougher marks, try a tiny amount of baking soda paste, but do not rub hard. Painted surfaces can scratch faster than they look.
- Touch Up Small Marks
If cleaning reveals chips or worn corners, touch-up paint may help. Keep the original paint name if you have it. Small touch-ups around handles and edges can make cabinets look cleaner, even after years of normal use.
How to Clean Laminate Kitchen Cabinets?
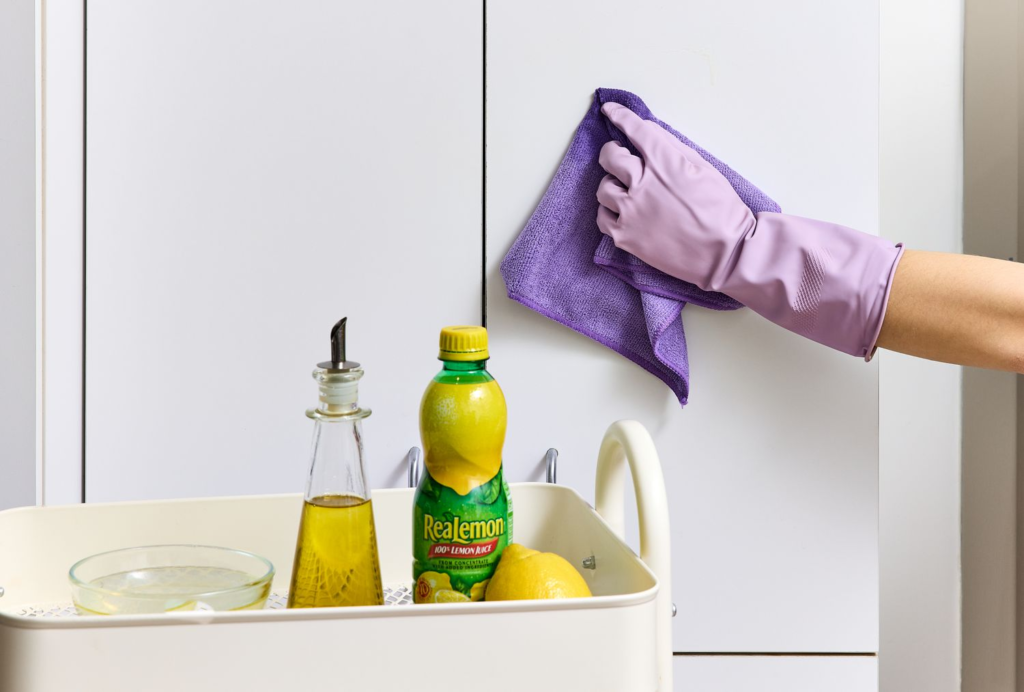
How to clean laminate kitchen cabinets is usually easier than cleaning wood or painted cabinets because laminate resists many stains. Still, it can scratch or peel if treated roughly. Use warm water, dish soap, and soft cloths for most messes. For smudges, vinegar can help. However, avoid soaking seams because water can work under loose laminate and cause lifting.
- Wipe With Warm Water
For daily cleaning, wipe laminate cabinets with a soft cloth dipped in warm water. Add a little dish soap for greasy fingerprints. Laminate often releases dirt quickly, so you usually do not need heavy cleaners or long scrubbing sessions.
- Remove Food Splashes
Food splashes should be cleaned soon after they happen. Tomato sauce, coffee, and spices can leave marks if they sit too long. Use warm soapy water first, then rinse with a clean damp cloth and dry the surface.
- Use Vinegar for Smudges
For smudges and light film, use a vinegar cabinet cleaner made with equal parts vinegar and water. Apply it to the cloth, then wipe. This helps remove cloudy marks. Still, avoid using vinegar on damaged seams or peeling laminate.
- Avoid Abrasive Pads
Abrasive pads can scratch laminate and make glossy doors look cloudy. Instead, use a microfiber cloth or non-scratch sponge. If something is stuck, soften it with a damp cloth first. Gentle pressure usually works better than rough tools.
How to Clean Inside Kitchen Cabinets?
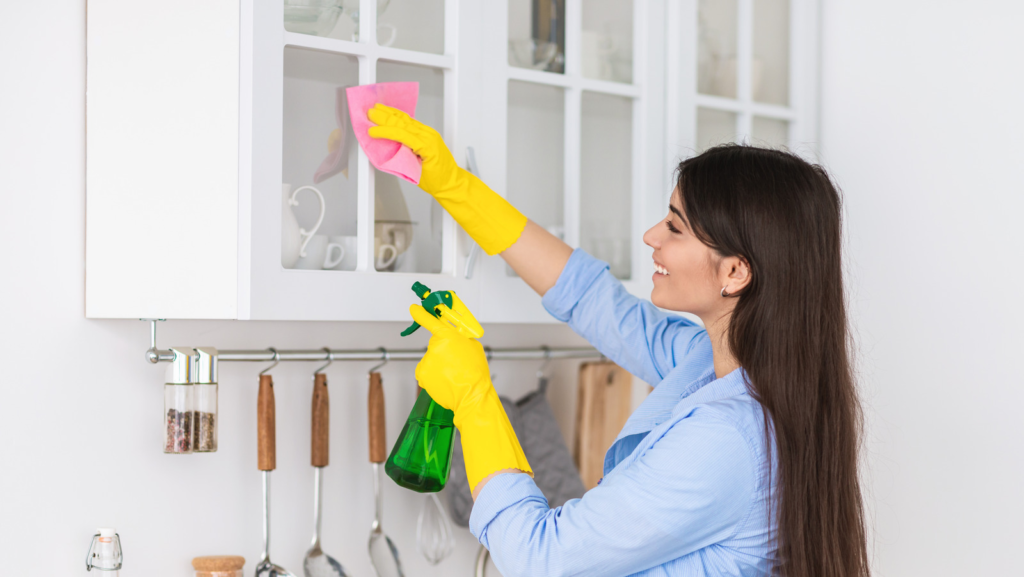
Inside cabinets often hide crumbs, spills, old spices, sticky jars, and forgotten items. Deep cleaning kitchen cupboards helps your whole kitchen feel more organized. It also protects shelves from stains and odors. Since inside spaces do not get cleaned as often as cabinet doors, take your time. Work one cabinet at a time so the job does not turn into a kitchen-wide pileup.
- Remove Old Items
Take everything out and check what you still use. Toss expired food, broken containers, and items that no longer belong in the kitchen. This step clears space and makes cleaning easier. Plus, it prevents old crumbs and spills from spreading.
- Vacuum Crumbs
Use a handheld vacuum or brush attachment to remove crumbs from shelves and corners. Crumbs love to hide near shelf edges, lazy Susans, and pantry baskets. Vacuuming first keeps the next wipe-down from turning dry crumbs into sticky paste.
- Wipe Shelves
Wipe shelves with warm soapy water and a damp cloth. For wood shelves, use very little moisture. For laminate or painted shelves, still avoid soaking seams. Then dry each shelf fully before adding liners or putting items back.
- Clean Spills
Sticky syrup, oil drips, and spice dust can stain shelves. To clean spills, soften the spot with a warm damp cloth, then wipe with mild soap. For stubborn residue, use a small amount of baking soda paste and gentle pressure.
- Add Shelf Liners
Shelf liners can protect cabinet interiors from future spills and scratches. Choose wipeable liners for pantry shelves and under-sink areas. However, avoid liners that trap moisture. A good liner acts like a doormat for your shelves, catching mess before it spreads.
- Organize Before Refilling
Before refilling, group items by category and wipe sticky bottles. Use bins for snacks, baking items, or cleaning supplies. When everything has a home, spills become easier to find, and you will not need to dig through clutter later.
Common Mistakes to Avoid
Cabinet cleaning is simple, but a few mistakes can cause damage. The biggest problems come from too much water, harsh chemicals, rough pads, and skipped drying. Also, many people clean only the middle of cabinet doors and forget edges, handles, and trim. If you move slowly and use gentle methods, you can clean kitchen cabinets without damaging finish and avoid costly repairs.
- Using Too Much Water
Water can seep into seams, hinges, corners, and unfinished edges. This may cause swelling, peeling, or stains. Therefore, always wring out your cloth well. Cabinets need a damp wipe, not a soaking wash.
- Skipping a Spot Test
A spot test takes only a few minutes, but it can save the finish. Test cleaners on a hidden area before using them on visible doors. This matters most for painted, stained, glossy, antique, or custom cabinets.
- Using Harsh Cleaners
Bleach, ammonia, oven cleaner, and strong solvents can damage cabinet finishes. They may also leave strong smells near food storage areas. Instead, start with dish soap, vinegar, or baking soda, then move to a cabinet-safe degreaser only if needed.
- Forgetting to Dry
Leaving cabinets wet can create streaks, cloudy marks, or long-term damage. Dry doors, shelves, handles, and edges after every cleaning step. This small habit protects the finish and gives cabinets a cleaner final look.
- Scrubbing Too Hard
Hard scrubbing can scratch paint, dull laminate, and wear down wood finishes. If a spot will not come off, let the cleaner sit briefly on your cloth, then wipe again. Time and patience beat force.
How Often Should You Clean Kitchen Cabinets?
Cabinet cleaning works best when it is split into small habits. You do not need to deep clean every week. Instead, wipe spills right away, clean handles often, wash cabinet fronts weekly or biweekly, and deep clean inside cabinets every few months. This routine keeps grease from building up like layers of tape. It also makes every cleaning job faster.
- Daily Quick Wipes
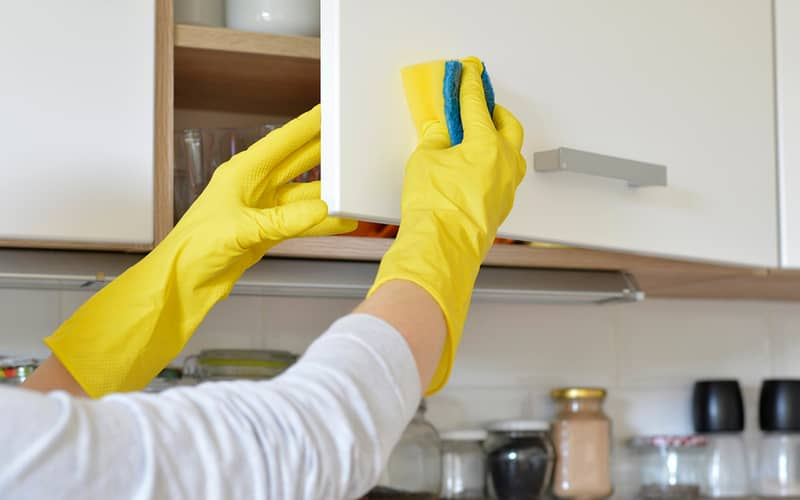
Wipe fresh spills, sauce splashes, and fingerprints as soon as you see them. Daily quick wipes take less than a minute. This habit is especially helpful near the stove, coffee maker, trash area, and sink.
- Weekly Surface Cleaning
Once a week, wipe cabinet doors and handles with warm soapy water. Focus on high-touch spots first. This keeps grease and dust from joining together. As a result, you avoid thick grime that takes longer to remove.
- Monthly Deep Cleaning
Once a month, clean cabinet fronts more carefully, check greasy zones, and wipe the tops of upper cabinets if you can reach them safely. For a bigger refresh, pair cabinet care with broader kitchen cleaning so counters, appliances, and floors all feel fresh together.
- Seasonal Decluttering
Every season, empty pantry cabinets and check for old food, duplicate items, and spills. This is also a good time to clean shelf liners and reorganize storage bins. Seasonal decluttering keeps cabinets useful, not just clean.
Budget-Friendly Cabinet Cleaning Tips
You do not need expensive products to make cabinets look better. In fact, the best cabinet cleaning routine often uses items you already own. Warm water, dish soap, vinegar, baking soda, soft cloths, and a toothbrush can handle most household messes. The key is consistency. Clean small areas often, and you will avoid long, tiring deep cleans later.
- Use Items You Already Own
Start with dish soap, white vinegar, baking soda, and microfiber cloths. These simple supplies can clean grease, dust, smudges, and many stains. Before buying a special degreaser, try the gentle basics. They often work better than expected.
- Clean Handles First
Handles are the dirtiest part of most cabinets because hands touch them many times each day. Clean cabinet hardware first, then wipe the surrounding door area. This makes the whole cabinet look better quickly, even when time is short.
- Work in Small Sections
Clean one cabinet section at a time instead of tackling the whole kitchen at once. For example, clean the upper cabinets near the stove today and the pantry tomorrow. Small wins keep the job simple and less stressful.
- Refresh With Shelf Liners
New shelf liners can make old cabinets feel cleaner without paint or repairs. They also hide minor shelf wear and protect against future spills. Choose affordable, wipeable liners and cut them neatly for a custom look.
- Keep a Simple Cleaning Kit
Keep a small cabinet cleaning kit with cloths, dish soap, a small brush, and baking soda. This makes quick cleanups easier. Simple systems also help in guest homes, rentals, and seasonal spaces where organized cleaning services or checklists can save time.
Best Ways to Keep Cabinets Clean Longer
Once your cabinets are clean, the next goal is keeping them that way. The trick is to stop grease, dust, and spills before they settle. Use the range hood, wipe splashes fast, wash hands before cooking, and store food in sealed containers. These habits are small, but together they work like a shield for your cabinets.
- Use the Range Hood
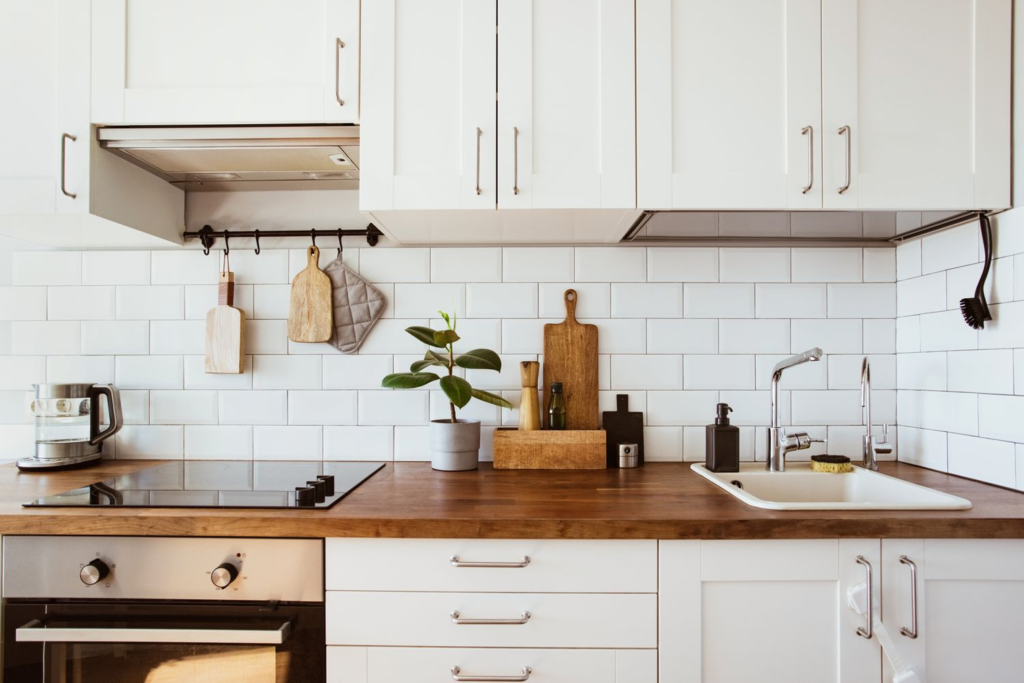
Turn on the range hood when cooking, especially while frying, sautéing, or simmering oily foods. The fan pulls grease and steam away before they land on cabinets. This one habit can reduce sticky buildup near the stove.
- Wipe Spills Fast
Wipe spills and splashes right away, especially near the sink and prep area. Fast wiping prevents stains and sticky edges. Also, broader sink care matters; if water backs up often, it may be time to learn how to unclog sink problems before they create more mess.
- Wash Hands Before Cooking
Clean hands leave fewer fingerprints on cabinet doors and handles. This sounds small, but it helps a lot during cooking. Greasy fingers can mark cabinets quickly, especially around spice cabinets, trash pullouts, and drawers near the stove.
- Store Food in Containers
Use sealed containers for flour, sugar, cereal, snacks, and spices. This prevents crumbs, dust, and spills inside cabinets. Clear containers also make it easier to see what you have, so the cabinet stays neat after cleaning.
- Clean Around Handles Often
The area around handles gets dirty faster than the rest of the cabinet. Wipe these spots a few times a week with a damp soapy cloth. This quick habit keeps doors looking fresh between deeper cleaning sessions.
When to Refinish or Replace Cabinets?
Sometimes cleaning helps, but it cannot fix every problem. If cabinet surfaces stay sticky, dull, cracked, swollen, or stained after careful cleaning, the finish may be worn out. Before replacing anything, look at the real issue. Paint, polish, new hardware, or small repairs may refresh the kitchen for less money. However, damaged boxes or warped doors may need bigger changes.

- Signs Cleaning Is Not Enough
Cleaning may not be enough if cabinets have peeling veneer, deep water damage, cracked paint, blackened stains, or a finish that feels sticky after several gentle washes. Also, if grease has soaked into worn wood, cleaning may improve the look but not fully restore it.
- When Paint Can Help
Paint can help when cabinet boxes are solid but the surface looks dated, stained, or uneven. Fresh cabinet paint can make old cabinets feel new without a full renovation. However, clean and sand properly first so the paint sticks well.
- When New Hardware Helps
New knobs and pulls can refresh cabinets quickly. This works well when doors are clean but the hardware looks worn, greasy, or outdated. Choose hardware that fits the same holes if you want an easy, budget-friendly update.
- When Replacement Makes Sense
Replacement makes sense when cabinet boxes are weak, warped, moldy, or badly water damaged. It may also be the better choice if the layout no longer works. Still, clean and inspect first so you know whether replacement is truly needed.
Conclusion
Clean kitchen cabinets can change the whole feeling of a kitchen. They make the space look brighter, fresher, and better cared for without a major project. Start with mild dish soap, soft cloths, and small daily habits. Then use vinegar, baking soda, or a cabinet-safe degreaser only when needed. Most importantly, dry every surface well. With a simple routine, your cabinets can stay beautiful for years.
Frequently Asked Questions
The best way to clean kitchen cabinets is to start with a gentle cleaner made from warm water and a few drops of mild dish soap. First, dust the cabinets with a dry cloth. Next, wipe the doors, handles, and edges with a damp cloth. Then rinse with a clean damp cloth and dry everything right away. This method works for most cabinet types and helps clean kitchen cabinets without damaging finish.
To clean sticky grease, use warm soapy water first. Let a damp cloth sit on the sticky area for a minute to soften the grease. Then wipe gently. If the spot remains, try a vinegar cabinet cleaner for light grease or a baking soda paste for tougher residue. This is one of the safest ways to remove sticky residue from cabinets without harsh scrubbing.
Yes, vinegar can damage some kitchen cabinets if it is too strong or left on too long. Vinegar is acidic, so it may dull wood finishes, painted surfaces, or natural stone details near cabinets. If you use vinegar, dilute it with water, apply it to a cloth instead of spraying directly, and dry the area quickly. Always test first.
Wipe spills and fresh food splatter on cabinets right away. Clean handles and high-touch areas weekly. Deep clean cabinet fronts about once a month, especially near the stove. Inside cabinets can be cleaned every few months or during seasonal decluttering. This simple schedule keeps grease and grime from building up.
Do not use bleach, ammonia, rough scrub pads, steam cleaners, or too much water on wood cabinets. These can damage the finish or cause swelling. When learning how to clean wood kitchen cabinets, remember that gentle cleaning is best. Use mild soap, wipe with the grain, and dry the surface quickly.
To clean white kitchen cabinets, use mild dish soap and warm water. Wipe grease quickly because yellow stains often come from cooking oil and smoke. Avoid bleach unless the cabinet maker says it is safe, because it can sometimes discolor finishes. Also, use the range hood while cooking to reduce grease buildup.
Baking soda can scratch some cabinets if you rub too hard, especially glossy, painted, or delicate finishes. However, it can work well when used gently as a paste. Dab it on sticky spots, let it sit briefly, and wipe with light pressure. Always test before using a baking soda cabinet cleaner on a visible area.
Start by cleaning cabinet doors, handles, trim, and inside shelves. Remove grease, dust, and food stains first. Then polish sealed wood if needed or touch up painted cabinets. New hardware and fresh shelf liners can also make old cabinets look cleaner. If the surface is badly worn, painting may be the next best step.
Yes, you should clean inside cabinets because crumbs, spills, and old food can cause odors and attract pests. Empty the cabinet, vacuum crumbs, wipe shelves, clean spills, and dry everything before putting items back. Adding shelf liners can also protect shelves and make future cleaning easier.
The easiest routine is simple: wipe spills daily, clean handles weekly, wash cabinet fronts monthly, and declutter inside cabinets seasonally. Keep dish soap, microfiber cloths, and a small brush nearby. When you clean small messes early, you avoid heavy scrubbing later and keep your kitchen looking fresh with less effort.