
A DIY bookshelf can turn an empty wall into useful and attractive storage. You do not need advanced woodworking skills or expensive tools to get started. With careful planning, simple materials, and a free weekend, you can create a bookshelf that fits your room, budget, books, and personal style.
What Is a DIY Bookshelf?
A DIY bookshelf is a storage unit that you design, build, assemble, or improve yourself. It may be a basic wooden frame, a wall-mounted shelf, a crate unit, or a custom built-in bookcase. Unlike ready-made furniture, homemade shelving can match an exact space and solve a specific storage problem. DIY bookshelves also allow you to choose the size, material, finish, and number of shelves. Some projects require cutting and drilling, while an easy DIY bookshelf may use pre-cut boards, cubes, brackets, or wooden crates.
Benefits of Building a DIY Bookshelf
Building your own bookshelf gives you more control over the final result. You can fit an awkward corner, use an empty wall, or create storage around existing furniture. A DIY bookcase may also cost less than a similar store-bought unit, especially when you reuse materials. The project helps you learn practical measuring, sanding, painting, and assembly skills. Most importantly, you can create something that reflects your style, whether you prefer a modern DIY bookshelf, a rustic DIY bookshelf, or a simple and clean design.
How to Plan Your DIY Bookshelf?
Good planning prevents wasted wood, uneven shelves, and last-minute design changes. Before buying materials, think about the bookshelf’s location, purpose, size, and style. Review several bookshelf plans and compare them with your skill level. The best DIY bookshelf plans should clearly show the measurements, materials, shelf spacing, and assembly method.
- Choose the Best Location
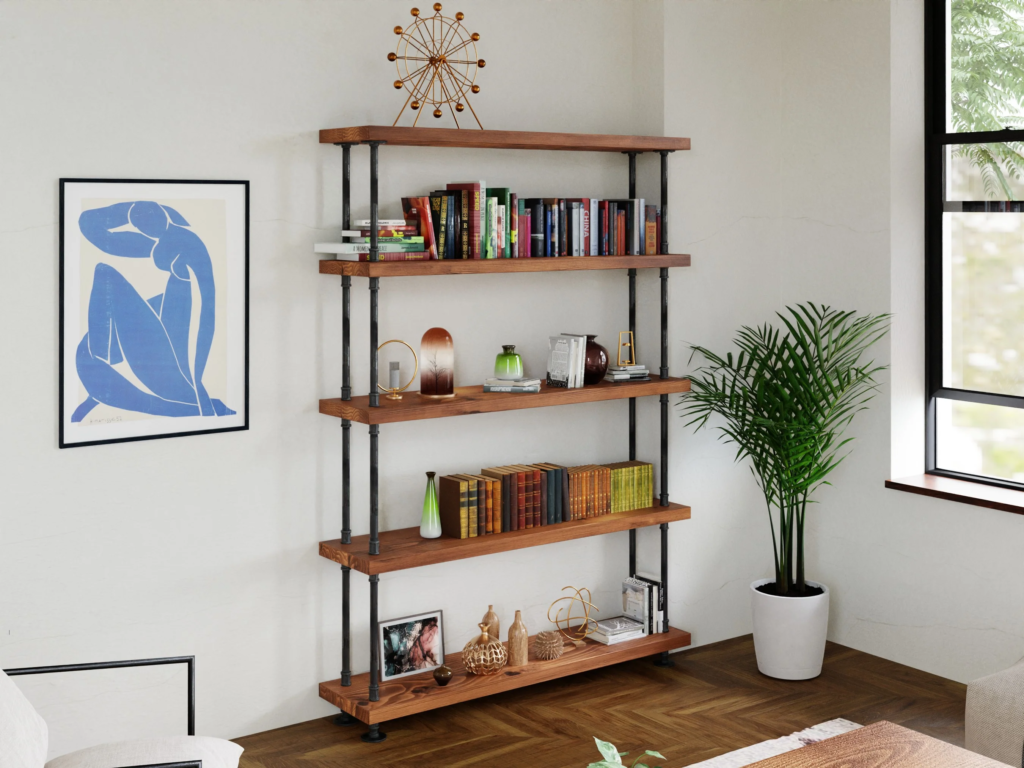
Look for a wall, corner, hallway, or unused space where a bookshelf will add storage without blocking movement. Avoid placing untreated wood beside damp walls or strong heat sources. Also check for power outlets, vents, switches, doors, and windows before choosing the final location.
- Measure the Available Space
Measure the width, height, and depth of the area at least twice. Floors and walls are not always perfectly straight, especially in older homes. Leave a small amount of space around the unit so you can move it into position without scraping nearby surfaces.
- Decide What the Shelf Will Hold
Books need stronger shelves than lightweight decorations. Large art books may require deep, widely spaced shelves, while paperbacks need less space. If the unit will hold baskets, toys, plants, files, or electronics, measure those items before deciding on the shelf depth and height.
- Set a Realistic Budget
Create a budget that covers boards, screws, brackets, wood filler, sandpaper, primer, paint, and safety equipment. Include a small extra amount for mistakes or forgotten supplies. Cheap DIY bookshelf projects often stay affordable because they use standard lumber sizes and simple finishes.
- Sketch the Bookshelf Design
Draw a basic front and side view of the bookshelf. Mark the full height, width, depth, shelf positions, and board thickness. Your drawing does not need to look professional. It simply acts like a map that keeps measurements and ideas organized during construction.
Popular DIY Bookshelf Ideas
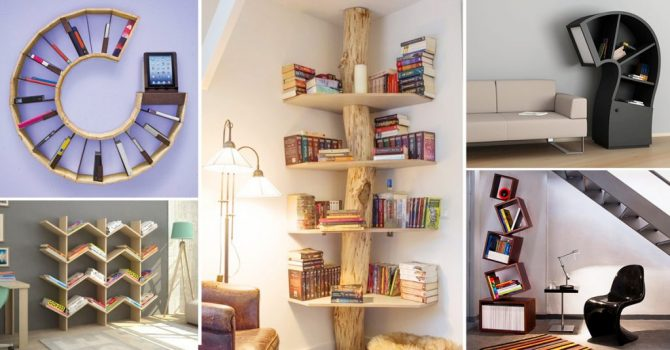
The right design depends on your available space, decorating style, and building experience. Creative bookshelf ideas range from simple wooden frames to full wall units. Beginners should start with straight cuts and simple joints, while experienced builders may enjoy trim, lighting, doors, or built-in storage.
- Simple Wooden Bookshelf
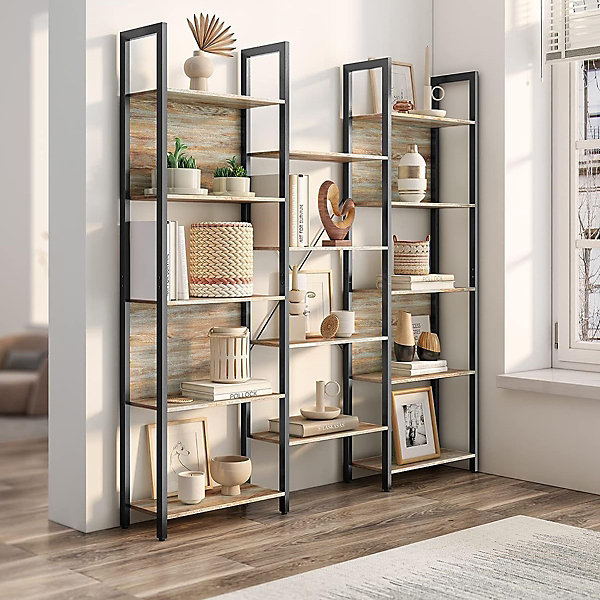
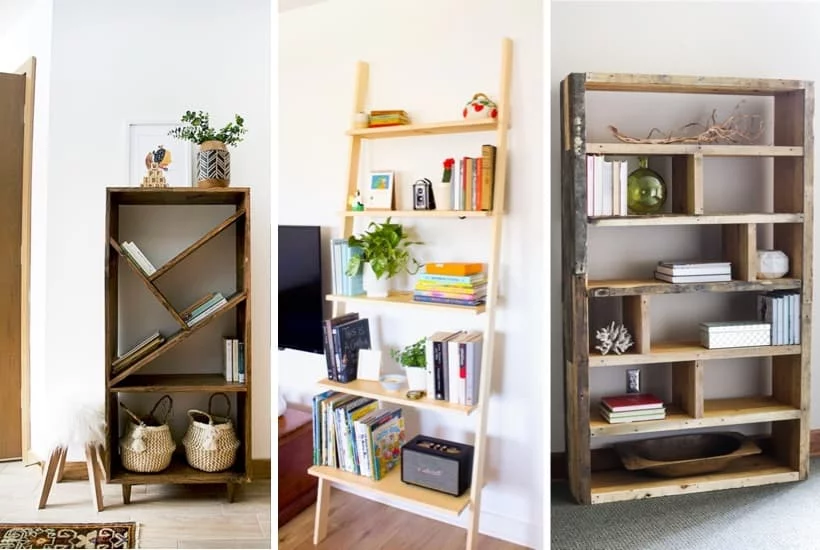
A simple wooden bookshelf DIY project usually includes two side panels, several horizontal shelves, and a thin back panel. Its basic shape makes it a strong beginner bookshelf project. You can adjust the height and width without changing the main construction method.
- Floating Bookshelves
Floating shelves appear to extend from the wall without visible support. They work well for small book collections, framed photos, and decorative objects. After installing them, explore additional ideas for arranging and decorating wall shelves so the display feels balanced rather than crowded.
- Crate Bookshelf
A crate bookshelf uses wooden boxes stacked beside or above one another. Secure the crates together to prevent movement. This design offers a quick, cheap DIY bookshelf solution, and the separate sections make it useful for books, toys, shoes, plants, or craft supplies.
- Ladder Bookshelf
A ladder bookshelf has a narrow upper section and wider shelves near the bottom. It leans visually like a ladder, although most designs stand on their own. Its open shape suits modern rooms and provides a lighter look than a large, solid bookcase.
- Corner Bookshelf
A corner bookshelf uses space that often remains empty. You can install triangular shelves, build an L-shaped frame, or join two narrow bookcases. Corner units work especially well in bedrooms, reading areas, small apartments, and home offices where floor space is limited.
- Built-In Bookshelf
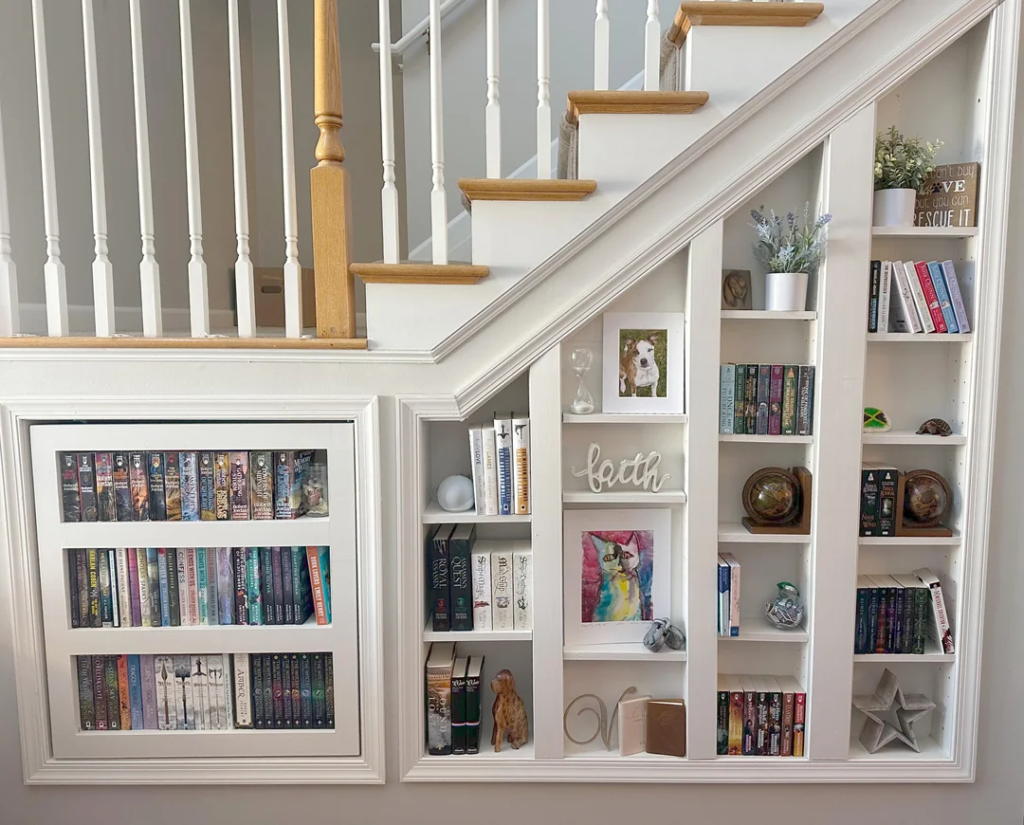
DIY built in bookshelves can make a plain wall look like part of the home’s original design. They often extend from floor to ceiling and may include cabinets below. Built in bookshelf ideas require more planning, yet the finished unit offers generous storage and a polished appearance.
Renter-Friendly DIY Bookshelf Ideas
Renters can add useful book storage without making major changes to walls. Focus on freestanding, lightweight, and movable designs. Before using screws or anchors, review the rental agreement. A renter-friendly diy bookcase should leave little or no damage when it is removed.
- Freestanding Bookshelves
A freestanding bookshelf needs no permanent wall attachment during normal assembly, although tall units should still use approved anti-tip protection. Choose a design with a wide base and moderate height. When moving, you can empty the shelves and carry the unit to another room.
- Stackable Cube Shelves
Stackable cubes allow you to change the storage layout as your needs change. Arrange them horizontally under a window or vertically beside a desk. Secure connected units according to the manufacturer’s instructions, and avoid stacking more cubes than the structure can safely support.
- No-Drill Shelving Options
Tension-pole shelves, low freestanding bookcases, over-the-door units, and furniture-style shelving can reduce the need for drilling. Heavy-duty adhesive products may support very light displays, but they should not hold full rows of books unless the product specifically allows that weight.
Best Materials for a DIY Bookshelf
Material choice affects strength, cost, appearance, and ease of construction. Think about the shelf span and the weight it must carry. A long shelf made from thin or weak material may sag like a hammock. Shorter spans and thicker boards usually provide better support.
- Solid Wood
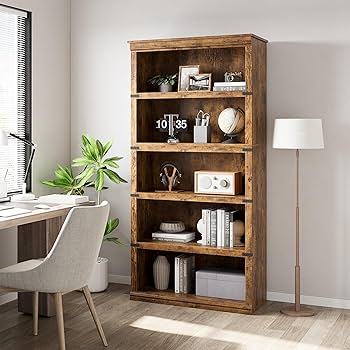
Solid wood offers natural grain, strong edges, and long-term durability. Pine is affordable and easy to cut, while oak, maple, and walnut cost more but resist wear. Wood can expand or contract slightly, so allow boards to adjust to the room before construction.
- Plywood
Furniture-grade plywood is strong, stable, and useful for wide shelves. It consists of thin wood layers pressed in alternating directions, which helps reduce movement. Exposed edges show the layers, but edge banding or wooden trim can create a smooth and finished appearance.
- MDF Boards
Medium-density fiberboard has a flat, smooth surface that accepts paint well. It works for painted bookshelf ideas and decorative trim. However, MDF is heavy, creates fine dust when cut, and can swell after water exposure. Use proper dust protection and avoid damp locations.
- Wooden Crates
Wooden crates make it easy to build modular storage with limited cutting. Inspect each crate for cracks, splinters, weak joints, and uneven corners. Sand rough areas before assembly. For safety, connect the crates and create a stable base instead of leaving them loosely stacked.
- Reclaimed Materials
Reclaimed wood, old cabinets, unused drawers, and rescued boards can support budget bookshelf ideas. Check every piece for rot, insects, strong odors, loose nails, and unknown coatings. Clean and sand suitable materials, but avoid wood that may contain unsafe paint or chemical treatments.
Tools and Supplies You Will Need
The required tools depend on the bookshelf plans you choose. A simple project may need only measuring tools, a drill, sandpaper, and pre-cut lumber. A larger diy bookcase with plans may require a saw, clamps, a square, and additional hardware.
- Basic Measuring Tools
A tape measure helps you check board lengths and room dimensions. A carpenter’s square guides straight lines and right angles. Keep a pencil, ruler, and level nearby. Accurate marks create a stronger frame and reduce gaps between boards during assembly.
- Cutting Tools
A circular saw, miter saw, or table saw can cut boards quickly. A hand saw also works for a small project, although it requires more effort. Always support the material securely and use a straight cutting guide when the design calls for long cuts.
- Assembly Tools
Most DIY bookcases require a drill or screwdriver, suitable drill bits, screws, clamps, and wood glue. Clamps act like extra hands by holding pieces in place. Choose screws that enter the second board deeply without passing through its outer surface.
- Safety Equipment
Wear safety glasses when cutting, drilling, or sanding. Use hearing protection around loud power tools and a suitable mask when creating dust. Closed shoes protect your feet from dropped boards. Tie back long hair and avoid loose sleeves near moving blades or drill bits.
- Paint and Finishing Supplies
Finishing supplies may include sandpaper, wood filler, primer, paint, stain, brushes, rollers, clean cloths, and a protective topcoat. Select products designed for the chosen material. Water-based finishes often dry quickly and produce less odor than many oil-based products.
How to Build a Simple DIY Bookshelf?
Learning how to build a bookshelf becomes easier when you divide the job into small steps. Read the full plan before cutting anything. This DIY bookshelf step by step method uses two side panels, fixed shelves, a top, a bottom, and an optional back panel.
- Measure and Mark the Boards
Use your bookshelf plans to create a cutting list. Mark every board clearly so you know its purpose. Measure from the same end when possible, and use a square to draw straight cutting lines. Check each measurement before moving to the saw.
- Cut the Wood to Size
Secure each board on a stable work surface. Place the waste side of the cutting line on the correct side of the blade. Cut slowly and allow the tool to reach full speed first. Label completed pieces to prevent confusion during assembly.
- Sand the Wood
Sand flat surfaces and edges before joining the frame. Start with medium-grit sandpaper and finish with a finer grit. Round sharp edges slightly so they feel comfortable. Remove all sanding dust with a vacuum or clean cloth before applying glue or finish.
- Mark the Shelf Positions
Lay both side panels beside each other with their ends aligned. Mark the shelf positions across both boards at the same time. This method helps the shelves stay level. Use a square to extend each mark across the full width of the side panels.
- Attach the Shelves
Apply a thin line of wood glue along the joining edge. Clamp the shelf between the side panels and check the angle with a square. Drill pilot holes before driving screws. Pilot holes reduce splitting and help the screws enter in a straight line.
- Add the Back Panel
A thin plywood or hardboard back panel helps keep the bookcase square. Measure the frame diagonally from corner to corner. Adjust it until both diagonal measurements match, then attach the back. Leave openings where cords must pass through for lights or electronics.
- Check and Reinforce the Frame
Place the unit upright on a flat surface and test it for movement. Tighten loose screws and inspect every joint. Add support blocks, brackets, or a center divider if the shelves feel weak. Long shelves may need a thicker front edge to prevent sagging.
- Paint or Stain the Bookshelf
Fill visible holes and small gaps, then sand the repaired areas. Apply primer before paint, especially on MDF or raw pine. For stain, test the color on scrap wood first. Use thin coats and follow the listed drying time between each coat.
- Secure the Bookshelf to the Wall
Tall furniture can tip when someone pulls on it, climbs it, or opens a heavy door. Use anti-tip straps or suitable brackets attached to a wall stud whenever possible. Choose anchors designed for the wall type and expected load.
How to Customize a DIY Bookshelf?
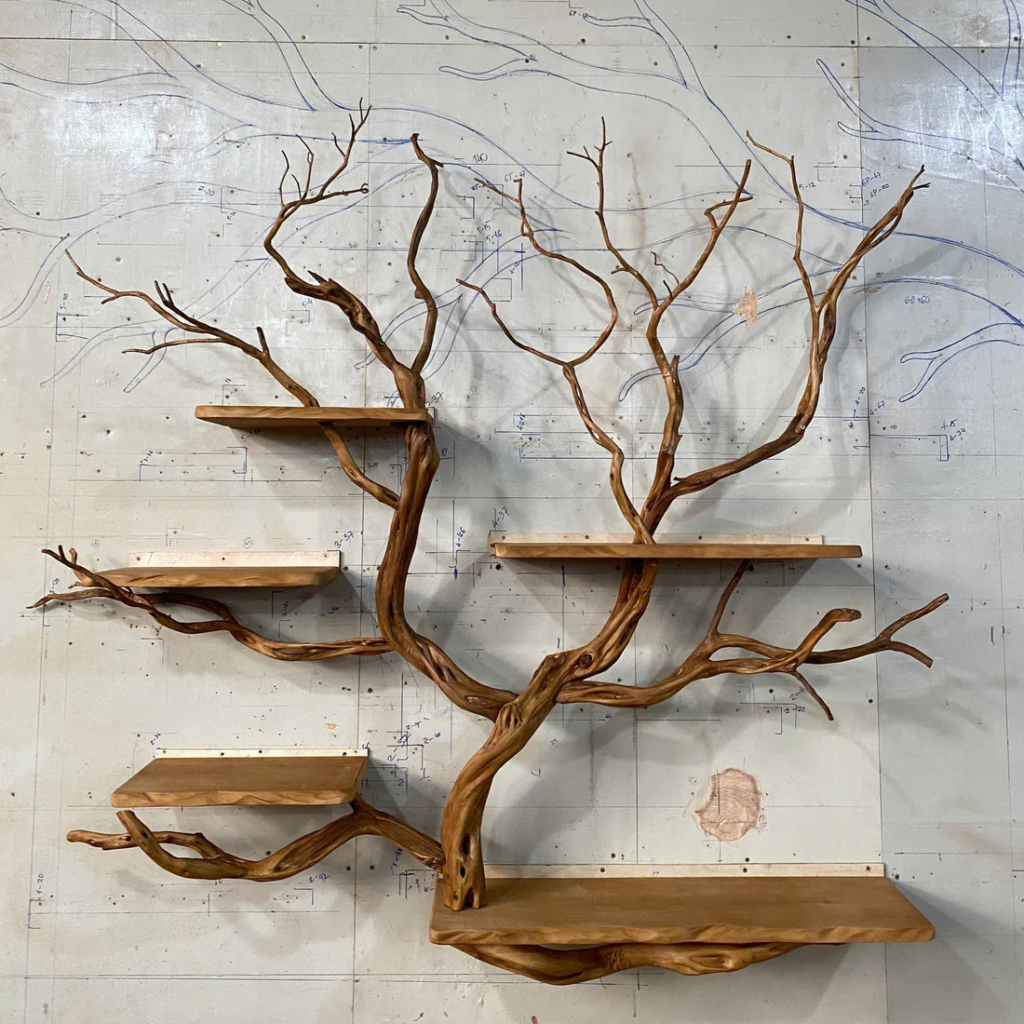
Customization turns a practical storage box into furniture that feels personal. A bookshelf makeover may involve paint, texture, lighting, trim, or hidden storage. Before making changes, consider the other furniture in the room so the finished piece feels connected to its surroundings.
- Choose a Paint Color
White, cream, gray, and black offer a timeless look, while blue, green, or terracotta adds personality. Painted bookshelf ideas can also use two colors, with a neutral frame and bold backing. Test paint samples in the room before choosing the final shade.
- Add Wallpaper or Fabric
Wallpaper or fabric on the back panel creates pattern without covering the entire unit. Removable wallpaper works well for a diy bookshelf makeover because it can be replaced later. Use a light pattern when the shelves will hold many colorful books and decorations.
- Install Adjustable Shelves
Adjustable shelves let the bookcase change with your collection. Drill matching rows of holes into both side panels and insert metal shelf pins. Use a guide so the holes line up. Make sure each shelf rests on four secure pins.
- Add Doors or Drawers
Doors hide visual clutter, while drawers organize smaller objects. Place closed storage near the bottom so the unit feels grounded. Use lightweight doors on a narrow frame, and install hinges carefully. Check that each door has room to open without hitting nearby furniture.
- Include Built-In Lighting
Small LED strips or puck lights can highlight books and decorations. Choose low-heat products made for indoor furniture. Hide wires along the back or beneath shelf edges. Keep switches and power connections easy to reach, and follow all product installation instructions.
- Add Decorative Trim
Simple molding can make a homemade bookshelf look like custom furniture. Add trim around the front edges, base, or top. Cut carefully so the corners meet neatly. Thin trim creates a modern look, while wider detailed molding supports farmhouse bookshelf ideas.
How to Make a DIY Bookshelf Look Expensive?
A costly appearance often comes from careful details rather than expensive materials. Smooth surfaces, straight lines, even gaps, and a clean finish matter more than the price of the wood. Treat the project like a tailored suit: the fit creates the polished look.
- Use a Consistent Color Scheme
Choose one main color and repeat it across the frame, trim, and visible hardware. A consistent finish hides differences between materials. For a built-in effect, paint the bookcase the same color as the wall, baseboards, or nearby cabinets.
- Hide Screws and Rough Edges
Countersink screws slightly below the surface and cover the holes with wood filler. Add edge banding to plywood and trim to unfinished joints. Sand every repaired area until it feels smooth. These small steps separate polished furniture from a rushed weekend project.
- Add Molding or Trim
Crown molding, base molding, and narrow face frames add depth and structure. Match the trim style to the room. Minimalist bookshelf ideas need thin, simple lines, while traditional or farmhouse designs can support wider and more decorative profiles.
- Use Stylish Hardware
Handles, knobs, hinges, and shelf supports work like jewelry on furniture. Select hardware with a consistent finish, such as matte black, brass, nickel, or bronze. Measure carefully so each handle sits at the same height and distance from the edge.
- Create a Balanced Display
A high-end bookshelf should not look packed from edge to edge. Spread books and decorations across the full unit. Repeat a few colors and materials, and vary object height. Balanced styling lets the eye rest and makes inexpensive items feel more intentional.
How to Style a DIY Bookshelf?
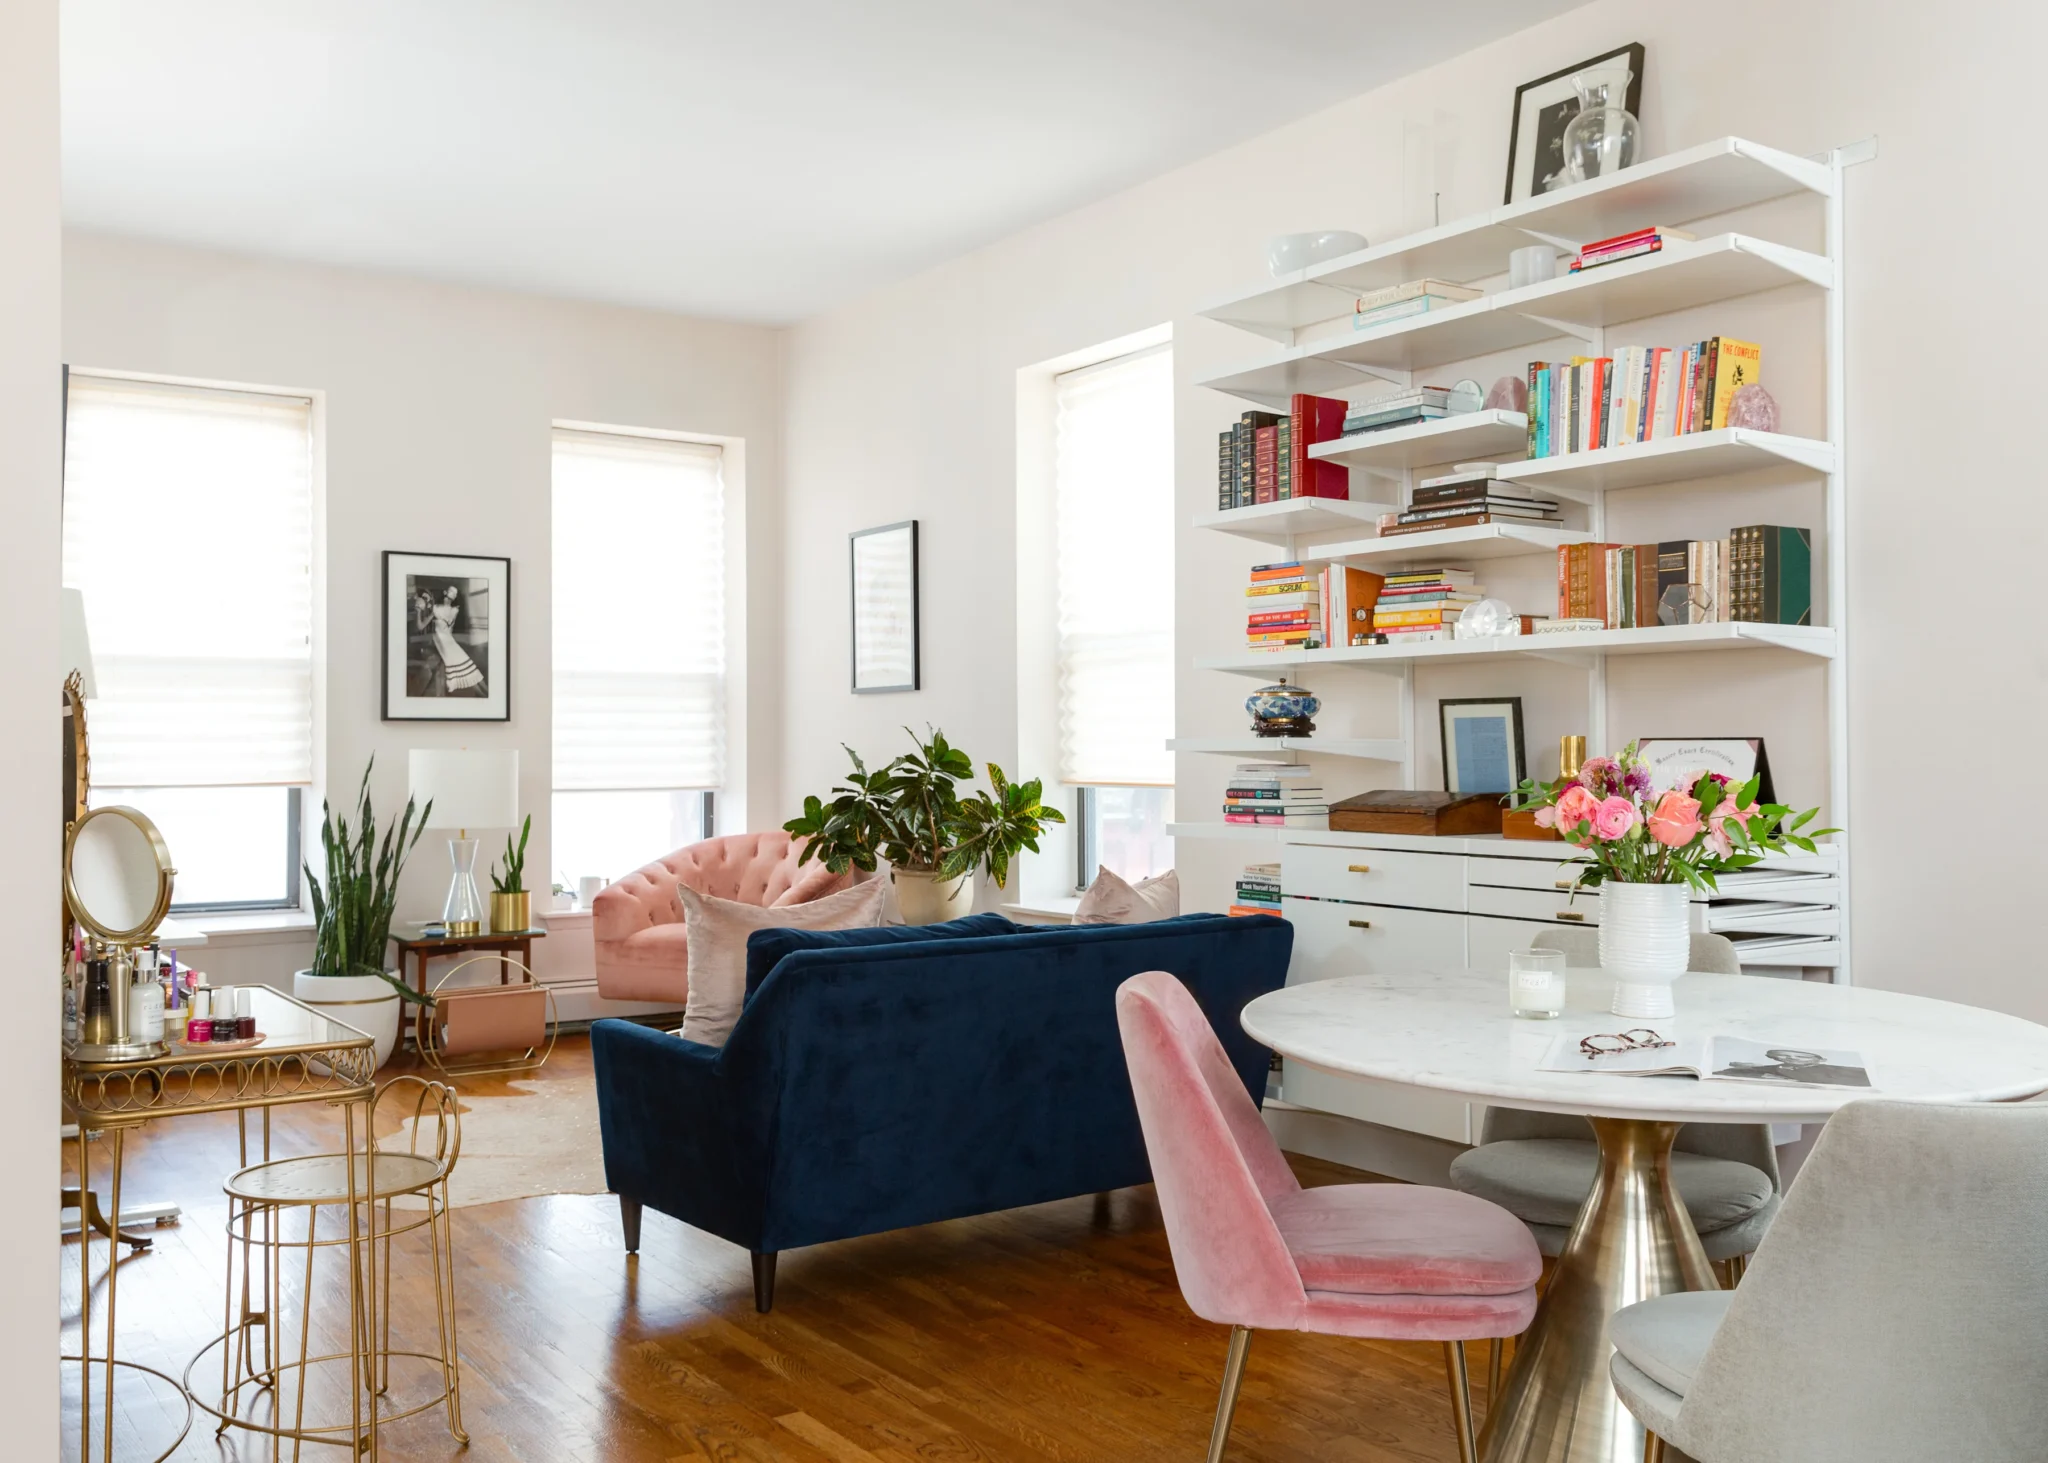
Knowing how to decorate a room helps you style shelving that supports the larger space. Good bookshelf decor ideas combine storage with visual breathing room. Start with the largest items, then add medium and small objects until the arrangement feels balanced.
- Arrange Books by Size or Color
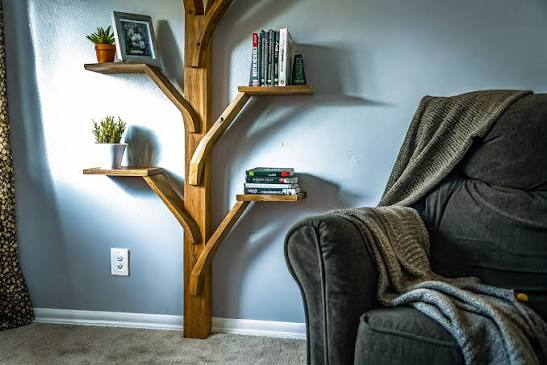
Arrange books by height for a calm, organized look, or group similar colors for a stronger visual effect. Place some books vertically and stack others horizontally. Horizontal stacks create small platforms for bowls, framed pictures, candles, or other light decorative objects.
- Mix Books with Decorative Items
Combine books with photos, pottery, small artwork, keepsakes, and sculptural pieces. Avoid placing one decoration between every group of books, since that may feel too planned. Instead, create a few clear clusters with different heights and shapes.
- Add Plants and Natural Textures
Plants soften straight shelf lines and bring color into the display. Choose low-maintenance plants that suit the available light. Woven baskets, wooden bowls, stone objects, and ceramic pots add natural texture. Protect the shelves from moisture when watering live plants.
- Use Baskets for Hidden Storage
Baskets hide cords, remote controls, toys, papers, and everyday clutter. Measure the shelf opening before buying them. Repeating the same basket style creates a neat appearance, while labels make shared storage easier to use. Place heavier baskets on lower shelves.
- Leave Some Open Space
Empty space is not wasted space. It keeps the bookshelf from feeling crowded and allows special items to stand out. Try leaving part of a shelf open or using only one larger object. Think of blank space as a pause between sentences.
- Change Decorations by Season
Small seasonal updates keep the bookshelf fresh without requiring a full makeover. Replace a few flowers, art prints, candles, or book covers. Store unused decor in labeled boxes. Keep the main arrangement stable and change only a few accents at a time.
DIY Bookshelf Ideas for Different Rooms
Every room has different storage needs. A living room may need attractive display space, while a child’s room needs easy access and rounded edges. Match the shelf height, depth, strength, and finish to the room instead of using the same design everywhere.
- Living Room Bookshelves
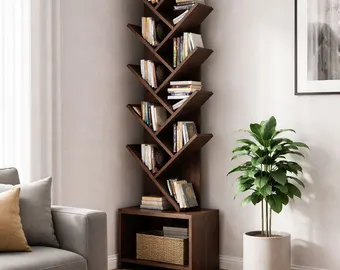
Living room shelves often hold books, framed art, plants, and media equipment. Connect the shelf styling with the room’s main wall decor by repeating colors, shapes, or materials. Leave space around televisions, speakers, vents, and electrical outlets.
- Bedroom Bookshelves
Bedroom bookshelf ideas should support a quiet and uncluttered mood. Use narrow shelves beside a desk, low storage beneath a window, or a slim unit near the bed. Include baskets or doors to hide personal items and reduce visible clutter.
- Home Office Bookshelves
A home office bookshelf can hold reference books, files, equipment, and supplies. Keep frequently used items within easy reach and place rarely used storage higher. Adjustable shelves work well because office tools and document boxes come in many sizes.
- Kids’ Room Bookshelves
A kids bookshelf DIY project should prioritize stability, easy access, and smooth edges. Low forward-facing shelves help children see book covers. Secure the unit to the wall, place heavy objects near the bottom, and avoid glass, sharp corners, or unstable stacked designs.
- Kitchen Storage Shelves
Open kitchen shelves can store cookbooks, jars, bowls, and serving pieces. Use moisture-resistant finishes and keep raw wood away from sinks and cooking steam. Avoid placing books directly beside the stove, where heat, grease, and splashes can damage them.
- Small-Space Bookshelves
Small-space designs should use height without taking too much floor area. Consider a narrow tower, corner unit, shelf above a desk, or low bookshelf behind a sofa. Choose shallow shelves for paperbacks and decorations so the room does not feel cramped.
How Much Does a DIY Bookshelf Cost?
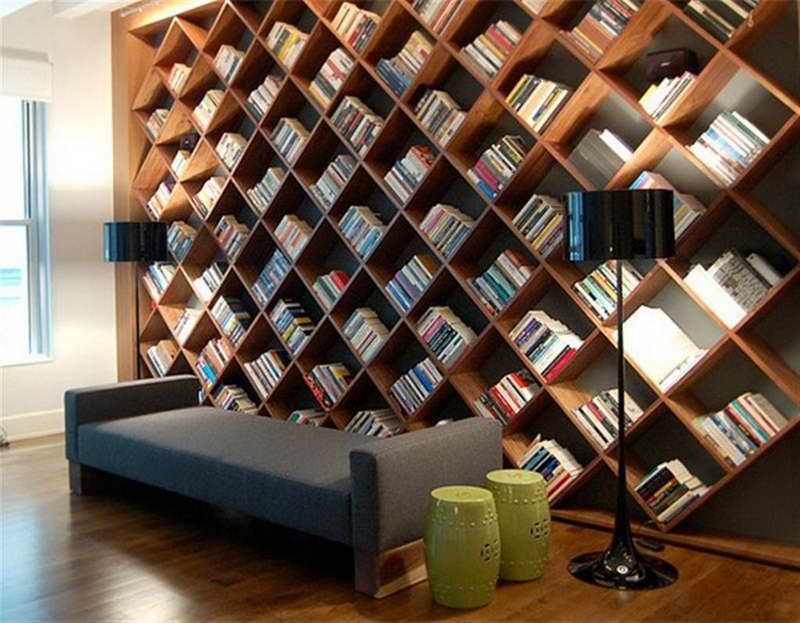
The final cost depends on size, material, hardware, tools, and finish. A small homemade bookshelf made with basic pine or crates may cost very little. A large diy built in bookcase with cabinets, trim, and lighting may cost several hundred dollars or more.
- Budget Bookshelf Costs
A basic budget project may cost about $30 to $100 when using crates, construction lumber, reclaimed wood, or pre-cut boards. The total rises when you need to buy tools. Search for offcuts, reused hardware, and leftover paint to reduce expenses.
- Mid-Range Bookshelf Costs
A medium-size plywood or solid-pine bookcase may cost roughly $100 to $300. This range allows for better boards, quality screws, trim, primer, and paint. Adding adjustable shelf hardware, a back panel, or decorative molding may increase the total.
- Premium Bookshelf Costs
Large hardwood bookcases and custom built-ins can cost $300 to well over $1,000 in materials. Hardwood, cabinet doors, drawers, lighting, and detailed trim increase the price. Even so, building it yourself may reduce labor costs compared with ordering custom furniture.
- Ways to Save Money
Build around standard board dimensions to reduce waste. Compare prices, use store cutting services, and check local reuse centers. Borrow or rent tools you may not use again. A clear plan saves money because it prevents incorrect cuts and unnecessary material purchases.
Common DIY Bookshelf Mistakes
Most bookshelf problems begin before assembly. Incorrect measurements, weak material, poor shelf spacing, and rushed finishing can affect both appearance and safety. Review the entire design before cutting, and solve problems on paper rather than after the frame has been assembled.
- Skipping Accurate Measurements
A small measuring error can create uneven shelves, gaps, or a unit that does not fit the planned wall. Measure the room and materials more than once. Record each number clearly, and remember to include the thickness of shelves, sides, trim, and back panels.
- Choosing Weak Materials
Thin boards may bend under heavy books, especially across a wide opening. Choose material based on the shelf span and expected weight. Add a center divider or front support strip when needed. Do not assume all boards of the same size have equal strength.
- Spacing Shelves Incorrectly
Shelves that are too close together limit what the bookcase can hold. Shelves that are too far apart waste vertical space. Measure several books, baskets, and objects before setting the positions. Adjustable shelves provide flexibility when storage needs may change.
- Ignoring Weight Limits
Books become surprisingly heavy when placed together. Spread weight across the shelf instead of loading one small area. Keep heavy collections on lower shelves and use additional supports for long spans. Inspect any wall-mounted hardware for its listed load capacity.
- Forgetting Wall Anchors
A tall bookcase may appear stable until a child pulls on it or an uneven floor causes it to lean. Use anti-tip hardware and attach it correctly. Never rely on drywall alone when the chosen anchor is not rated for the unit’s weight.
- Rushing the Finish
Paint and stain need proper surface preparation and drying time. Thick coats can drip, stay soft, or show brush marks. Sand between coats when recommended. Allow the final finish to cure before placing heavy books, baskets, or decorative items on the shelves.
DIY Bookshelf Safety Tips
Safety should guide every stage of a project, from cutting the first board to loading the final shelf. Read tool instructions, keep the work area clear, and avoid working when tired or rushed. Ask for help when moving large or heavy units.
- Wear Protective Equipment
Use safety glasses, hearing protection, and a dust mask that suits the task. Gloves can help when handling rough lumber, but they may not be safe near certain moving tools. Follow the tool manufacturer’s guidance and keep a first-aid kit nearby.
- Use Tools Correctly
Check blades, cords, batteries, and guards before starting. Secure the material and keep hands away from cutting paths. Disconnect power before changing blades or bits. Never force a tool through the wood; allow the blade or bit to work steadily.
- Check Shelf Stability
Place the finished bookshelf on a level surface and gently test for rocking. Add shims, adjustable feet, brackets, or reinforcement when needed. Inspect the frame after loading several books. Stop using the unit if joints loosen, shelves sag, or the frame leans.
- Secure Tall Shelves to the Wall
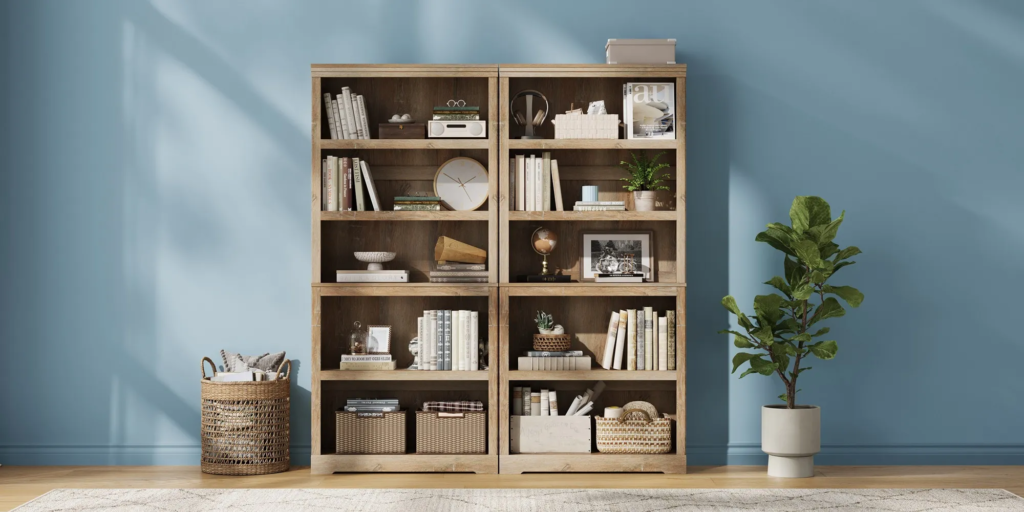
Secure tall bookshelves even when they seem heavy and stable. Use a stud finder when attaching brackets to wall framing. Select proper masonry or drywall anchors when studs are unavailable. Keep climbing children and pets away from unfinished or unsecured furniture.
How to Maintain a DIY Bookshelf?
Regular care keeps a diy bookcase attractive and strong. Maintenance does not take much time, but it helps you notice loose joints, moisture damage, and shelf sagging early. A quick inspection every few months can prevent a small issue from becoming a larger repair.
- Clean Shelves Regularly
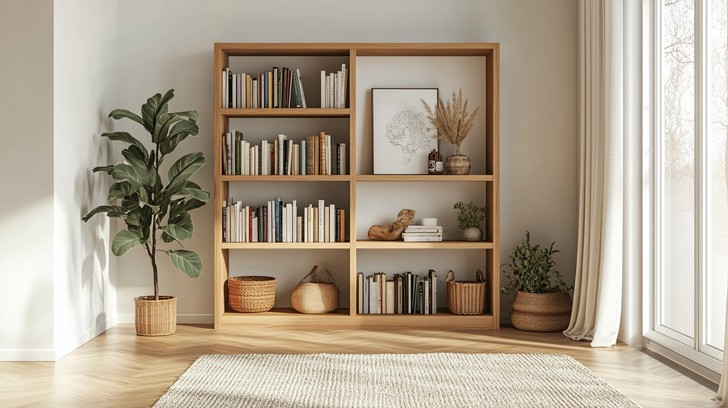
Remove books in small groups and wipe each shelf with a soft cloth. Use a cleaner that matches the finish, and avoid soaking wooden surfaces. Dust corners, trim, and the top of the unit. Allow shelves to dry before returning books.
- Check Screws and Joints
Inspect screws, brackets, shelf pins, and wall anchors for movement. Tighten loose hardware carefully without stripping the holes. If a screw no longer grips, repair the damaged hole or replace the hardware. Watch for gaps where glued joints have started separating.
- Repair Scratches and Chips
Small scratches may improve with a matching touch-up marker, paint, stain, or wax filler. Sand rough chips before repairing them. Test every product in a hidden area first. Keep leftover paint in a labeled container for future bookshelf makeover work.
- Avoid Overloading Shelves
Watch for shelves that curve downward or joints that begin to open. Remove some weight as soon as you notice movement. Place heavy books near the side supports rather than at the center of a long shelf, and add reinforcement when needed.
Conclusion
A DIY bookshelf offers a practical way to improve storage, use empty space, and add personal style to a room. Start with accurate measurements, a clear sketch, suitable materials, and realistic bookshelf plans. Work through each stage slowly, especially when cutting, assembling, and finishing. Whether you build your own bookshelf from solid wood, plywood, crates, or reclaimed boards, thoughtful details will make it stronger and more attractive. The best project is not the most complex one. It is the one that fits your space and serves your daily needs.
Frequently Asked Questions
A basic rectangular bookcase made from pre-cut pine boards is one of the easiest options. It needs two side panels, a top, a bottom, and several shelves. A crate bookshelf is even simpler because it requires little cutting. Both options teach useful assembly, sanding, and finishing skills.
Pine is a good choice for beginners because it is affordable, easy to cut, and widely available. Furniture-grade plywood works well for stronger, wider shelves. Oak, maple, and other hardwoods offer excellent durability, but they cost more and may be harder to cut.
Most general-purpose bookshelves measure about 10 to 12 inches deep. A paperback shelf can be shallower, while large art books, storage baskets, and record collections may require 12 to 16 inches. Measure the largest items first and add a little extra space.
Weight capacity depends on the shelf material, thickness, width, support method, and construction quality. A short, thick plywood shelf can carry more than a long, thin MDF shelf. Use center supports for wide spans and avoid loading shelves until they visibly bend.
Yes. You can ask a lumber store to cut boards, then assemble them with a hand screwdriver, brackets, and pre-drilled holes. Wooden crates and modular cubes also offer low-tool options. A hand saw can make simple cuts, although the work will take longer.
Choose a stable freestanding unit, low bookcase, ladder shelf, tension system, or stackable cube design. Avoid permanent built-in construction. Use approved anti-tip methods and check the rental agreement before drilling. Keep all removed hardware so the space can be restored later.
Tall, narrow, top-heavy, or child-accessible bookshelves should be secured to the wall. Anti-tip straps or brackets can prevent serious accidents. Use hardware designed for the wall type and furniture size. Even a solid bookcase can tip when someone climbs or pulls on it.
It can be cheaper when you use simple materials, standard sizes, borrowed tools, or reclaimed wood. However, a small mass-produced bookcase may cost less than buying tools and premium lumber. DIY becomes especially valuable when you need a custom size, style, or layout.