
Learning how to build a bookshelf is one of the most useful DIY skills for any home. A good bookshelf adds storage, style, and personality without needing a huge budget. With simple bookshelf plans, basic tools, and careful steps, you can build your own bookshelf and feel proud every time you see it.
What Is a DIY Bookshelf?
A DIY bookshelf is a storage piece you build yourself instead of buying fully assembled from a store. It can be a small homemade bookshelf for a reading corner, a tall DIY bookcase for a living room, or a simple wall shelf setup for books and décor. The best part is control. You choose the size, color, wood, shelf spacing, and finish.
A beginner bookshelf project does not need to be fancy. In fact, many easy DIY bookshelf designs use straight cuts, basic screws, and pre-cut boards. Whether you call it a bookshelf or a bookcase, the goal is the same: create strong, useful storage that fits your home.
Why Build a Bookshelf Yourself?
There are many reasons to learn how to build a bookcase instead of buying one. First, you can make it fit your exact space. Store-bought shelves often leave awkward gaps, while custom bookcase plans let you use every inch. Second, DIY can save money, especially if you use affordable wood, reclaimed boards, or simple bookshelf plans.
Building also lets you match your home style. You can paint it white, stain it warm brown, add trim, or keep it modern and clean. Before comparing DIY with store-bought options or reading general furniture reviews, think about what matters most: price, size, quality, or personal style.
Types of Bookshelves You Can Build
Before choosing bookshelf plans, think about how the piece will work in your room. Some designs stand on the floor, while others mount to a wall. Some are best for heavy books, while others are better for light décor. Here are the most common DIY bookshelf ideas to consider.
- Simple freestanding bookshelf
A simple freestanding bookshelf is the easiest place to start. It usually has two side panels, a top, a bottom, shelves, and a back panel. This is a great beginner woodworking bookshelf because the shape is basic, strong, and easy to adjust.
- Wall-mounted bookshelf
A wall-mounted bookshelf saves floor space and works well in small rooms, offices, kitchens, and bedrooms. It needs strong brackets, studs, or proper anchors. For more styling and placement inspiration, see these ideas for wall shelves before planning your layout.
- Built-in bookshelf
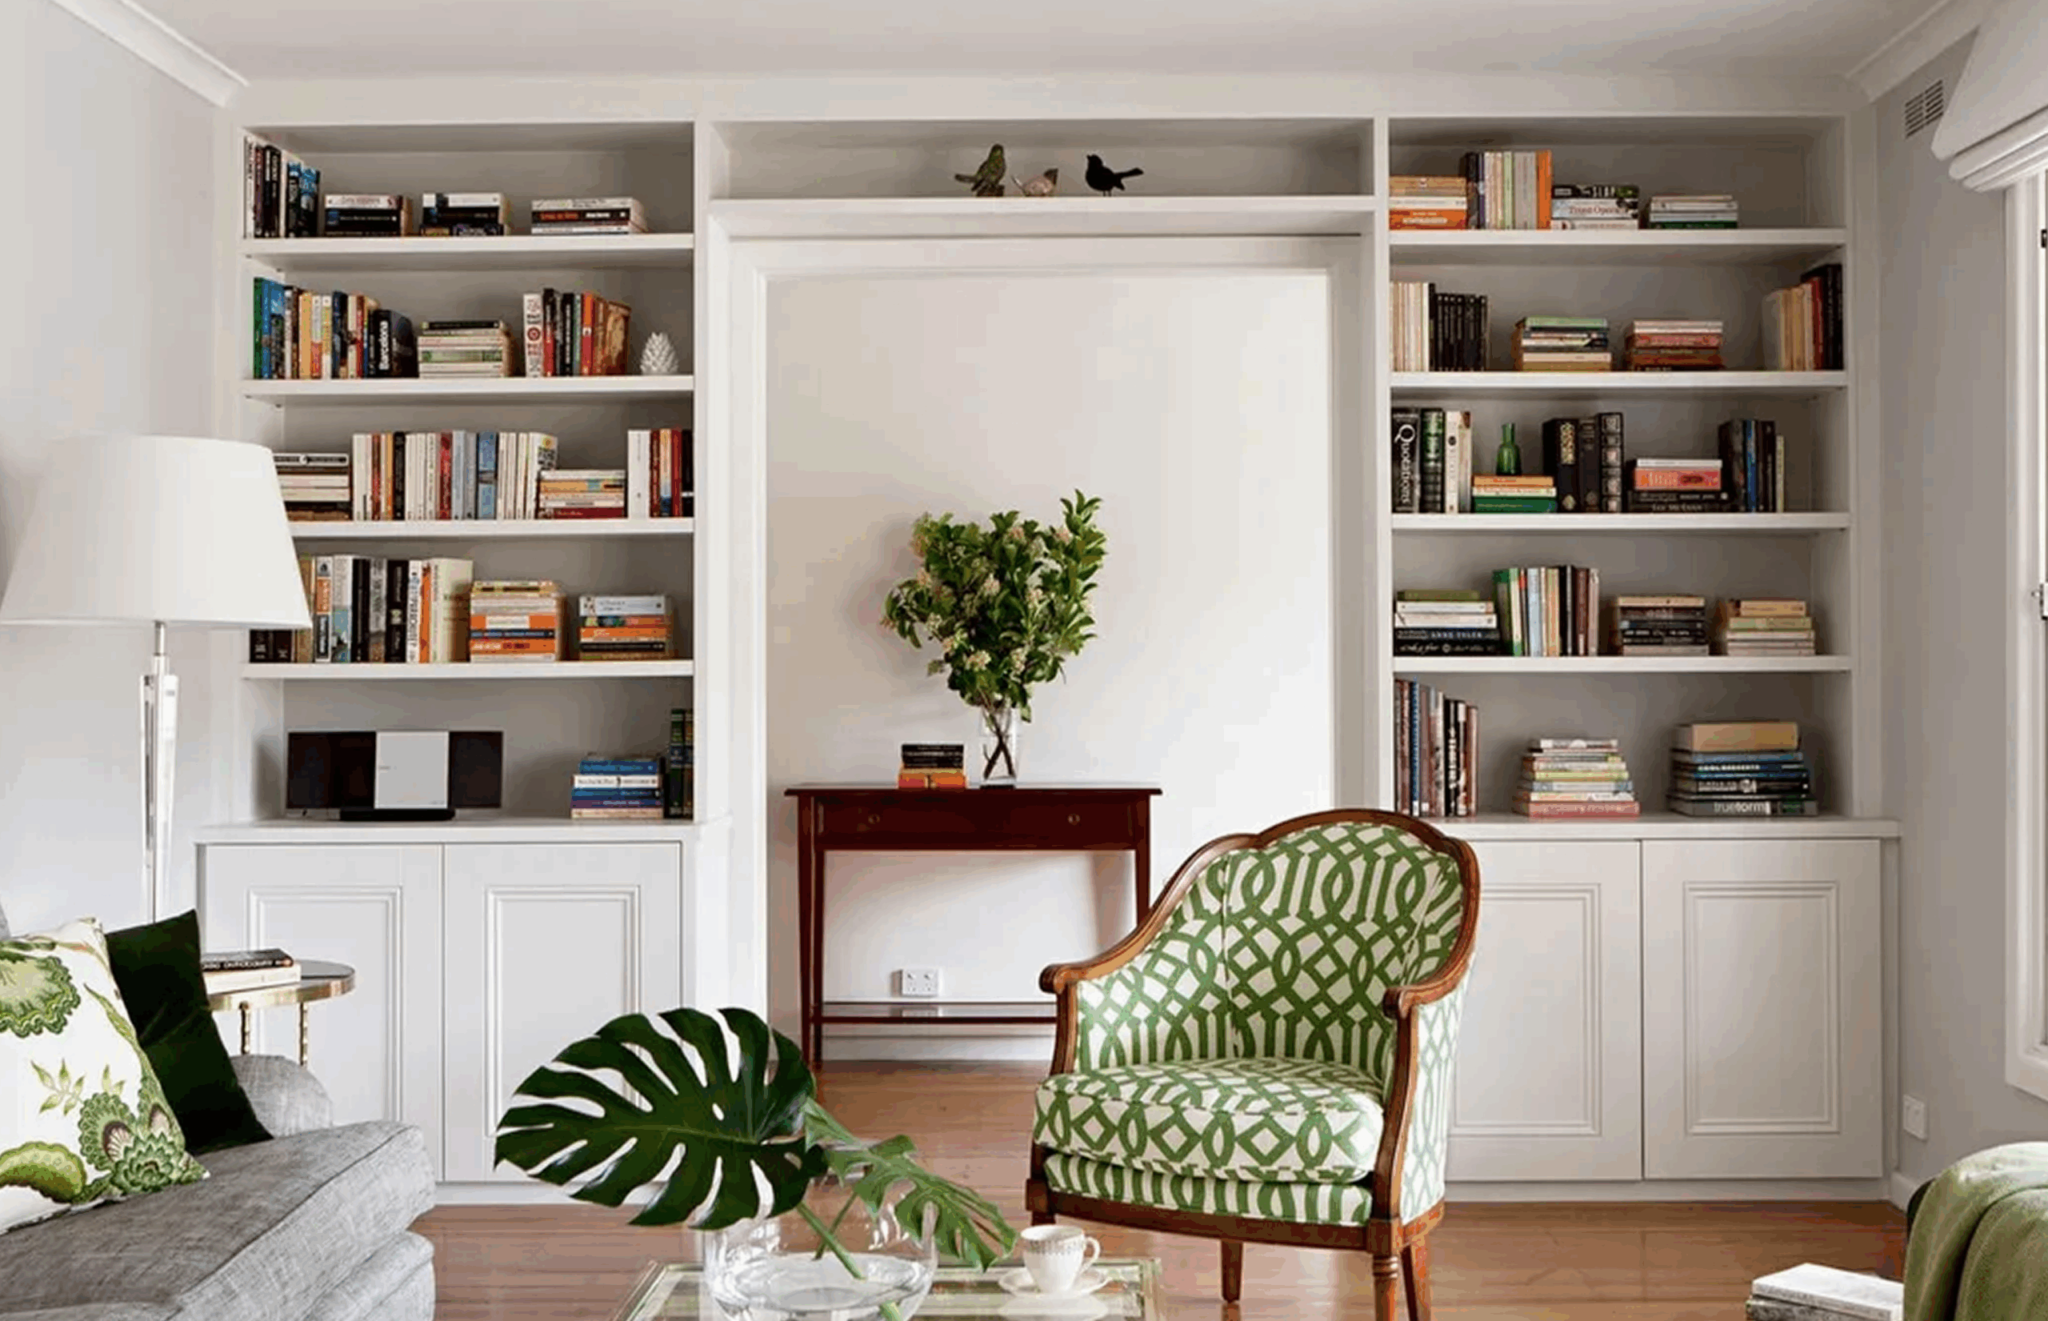
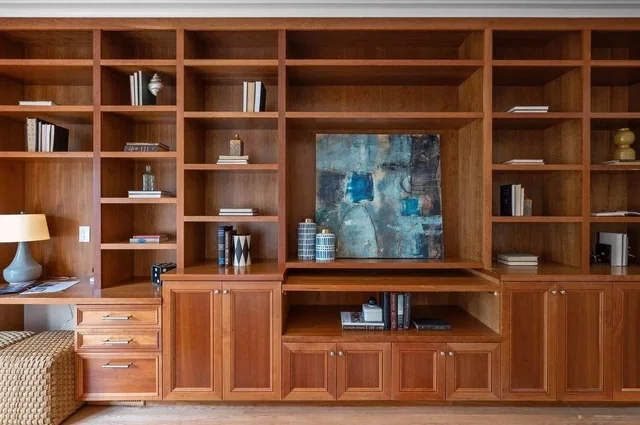
A built-in bookshelf looks custom and polished because it fits into a wall, alcove, or empty nook. It takes more planning, but it can make a room feel expensive. Built-ins are perfect around fireplaces, desks, windows, or long living room walls.
- Corner bookshelf
A corner bookshelf uses space that often goes wasted. It can be tall and narrow or low and wide. This type is great for small bookshelf ideas because it adds storage without taking over the room. It works especially well in apartments.
- Ladder-style bookshelf
A ladder-style bookshelf leans against the wall or has a slanted frame. It feels light, casual, and modern. This is one of the best DIY bookcase ideas for displaying plants, candles, baskets, and a few favorite books.
- Floating shelf bookcase
A floating shelf bookcase uses separate shelves mounted directly to the wall. It gives a clean, modern look and keeps the floor open. It is ideal for renters who want simple storage, as long as the shelves are installed safely and removed carefully later.
How to Plan Your Bookshelf Project?
Good planning is like drawing a map before a trip. It helps you avoid wasted wood, crooked shelves, and surprise costs. Before you cut anything, decide where the bookshelf will go, how large it should be, what it will hold, and what style fits the room.
- Choose the right room
Start by picking the room that needs storage most. A living room may need a display bookcase, while a bedroom may need quiet, cozy storage. A home office may need strong shelves for files, books, and supplies. Let the room guide the design.
- Measure the available space
Measure the height, width, and depth of the space. Also check baseboards, outlets, vents, doors, and windows. Leave breathing room around the bookshelf so it does not feel squeezed. Measure twice, because one wrong number can throw off the whole project.
- Decide the bookshelf size
Choose a size based on what you need to store. Large art books need deeper shelves. Paperbacks need less depth. Baskets need more height. A common depth is about 10 to 12 inches, but your bookshelf size should match your real items.
- Choose a style that matches your home
Modern bookshelf ideas often use clean lines, smooth paint, and simple shapes. Wooden bookshelf ideas may use pine, oak, plywood, or reclaimed wood. For a farmhouse feel, add trim. For a minimal look, keep the frame square and the finish simple.
- Set a realistic budget
Your budget should include wood, screws, glue, sandpaper, paint or stain, brushes, brackets, and wall anchors. A cheap DIY bookshelf can still look great when the cuts are clean and the finish is neat. Spend money where strength matters most.
Best Materials for Building a Bookshelf
The best wood for bookshelf projects depends on your budget, style, tools, and how much weight the shelves need to hold. Some materials are strong and long-lasting. Others are cheaper and easier to paint. Choose the material before creating your final bookcase plans.
- Plywood
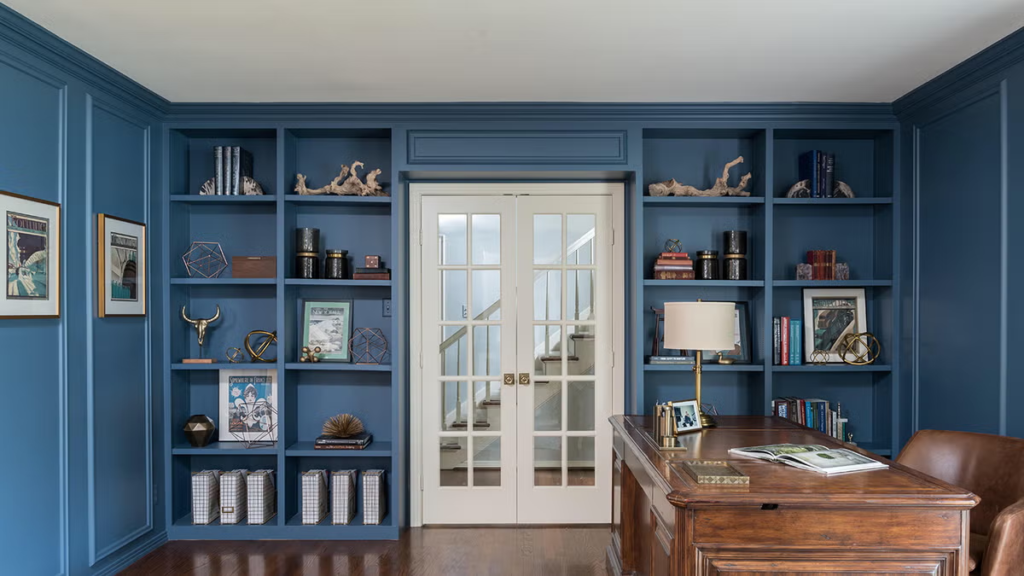
A plywood bookshelf is strong, stable, and budget-friendly. Cabinet-grade plywood looks cleaner than rough construction plywood. It works well for painted bookcases and modern designs. Plywood also resists warping better than some solid wood, making it a smart choice for wide shelves.
- Solid wood
A solid wood bookshelf feels classic and strong. Pine, oak, maple, and poplar are common choices. Pine bookshelf projects are affordable and easy to cut, but pine can dent. Oak costs more but lasts longer. Solid wood is great if you want to stain instead of paint.
- MDF
An MDF bookshelf is smooth, affordable, and easy to paint. It works well for trim, built-ins, and painted bookcases. However, MDF is heavy and does not like water. It can sag under heavy books if the shelves are too long or too thin.
- Reclaimed wood
Reclaimed wood adds character. Old boards can bring warmth, texture, and a story to the room. They work well for rustic, farmhouse, or cozy designs. Check each board for nails, cracks, bugs, and warping before using it in a homemade bookshelf.
- Pre-cut boards
Pre-cut boards are perfect for beginners. Many home improvement stores sell boards in common sizes, and some stores can cut pieces for you. This makes an easy DIY bookshelf much less stressful, especially if you do not own a circular saw or table saw.
Tools You Need to Build a Bookshelf
You do not need a full workshop to learn how to make a bookshelf. For many beginner projects, a few basic tools are enough. The key is accuracy. Clean measuring, straight cuts, smooth sanding, and safe assembly matter more than having the most expensive tools.
- Basic hand tools
Basic hand tools include a hammer, screwdriver, hand saw, clamps, sanding block, and wood glue. Clamps are especially helpful because they act like extra hands. They hold boards steady while glue dries or while you drive screws into the frame.
- Power tools
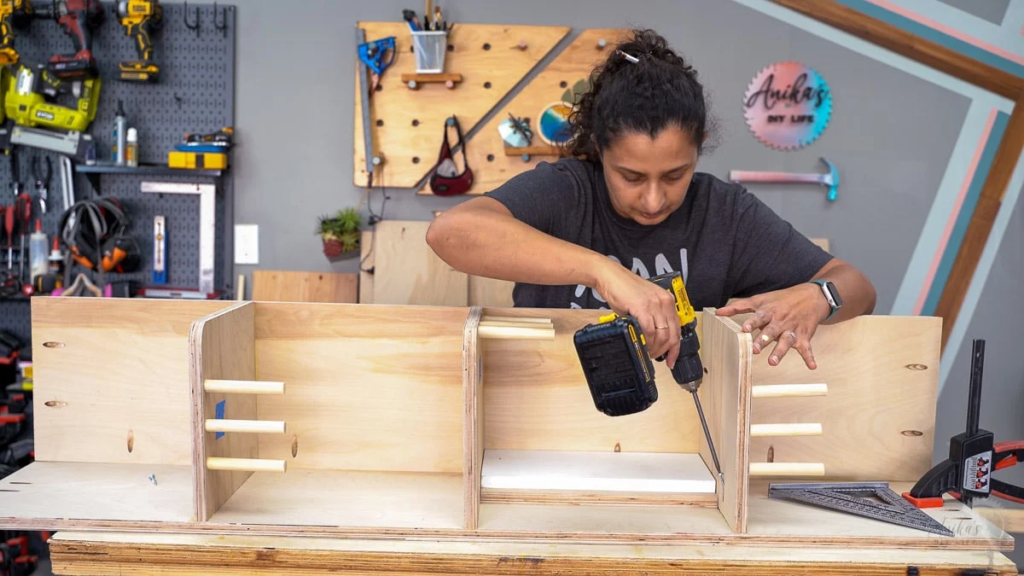
Helpful power tools include a drill, circular saw, jigsaw, miter saw, and random orbital sander. A drill is the most important. You can build a simple bookcase with pre-cut boards and a drill. Power tools make the work faster, but they are not always required.
- Safety tools
Safety tools include goggles, hearing protection, a dust mask, and work gloves. Wood dust can bother your lungs, and flying chips can hurt your eyes. Safety may feel boring, but it is part of good DIY. A safe project is a successful project.
- Measuring tools
Use a tape measure, speed square, level, pencil, and straightedge. These tools help you mark clean lines and keep shelves straight. A level is important when installing wall-mounted shelves or checking whether a tall bookcase stands evenly.
- Finishing supplies
Finishing supplies include sandpaper, wood filler, primer, paint, stain, brushes, rollers, rags, and a clear topcoat. These small items make a big difference. A simple shelf can look custom when the holes are filled and the finish is smooth.
How to Build a Bookshelf Step by Step?
Now let’s look at how to build a bookshelf for beginners. This basic method works for a simple freestanding DIY wood bookshelf. You can adjust the size, wood, shelf count, and finish. Think of this as a flexible recipe rather than a strict rule.
- Measure and mark the boards
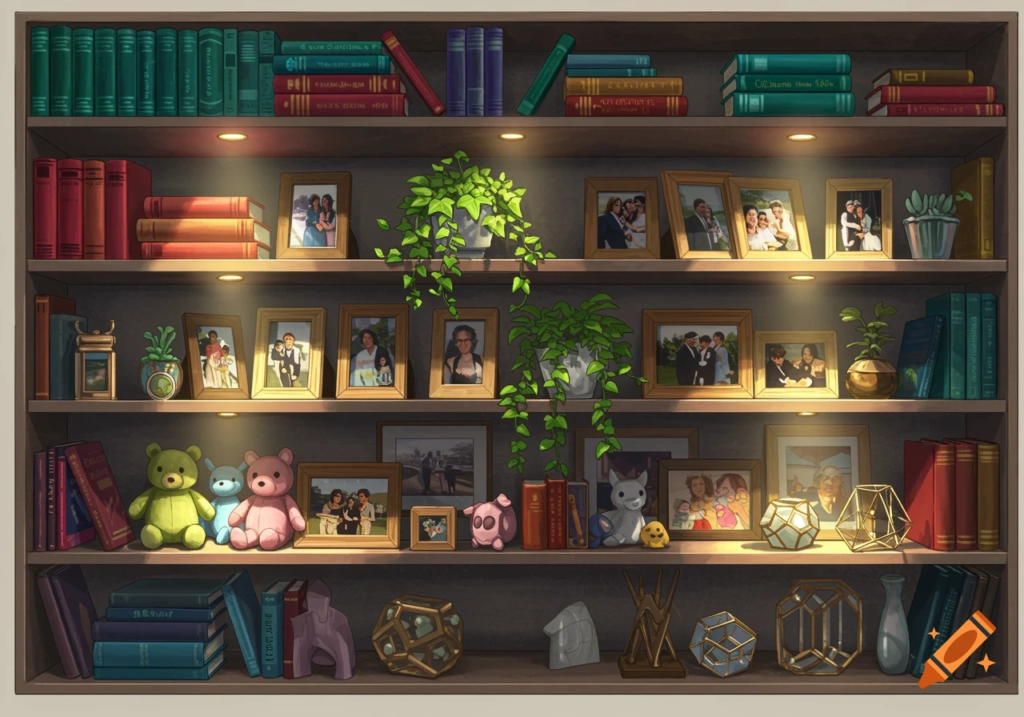
Measure each board carefully and mark your cut lines with a pencil and square. Label each piece, such as left side, right side, top, bottom, shelf, and back. Clear labels help prevent confusion once several boards are on the floor.
- Cut the wood pieces
Cut the pieces according to your bookshelf plans. For a basic bookcase, you need two side panels, one top, one bottom, shelves, and a back panel. Keep cuts straight and slow. Crooked cuts can create gaps and make assembly harder.
- Sand the edges
Sand all cut edges before assembly. Start with medium-grit sandpaper, then use finer grit for a smoother feel. Sanding removes splinters and helps paint or stain look better. Do not skip this step, even on a cheap DIY bookshelf.
- Build the side frame
Lay the side panels flat and attach the top and bottom boards between them. Use wood glue and screws for strength. Pre-drill holes to reduce splitting. Check corners with a square so the frame does not twist as you build.
- Attach the shelves
Mark shelf locations on both side panels. Make sure the marks line up. Attach each shelf with screws, shelf pins, or pocket holes. For heavy books, fixed shelves are stronger than adjustable shelves. Keep the spacing even unless your items need different heights.
- Add the back panel
A back panel makes the bookshelf much stronger. It keeps the frame from wobbling side to side. Use thin plywood or hardboard for the back. Attach it with small nails, screws, or staples. Make sure the frame is square before fastening it.
- Check for balance
Stand the bookshelf upright and check for wobble. Use a level on the top and shelves. If the floor is uneven, add furniture pads or shims under the base. A balanced bookshelf looks better and feels safer.
- Fill holes and gaps
Use wood filler to cover screw holes, nail holes, and small gaps. Let it dry, then sand it smooth. This step helps a basic DIY bookcase look finished. Small details matter because paint can highlight every bump and crack.
- Paint or stain the bookshelf
Now decide how to finish a bookshelf. Paint gives a clean, flexible look and works well with MDF or plywood. Stain brings out wood grain and works best on solid wood. If you want color, explore bookshelf paint ideas that match your walls, rug, or curtains.
- Secure it to the wall
Always secure tall bookshelves to the wall. Use anti-tip brackets, wall anchors, or screws into studs. This is especially important in homes with kids, pets, or heavy books. A beautiful bookshelf should also be safe.
How to Make Your Bookshelf Stronger?
A bookshelf must do more than look nice. It needs to hold weight without sagging, leaning, or wobbling. Strong construction starts with the right material, smart shelf spacing, solid fasteners, and safe anchoring. These tips help your DIY bookcase last for years.
- Use thicker shelves
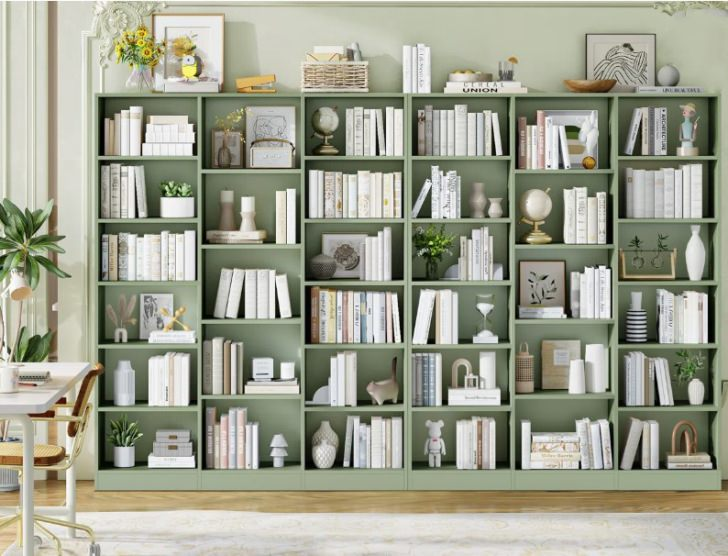
Books are heavy, especially hardcovers. Bookshelf wood thickness matters more than many beginners think. For long shelves, use thicker boards or add front trim for support. A shelf that looks fine empty may sag once it is full of books.
- Add a back panel
A back panel works like the spine of a book. It holds the whole piece steady. Even a thin panel can reduce side-to-side movement. For extra strength, glue and nail the panel instead of only tacking it in a few places.
- Space shelves correctly
Shorter shelf spans are stronger than long ones. If your shelf is wide, consider adding a center divider or support strip. For heavy books, keep shelves closer together. Good spacing also makes the bookcase easier to style and use.
- Use strong screws and brackets
Use screws long enough to grip firmly, but not so long that they poke through the wood. For wall-mounted shelves, choose brackets rated for the load. Cheap brackets can bend. Strong hardware is worth the small extra cost.
- Anchor tall shelves safely
Tall shelves can tip forward, especially when loaded unevenly. Anchor the top to the wall with anti-tip hardware. This simple safety step takes only a few minutes, but it protects people, pets, floors, and the bookshelf itself.
Bookshelf Design Ideas for Every Room
A bookshelf should fit the way the room works. The same design will not suit every space. A living room bookshelf may need beauty and balance. A home office shelf may need function first. Here are practical DIY bookshelf ideas for different rooms.
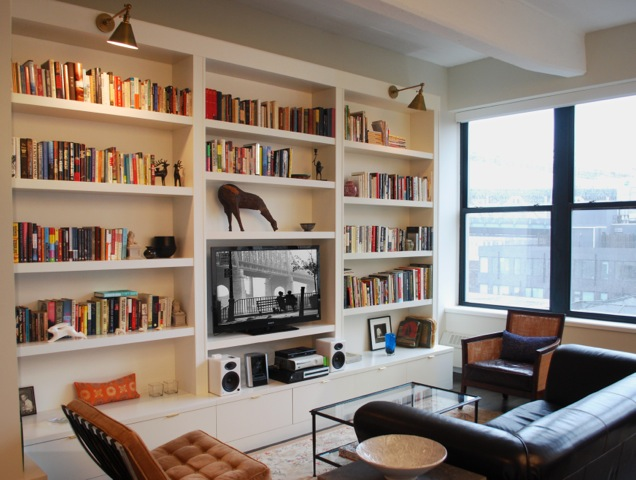
- Living room bookshelf ideas
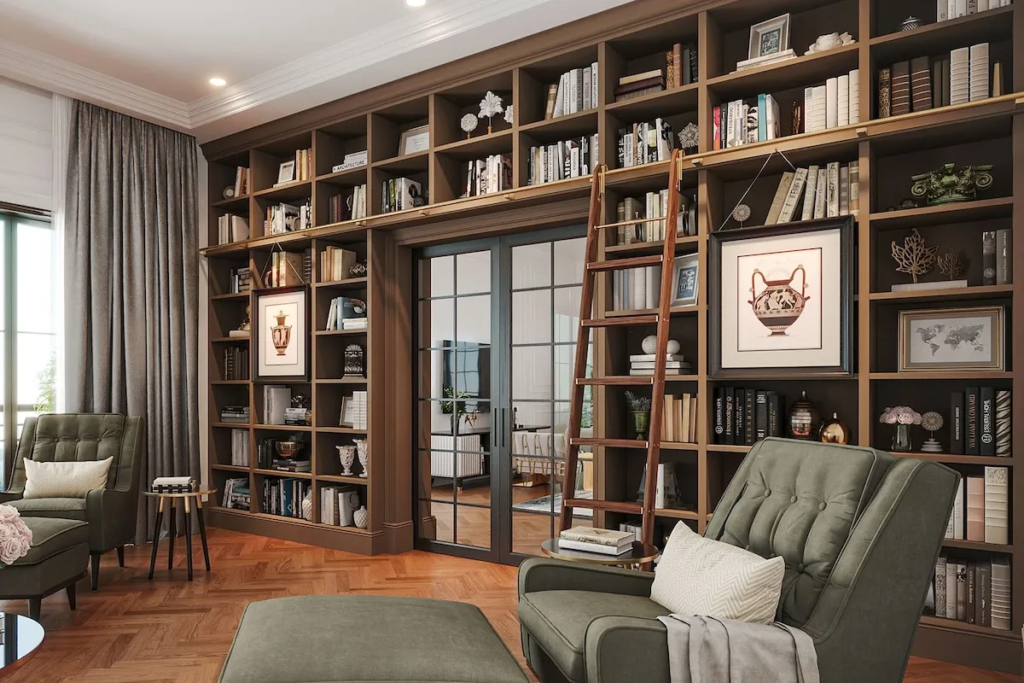
In a living room, a bookshelf can become part of the main wall design. Mix books with frames, plants, vases, and small sculptures. For more inspiration, pair your shelf design with creative wall decor ideas so the bookcase feels connected to the room.
- Bedroom bookshelf ideas
A bedroom bookshelf should feel calm, not crowded. Choose soft colors, warm wood, or a small bookcase near a reading chair. Use baskets for items you do not want on display. Keep the top shelf light and simple for a peaceful look.
- Home office bookshelf ideas
A home office bookshelf needs to work hard. Use it for books, files, boxes, tech supplies, and décor. Strong shelves are important here. For a better workspace layout, combine your bookcase plans with practical home office ideas that save space.
- Kids’ room bookshelf ideas
For a kids’ room, keep shelves low, safe, and easy to reach. Use rounded edges when possible. Anchor everything to the wall. Add bins for toys and face-out shelves for picture books. A colorful painted bookshelf can make cleanup feel easier.
- Small apartment bookshelf ideas
Small apartment bookshelf ideas should focus on vertical storage. Use tall narrow shelves, corner shelves, or floating shelves. A light paint color can make the piece feel less heavy. Choose a design that stores books without blocking walkways or windows.
Budget-Friendly Tips for Building a Bookshelf
You do not need a luxury budget to build your own bookshelf. Smart choices can save money without making the project look cheap. Focus on simple design, affordable materials, careful finishing, and creative reuse. Budget bookshelf ideas often look best when they stay clean and practical.
- Use affordable wood
Pine, plywood, and MDF are common budget choices. A pine bookshelf is easy to build and stain, while MDF is great for painting. Plywood offers strength at a fair price. Choose the best material for your finish, not just the lowest price.
- Buy pre-cut boards
Pre-cut boards save time and reduce tool costs. They are great for weekend DIY bookshelf projects because you can start assembling faster. You may pay a little more per board, but you avoid mistakes, saw rental, and wasted material.
- Repurpose old furniture
Old dressers, cabinets, crates, and shelves can become a homemade bookshelf. Remove drawers, add shelves, paint the frame, or stack wooden crates. Repurposing saves money and keeps useful pieces out of the trash.
- Keep the design simple
Simple bookshelf plans usually cost less and are easier to build. Skip fancy curves, doors, and complicated trim on your first project. Straight lines can still look modern and stylish. Good proportions often matter more than extra details.
- Paint instead of replacing
Paint can rescue tired wood, old laminate, or mismatched boards. Learning how to paint a bookshelf helps you create a fresh look for less. Use primer first, then apply thin coats. Paint also hides lower-cost materials better than stain.
Common Bookshelf Building Mistakes
Mistakes happen, but many are easy to avoid. Most problems come from rushed measuring, weak materials, poor sanding, missing anchors, or too much weight. Knowing these issues before you start helps you build with more confidence and fewer headaches.
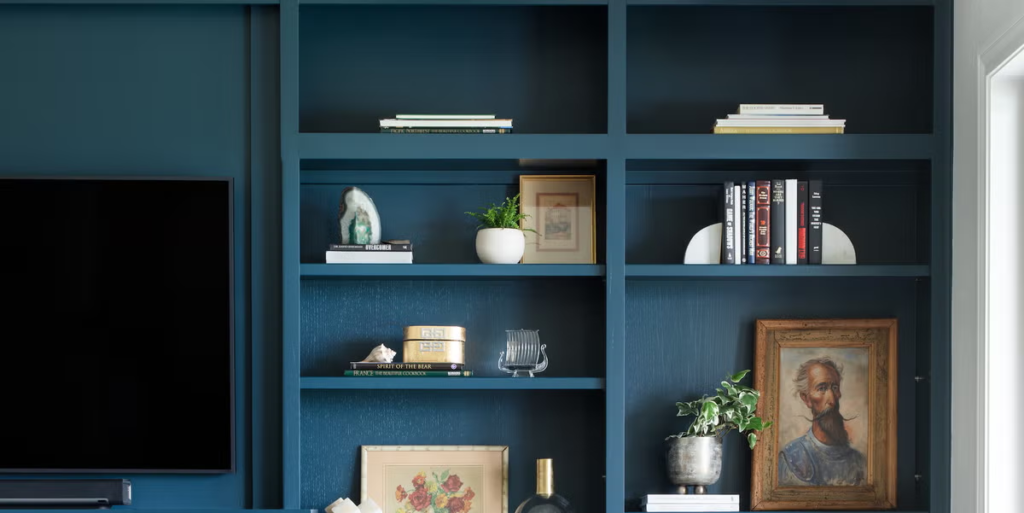
- Not measuring twice
The old advice is true: measure twice, cut once. A board cut too short is hard to fix. Check your room measurements, board lengths, and shelf spacing before cutting. Write everything down so you do not rely on memory.
- Using weak materials
Thin boards may look fine at first, but they can sag under heavy books. Choose material based on use. Decorative shelves can be lighter. Book storage needs stronger wood, good shelf thickness, and proper support.
- Skipping sanding
Skipping sanding makes the bookshelf feel rough and unfinished. Paint also looks uneven over rough edges. Sand before assembly when pieces are easier to reach. Then sand again after filling holes for a clean final surface.
- Forgetting wall anchors
Wall anchors are not optional for tall bookcases or wall-mounted shelves. Without them, the shelf can tip or pull away from the wall. Use studs when possible. When studs are not available, use anchors rated for the weight.
- Overloading shelves
Even a strong DIY wood bookshelf has limits. Spread heavy books across lower shelves. Keep lighter décor higher up. Do not stack too many heavy items in the center of a long shelf. Balanced weight protects both the shelf and the wall.
How to Style a Bookshelf After Building It?
After you learn how to make a bookcase, the fun part begins: styling it. A bookshelf should not look like a crowded storage closet. It should feel useful, warm, and balanced. Use books, décor, color, texture, and empty space to create a natural look.
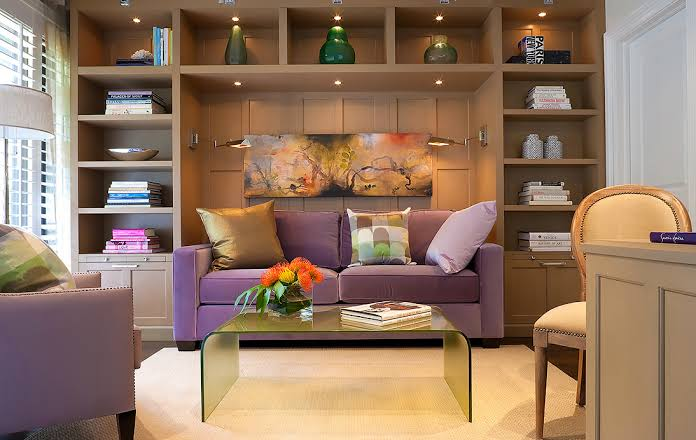
- Mix books and décor
Place some books upright and some stacked flat. Then add décor, such as candles, bowls, frames, or small sculptures. This breaks up straight lines and makes the shelf more interesting. For broader design help, learn how to decorate a room around your new shelf.
- Use baskets and boxes
Baskets and boxes hide clutter while adding texture. Use them for chargers, toys, papers, craft supplies, or small office items. Matching baskets create a clean look. Mixed baskets feel more relaxed and casual.
- Add plants or artwork
Plants, framed prints, and small artwork bring life to a bookshelf. A trailing plant can soften sharp corners. A small framed photo can make the shelf feel personal. Just avoid watering plants directly over wood unless you use a tray.
- Leave some empty space
Empty space is not wasted space. It gives your eyes a place to rest. A crowded shelf can feel stressful, even if every item is pretty. Leave a few open spots so the design feels calm and planned.
- Match colors with the room
Use colors already found in the room. Pull tones from rugs, curtains, pillows, artwork, or wall color. This makes the bookshelf feel connected instead of random. For a modern look, keep the color palette simple and repeat it across shelves.
How to Maintain Your Bookshelf?
A well-built bookshelf can last for years with basic care. Maintenance does not need to be complicated. Dust it, check the joints, avoid overloading, and repair small damage early. Think of it like caring for a favorite chair or table.
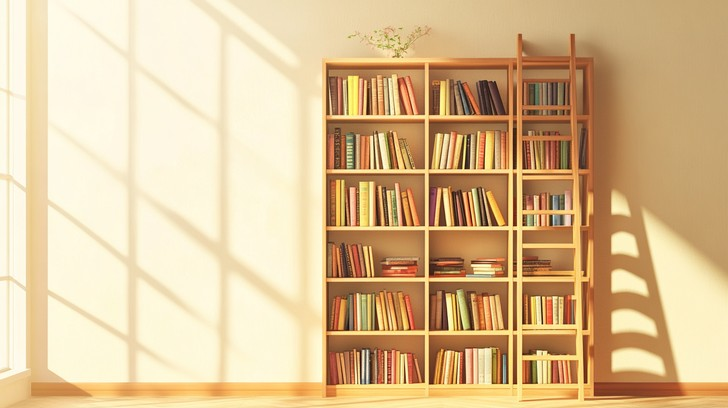
- Dust it regularly
Dust can settle quickly on books and shelves. Use a soft cloth, microfiber duster, or vacuum brush attachment. Dust from top to bottom. Remove books once in a while so you can clean the full shelf surface.
- Check screws and joints
Over time, screws can loosen, especially if the shelf gets moved or loaded heavily. Check joints every few months. Tighten screws when needed. If you see gaps opening, fix them early before they become larger problems.
- Avoid too much weight
Weight is the biggest stress on a bookshelf. Keep heavy items on lower shelves and avoid overloading long spans. If a shelf starts to bow, remove weight right away and add support before using it again.
- Touch up paint or stain
Small chips and scratches are normal. Keep leftover paint or stain in a labeled container. Touch up worn spots when needed. Knowing how to stain a bookshelf or repaint one helps you keep it looking fresh over time.
Conclusion
Learning how to build a bookshelf is a practical, rewarding project that can improve almost any room. You do not need expert woodworking skills to start. With simple bookshelf plans, careful measuring, strong materials, and a smooth finish, you can create a piece that looks good and works hard.
Start small if you are new to DIY. A basic freestanding shelf, floating shelf bookcase, or weekend DIY bookshelf can teach you the main skills. Once you finish one project, bigger woodworking bookshelf plans will feel much less intimidating.
Frequently Asked Questions
It can be cheaper to build a bookshelf, especially if you use plywood, pine, MDF, reclaimed wood, or pre-cut boards. A cheap DIY bookshelf also lets you control the size and finish. However, if you need many tools, buying may cost less for your first project.
The easiest bookshelf to build is a simple freestanding bookcase with two side panels, a top, a bottom, fixed shelves, and a back panel. This design is ideal for anyone learning how to build a simple bookshelf because it uses basic cuts and simple assembly.
The best wood for bookshelf projects depends on your needs. Plywood is strong and stable. Pine is affordable and easy to work with. Solid wood looks beautiful and lasts long. MDF is smooth and great for paint, but it needs support for heavy books.
Bookshelf wood thickness depends on shelf length and weight. For many DIY bookcase projects, 3/4-inch plywood or solid wood works well. Wider shelves may need thicker boards, front trim, or center support to prevent sagging.
To stop shelves from sagging, use thicker wood, shorten the shelf span, add a center divider, attach a back panel, or add a support strip under the front edge. Avoid placing too many heavy books in the middle of a long shelf.
Yes, tall bookshelves should be attached to the wall for safety. Use anti-tip hardware, wall anchors, or screws into studs. Wall anchoring is very important in homes with children, pets, uneven floors, or heavy book collections.
Yes, you can build a bookshelf without power tools if you use pre-cut boards and basic hand tools. You may still need a screwdriver, clamps, wood glue, sandpaper, and measuring tools. A drill makes the work easier, but simple designs can be done by hand.
A basic beginner bookshelf project can take one weekend. Cutting and assembly may take a few hours, while sanding, painting, staining, and drying take longer. More detailed built-ins or custom bookcase plans may take several days.
Yes, renters can build freestanding bookshelves, small bookcases, ladder shelves, or removable floating shelves. Always check lease rules before drilling into walls. For safety, tall shelves should still be anchored when possible, using repairable holes and proper hardware.
To make a DIY bookshelf look expensive, focus on clean edges, smooth sanding, neat paint, good hardware, and balanced styling. Add trim, use a rich stain, choose a modern color, and style with books, baskets, plants, and artwork. Small finishing details create a custom look.