
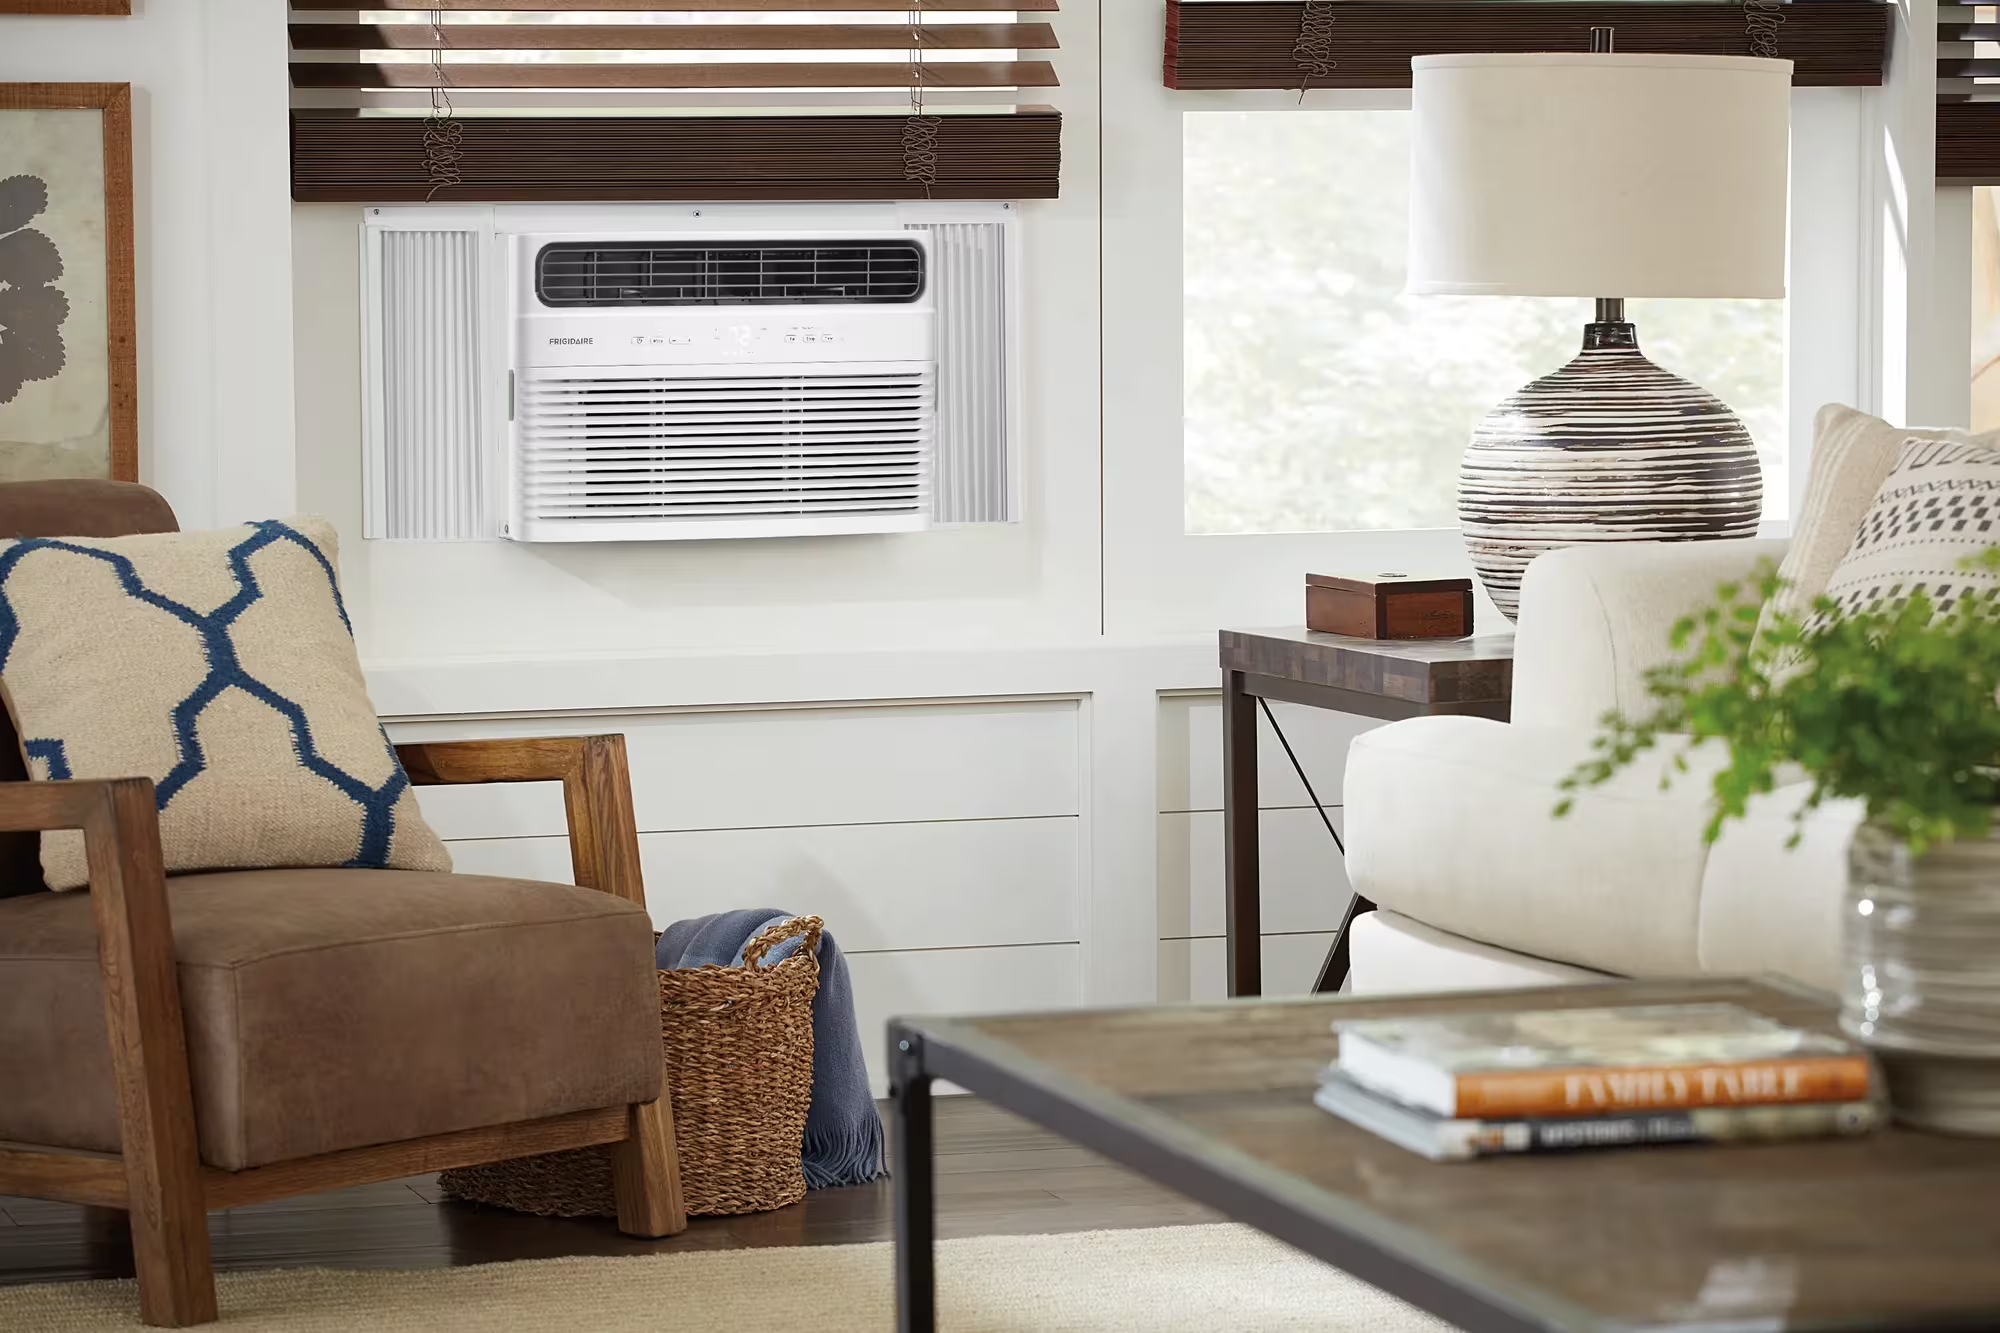

Window air conditioner installation can feel tricky at first, but it becomes much easier with the right plan. A good setup cools the room, saves space, and keeps the window area safe and tidy. With a few tools, careful measuring, and smart styling choices, a window AC can work well without ruining the look of the room.
What Is Window Air Conditioner Installation?
Window air conditioner installation is the process of placing a cooling unit in a window opening, securing it safely, sealing air gaps, and testing it before regular use. The goal is simple: keep cool air inside and hot air outside. A proper window air conditioner setup also helps the unit drain correctly, run efficiently, and stay stable. This type of cooling works well because part of the unit sits outside, where it can release heat. Think of it like opening a tiny cooling station in your window, with one side serving the room and the other side handling the heat.
Benefits of Installing a Window Air Conditioner
A window AC is one of the most practical ways to cool a single room without adding central air. It saves floor space, costs less than many larger cooling systems, and works well in bedrooms, home offices, small living rooms, guest rooms, and apartments. A good window AC setup can also help lower energy waste because it cools only the room being used. For many homes, this makes it a smart “cool where you live” solution. It is also easier to remove, replace, or upgrade than a built-in system, which makes it helpful for renters and budget-friendly room makeovers.
Is a Window AC Right for Your Space?
Before starting window AC installation, look at the room, the window, and the way the space is used. A window unit works best when the window is strong, close to a proper outlet, and positioned where airflow can move freely. It should not block an important view, create a safety concern, or make the room feel cramped.
- Best Rooms for Window AC Units
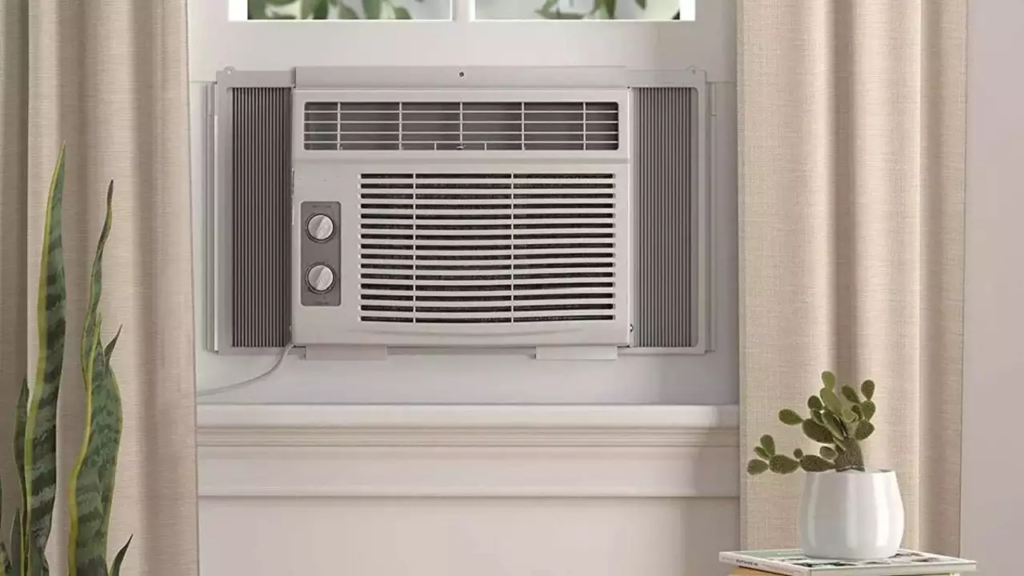
Window AC units work especially well in bedrooms, small living rooms, craft rooms, guest rooms, and workspaces. They are also helpful in compact offices where heat builds up from computers and sunlight. For style and layout ideas, explore these home office ideas before deciding where the unit fits best.
- When to Choose Another Cooling Option
Choose another cooling option if the room has no suitable window, the window opens sideways, the building does not allow window units, or the unit would be unsafe on an upper floor. A portable AC, mini-split system, ceiling fan, or improved insulation may work better in those cases.
- Design and Décor Considerations
A window AC should cool the room without taking over the style. Look at curtain length, furniture placement, wall color, window trim, and nearby décor. A clean white unit can blend into light walls, while a low-profile model may look better in a modern room. Keep the area simple and uncluttered.
Types of Window Air Conditioners
The best window AC unit installation starts with the right type of unit. Not every window air conditioner works the same way. Some focus on low price, while others offer quieter operation, better energy use, smart controls, or a slimmer look. The right choice depends on the room size, budget, noise needs, and design goals.
- Standard Window AC Units
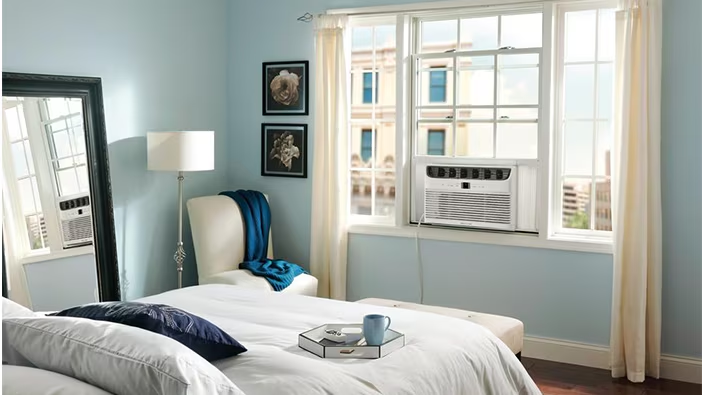
Standard units are the most common choice. They are simple, affordable, and widely available. Many include side panels, basic controls, a washable filter, and a standard mounting kit. They are great for simple DIY window AC installation when the window is strong and the room is not too large.
- Inverter Window AC Units
Inverter window AC units adjust their cooling speed instead of turning fully on and off all the time. This can make the room feel more even and may reduce noise. They often cost more upfront, but they can be a good choice for bedrooms, offices, and rooms used for long hours.
- Smart Window AC Units
Smart window AC units connect to Wi-Fi and apps. Some work with voice assistants or schedules, which makes them useful for busy homes. For example, the unit can start cooling before bedtime or turn down when nobody is home. This adds comfort without needing to walk over to the window.
- Low-Profile Window AC Units
Low-profile units are designed to look less bulky in the window. Some have a slimmer shape or a U-style design that lets more light in. They can be a good option when style matters, especially in a living room, rental, or small bedroom where every detail is visible.
How to Choose the Right Window AC Size?
Choosing the right size matters as much as learning how to install a window AC unit. An undersized unit may run nonstop and still leave the room warm. An oversized unit can cool too fast without removing enough moisture, which can make the room feel damp. ENERGY STAR also warns that bigger is not always better because oversized units can reduce comfort and efficiency.

- Measure Your Room Size
Start by measuring the room length and width. Multiply them to get square footage. For example, a room that is 12 feet by 15 feet is 180 square feet. This number gives you a starting point for choosing cooling capacity. Also note open doorways, connected spaces, and large windows.
- Understand BTU Ratings
BTU means British Thermal Unit, and it tells you how much cooling power the unit provides. The U.S. Department of Energy says room air conditioners commonly range from 5,500 to 14,000 BTU per hour, and a common rule is about 20 BTU per square foot of living space.
- Consider Sunlight and Ceiling Height
A sunny room, tall ceiling, poor insulation, or busy kitchen nearby can need more cooling power. A shaded room may need less. Think of BTU like shoe size. The number must fit the room. Too small feels uncomfortable, while too large creates a different kind of problem.
- Avoid Oversized Units
An oversized window AC may seem like a smart shortcut, but it often creates uneven comfort. It may shut off before it removes enough humidity. The air can feel cold but sticky. A properly sized unit usually runs longer cycles, cools more evenly, and keeps the room more comfortable.
Tools and Supplies You Need
A smooth window AC install guide starts with the right tools. Most units include a basic installation kit, but it is wise to check before lifting anything into place. Gather everything first so the job feels organized. This also reduces the chance of holding a heavy unit while searching for a missing screw.
- Basic Tools
Common tools include a tape measure, screwdriver, drill, level, pencil, scissors, utility knife, and adjustable wrench. Some units need special screws or brackets, so read the manual before beginning. A small step stool can also help if the window is high.
- Safety Supplies
Safety supplies may include work gloves, closed-toe shoes, eye protection, and a helper. Window air conditioners can be awkward to hold because most of the weight sits toward the back. Never treat the unit like a light décor item. It is a heavy appliance that needs steady hands.
- Sealing and Insulation Materials
Useful sealing materials include foam weatherstripping, insulation strips, side-panel foam, exterior-safe sealant, and removable window seal tape. Good sealing keeps hot air, bugs, dust, and moisture from sneaking inside. It also helps the window air conditioner setup look cleaner from the inside.
Safety Checks Before Installation
Safety comes before style. A window AC unit installation should never rely on luck, a weak window, or a loose fit. Before lifting the unit, check the window frame, outlet, installation rules, and support needs. A few minutes of checking can prevent damage, leaks, or a dangerous fall later.
- Check the Window Condition
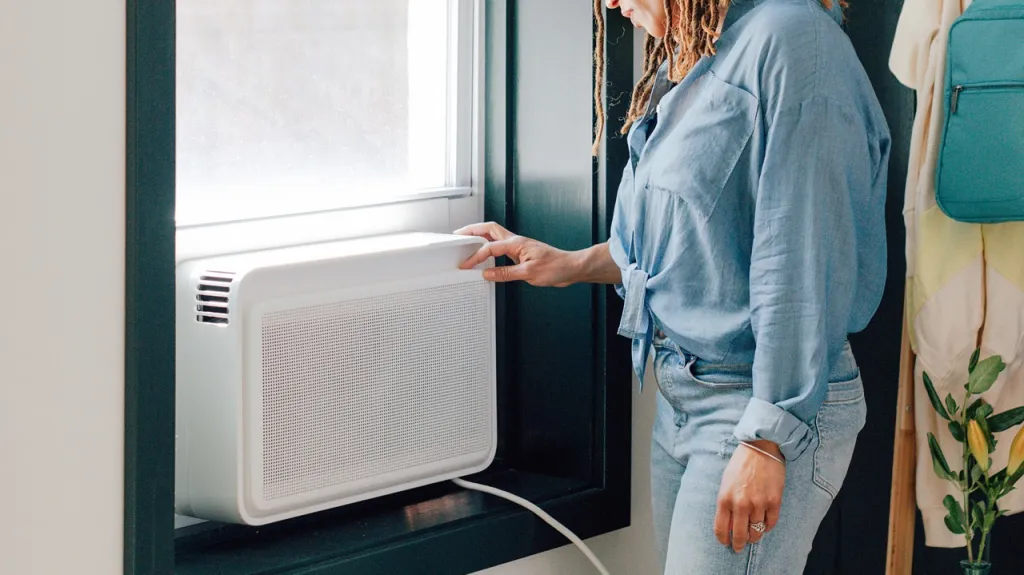
Open and close the window. Look for rot, cracks, loose trim, soft wood, broken locks, weak tracks, and damaged glass. The window must hold the unit securely. If the sash slides down too easily or the frame feels loose, fix the window first or hire a professional.
- Check the Electrical Outlet
Use a nearby grounded outlet that matches the unit’s electrical needs. Do not force the plug, remove the grounding prong, or run cords across walkways. Many manuals warn against unsafe extension cord use. When in doubt, ask an electrician to check the outlet and circuit before installation.
- Review Building or Rental Rules
Apartment buildings, condos, and local rules may limit window AC installation. Some places require specific brackets, screws, or landlord approval. For example, New York City guidance says a window with an AC must be permanently and securely installed and tenants should not remove window guards to install one.
- Ask for Help When Needed
A window AC may look small in the box, but it can feel heavy and unbalanced once lifted. Ask another person to help with lifting, holding, and checking alignment. If the unit is large, the window is high, or the installation feels risky, call a professional.
How to Install a Window Air Conditioner?
This section explains how to install window AC unit setups in a safe, simple order. Always follow the manual for the exact model because brackets, screws, tilt, and drainage design can vary. The steps below give a clear overview for a common double-hung window air conditioner installation guide.
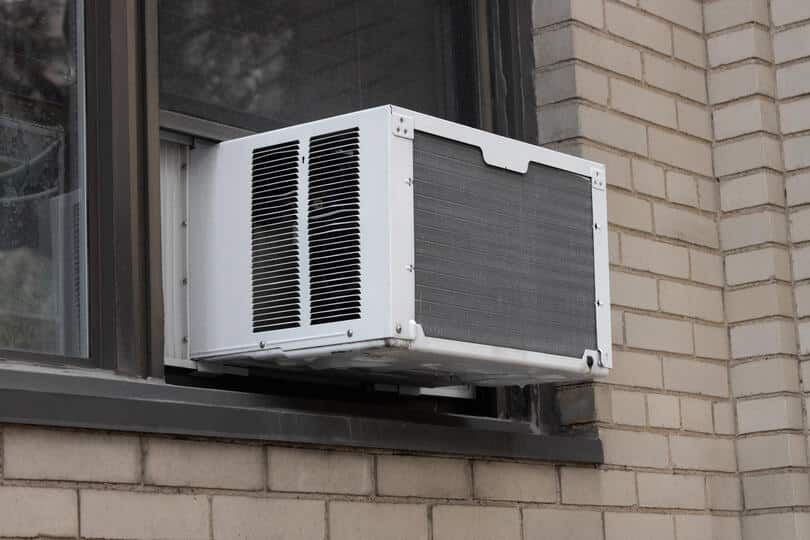
- Read the Manual First
Read the manual before opening the window. It may feel boring, but it saves time. The manual tells you the window size range, bracket type, screw locations, filter placement, and electrical needs. Think of it as the recipe. Skipping it can ruin the final result.
- Prepare the Window Area
Clear furniture, plants, curtains, blinds, and décor from the window area. Clean the sill and frame so the unit sits flat. Remove dust and old loose sealant. If the window has a screen, remove it if the manual says to. Keep pets and children away from the work zone.
- Attach the Mounting Hardware
Install the mounting rails, brackets, side panels, or support pieces that come with the unit. Some models attach the top rail first. Others need a support bracket on the exterior side. Use the screws provided when possible. Tight hardware is like a seatbelt for the unit.
- Place the AC Unit Safely
Lift the unit with a helper. Keep your back straight and hold the unit firmly from both sides. Place it into the window opening according to the manual. Do not lean too far outside. The outside part is usually heavier, so move slowly and keep control.
- Secure the Unit in Place
Lower the window sash onto the top rail or the approved support area. Then secure the sash, side panels, and brackets as directed. The unit should not wobble, slide, or tilt loosely. Lock the window if possible. Use included security brackets if the manual provides them.
- Seal the Side Gaps
Extend the side panels and seal around them with foam or weatherstripping. Check the top, bottom, and corners. Even a small gap can let in hot air, insects, and street noise. A well-sealed window AC setup works like a cooler with a tight lid.
- Test the Air Conditioner
Plug the unit into the correct outlet and turn it on. Listen for odd sounds, feel for cool air, and check that the controls work. Look outside if safe to confirm the unit is stable. After it runs for a while, check for water leaks, vibration, and air gaps.
How to Make a Window AC Look Better?
A window air conditioner does not have to be an eyesore. With smart styling, it can blend into the room like a practical appliance instead of a bulky metal box. The trick is to frame it, clean around it, and avoid blocking airflow. For broader styling help, learn how to decorate a room around function, comfort, and personality.
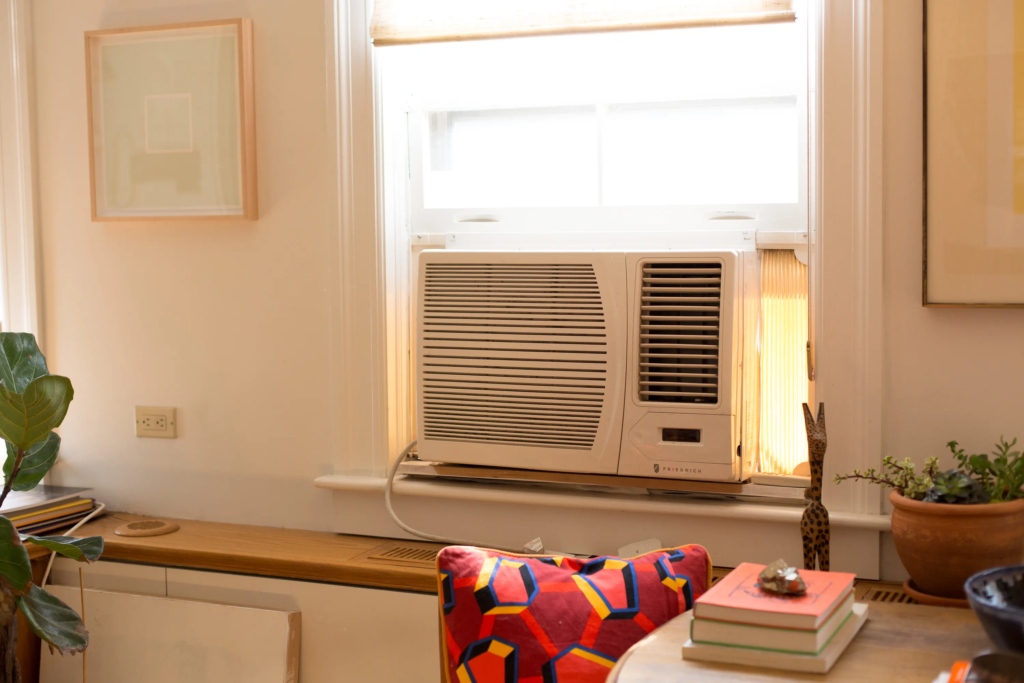
- Use Curtains or Roman Shades
Use curtains, café curtains, or Roman shades around the window without covering the vents. Soft fabric can make the unit feel less harsh. Choose washable materials because AC areas can collect dust. Keep curtain panels short or tied back so they do not block airflow.
- Choose a Sleek AC Design
If the unit will stay visible, choose a simple, clean design. White, low-profile, or rounded units often blend better with modern rooms. A smart or inverter model may also look more polished. Avoid buying only for looks, though. Size, safety, and efficiency still come first.
- Hide Cords Neatly
A messy cord can make even a neat room feel unfinished. Run the cord straight to the outlet when possible. Use simple cord covers if they fit safely. Do not hide cords under rugs, pinch them behind furniture, or stretch them across a walkway.
- Style the Surrounding Area
Style nearby surfaces with balance. Add a small plant on a side table, a clean basket below the window, or simple art on the nearby wall. Avoid placing décor directly in front of the vents. For vertical styling ideas, use wall shelves away from the airflow path.
- Keep the Window Area Clean
Clean trim, glass, sill, and nearby flooring make the whole installation look better. Dusty side panels and yellowed foam can make the unit feel old. Replace worn foam when needed. A clean window AC looks intentional, while a neglected one looks temporary and messy.
Budget-Friendly Installation Tips
DIY window AC installation can save money, but only when done safely. Cutting the wrong corners can lead to higher energy bills, poor cooling, or damage. The goal is to spend where it matters and save where it makes sense. Good measuring, sealing, and planning often save more than cheap shortcuts.

- Reuse Safe Existing Materials
Reuse safe items like a level, tape measure, screwdriver, or clean foam strips if they are still in good condition. Do not reuse rusty brackets, bent screws, cracked side panels, or damaged cords. Saving a few dollars is not worth risking a falling unit or electrical problem.
- Buy the Right Size First
Buying the right size first is one of the best budget tips. A unit that is too small may run nonstop. A unit that is too large may waste energy and leave the room humid. Measure first, check BTU guidance, and match the unit to the room.
- Improve Sealing to Save Energy
Foam tape and weatherstripping are inexpensive, but they can make a big difference. Better sealing keeps cool air inside and hot air outside. It also helps reduce drafts and dust. In many rooms, sealing is the quiet hero of window air conditioner installation.
- Compare DIY and Professional Costs
DIY works well for many standard installs, but professional help may be cheaper than fixing a mistake. Compare the cost of a bracket, tools, and your time with the cost of a proper installation. For heavy units, upper floors, and weak windows, professional help can be the smarter deal.
Common Installation Mistakes to Avoid
Knowing how to put in a window AC unit also means knowing what not to do. Most problems come from poor support, bad sealing, blocked airflow, weak outlets, or incorrect drainage. Avoiding these mistakes helps the unit cool better, last longer, and look cleaner in the room.
- Poor Window Support
A weak window is one of the biggest risks. Do not depend on a loose sash or old frame to hold the unit. Use the required support hardware. If the unit feels unstable, stop. Fix the support before running the AC. Stability is not optional.
- Leaving Air Gaps
Air gaps reduce cooling and make the unit work harder. They also let in bugs, dust, rain, and outside noise. Check gaps in daylight, then again at night with a flashlight. Seal around the side panels, top rail, lower sill, and corners.
- Blocking Airflow
Never block the front vents with curtains, furniture, plants, books, or décor. The unit needs open space to pull warm air in and push cool air out. Blocking airflow is like asking someone to breathe through a blanket. It strains the system and reduces comfort.
- Using the Wrong Outlet
Do not use an outlet that sparks, feels loose, smells hot, or does not match the plug. Also avoid overloaded power strips. A window AC draws steady power, so it needs a safe outlet. If the electrical setup feels questionable, call an electrician before using the unit.
- Ignoring Drainage Angle
Many window air conditioners need proper drainage so water moves outside or into the unit’s designed drain path. Some newer models have special drainage designs, so follow the manual. Poor drainage can cause leaks, stains, mold concerns, or noise. A 2025 CPSC recall also showed how pooled water in certain window AC models could create mold exposure risks.
Maintenance After Installation
After installing window AC unit hardware, maintenance keeps the room cool and the unit healthy. Dust, loose seals, and blocked vents can turn a good installation into a weak one. Regular care does not need to be complicated. A few simple habits can help the appliance work better through the season.

- Clean or Replace the Filter
Check the filter often, especially during hot months. A dusty filter blocks airflow and can make the unit work harder. Most window AC filters slide out from the front and can be washed or replaced, depending on the model. Let washable filters dry fully before putting them back.
- Wipe the Exterior Vents
Wipe the front grille, side vents, and control panel with a soft cloth. Do not spray cleaner directly into the unit. Dust around the vents can reduce airflow and make the unit look older than it is. Clean vents also make the window area feel fresher.
- Check Seals and Gaps
Foam and weatherstripping can loosen over time. Check them after storms, strong wind, or heavy use. Replace crushed foam, peeling tape, and cracked insulation. This is similar to other home airflow tasks, such as vent cleaning, where clear paths help appliances work better.
- Inspect for Water Leaks
Look below the window, inside the sill, and outside if safe. Water stains, dripping indoors, or musty smells may mean the unit is not draining correctly. Turn it off and check the manual. If the problem continues, call a technician before it damages trim or walls.
- Store the Unit Properly
If the unit is seasonal, remove it carefully when cooling season ends. Clean the filter, wipe the exterior, let it dry, and store it upright in a dry place. Cover it lightly to keep dust out. Do not store it upside down or in a damp basement corner.
When to Hire a Professional?
A DIY window air conditioner installation works for many simple setups, but not every situation is simple. Professional help makes sense when safety, structure, wiring, or building rules create extra risk. For wider repair and remodeling planning, these renovation tips can help with bigger home decisions.
Large or Heavy Units
Large window AC units can be too heavy for one or two people to handle safely. If the unit is wide, deep, or above your comfort level, hire help. A professional can lift, support, align, and secure it with less risk to the window and the people nearby.
Old or Weak Windows
Old windows may have soft wood, loose tracks, cracked glass, or poor locking hardware. A heavy AC can make these problems worse. Hire a professional if the window needs repair before installation. Cooling comfort should not come at the cost of a damaged frame.
Electrical Concerns
Call an electrician if the outlet is far away, ungrounded, overloaded, warm, damaged, or the plug does not match. Do not rely on guesswork with electrical safety. A proper outlet protects the unit, the room, and the people using the space.
Apartment or Upper-Floor Installs
Upper-floor installs need extra care because a falling unit can cause serious harm. Apartment buildings may also require approved brackets or professional installation. If the window faces a sidewalk, parking area, shared courtyard, or neighbor’s space, take the rules seriously and get proper help.
Final Tips for a Cooler, Stylish Room
A good window AC installation should feel safe, steady, and part of the room—not like an afterthought. Measure first, choose the right BTU, follow the manual, seal every gap, and keep the front vents clear. Then style around the unit with clean curtains, neat cords, and simple nearby décor. When function and style work together, the room feels cooler, calmer, and more comfortable. The best window AC install guide is not about rushing. It is about making the room work better, one careful step at a time.
Frequently Asked Questions
Yes, many people can install a window air conditioner themselves if the unit is a manageable size, the window is strong, and the outlet is safe. Read the manual first, use the included hardware, and ask another person to help with lifting. For heavy units or upper-floor windows, hire a professional.
It depends on the unit, window, weight, and local rules. Many larger units need a bracket or support system. Some buildings also require approved brackets. Always follow the manufacturer’s instructions. If the unit feels unstable without one, use proper support or get professional help.
Measure the room’s square footage and compare it with the unit’s BTU rating. As a simple starting point, many rooms need about 20 BTU per square foot, but sunlight, ceiling height, insulation, and room use can change the final size. Choose fit over raw power.
Renters may be able to install one, but they should check the lease and ask the landlord first. Some buildings limit window AC units or require special brackets. Also consider whether the installation will leave holes, marks, or damage that could affect the security deposit.
Use foam weatherstripping, side-panel insulation, removable seal tape, or approved sealant. Seal the sides, top, bottom, and corners. The goal is to stop hot air, bugs, rain, and dust from entering. Do not block drainage areas or vents while sealing.
Some older units need a slight outward tilt for drainage, while some newer models are designed to sit level or drain in a specific way. Always follow the manual for the exact model. Do not guess, because the wrong angle can cause leaks or poor performance.
Choose a clean-looking unit, use curtains or Roman shades around the window, hide cords neatly, and keep the sill clean. Style nearby walls or furniture without blocking airflow. A simple, uncluttered area makes the AC look planned instead of temporary.
Check the filter every few weeks during heavy use. Clean it sooner if the room is dusty, the unit runs daily, or airflow feels weak. A clean filter helps the unit cool better and can improve comfort. Follow the manual for washing or replacing the filter.